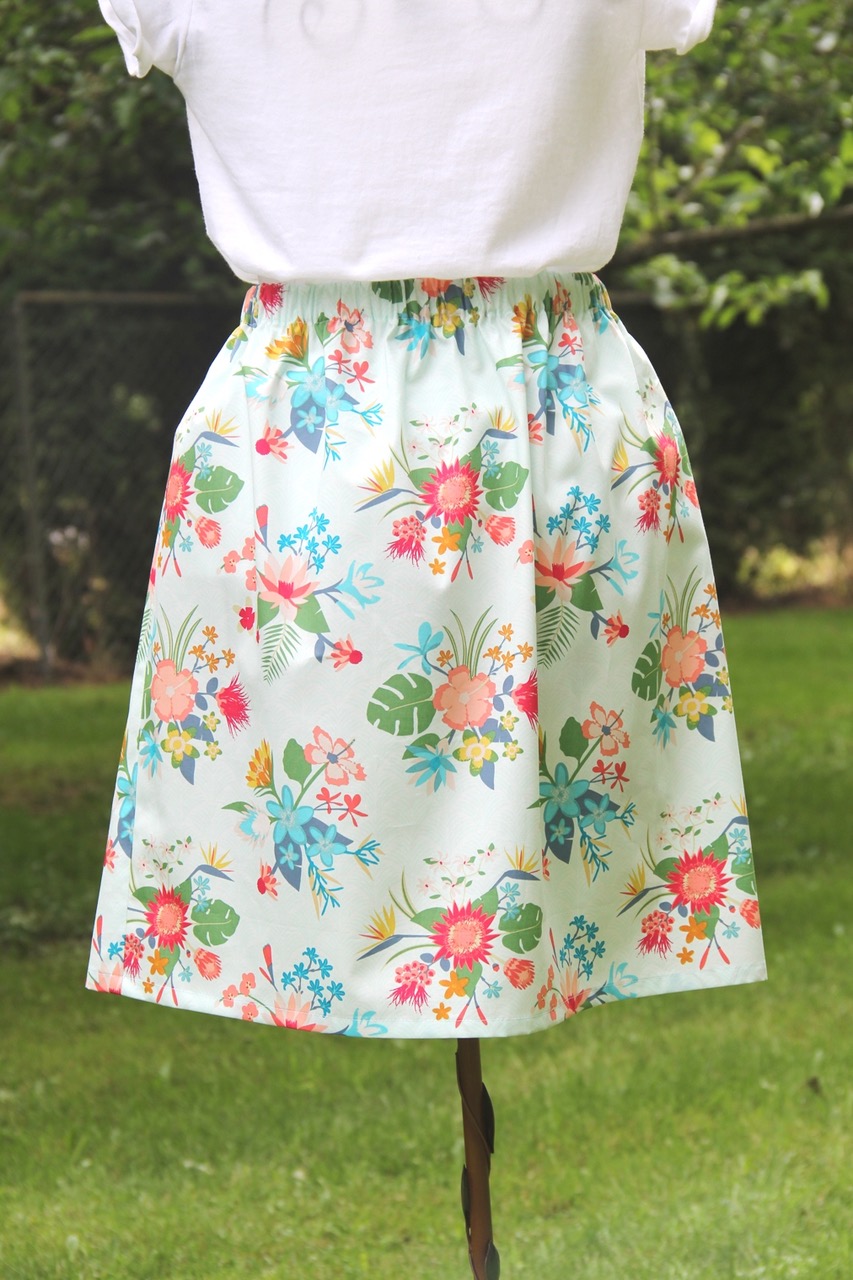
Simple Elastic Waist Skirt – free sewing tutorial
Learn how to sew a quick and simple skirt using cotton fabric and elastic. This tutorial teaches how to make a skirt that fits you, no matter the size!

Do you ever look at all those beautiful quilting cottons and wish you could just wear them?
This is the perfect season to turn those quilting fabrics into a pretty skirt! With just a couple of measurements, you can make this in a wide variety of sizes. It’s easy to make and fun to wear!
How to Sew a Simple Skirt
1. You will need:
- Cotton fabric (see below for the amount)
- 1” wide elastic
- Thread that matches your fabric
- A sewing machine
- Cutting tools
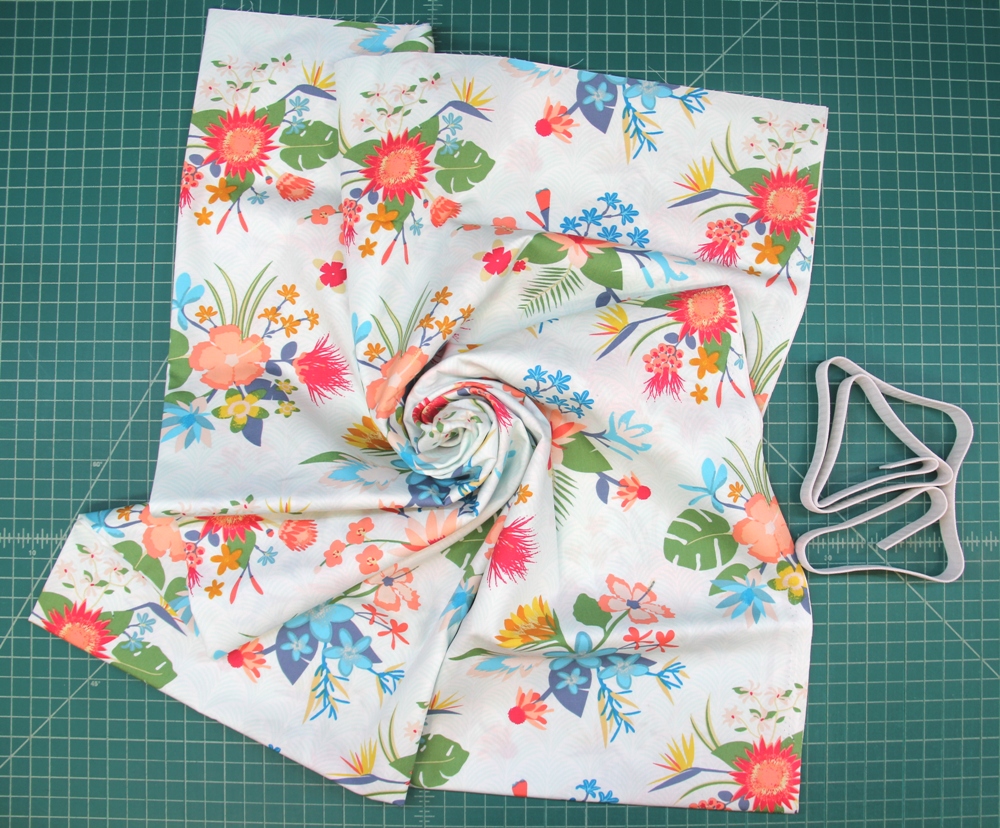
To determine the amount of fabric, measure your hips and add 12”. Divide that number by 36 and that will equal the number of yards you’ll need.
For example, let’s say my hips measure 40”. Add 40+12 to get 52”. Divide 52 by 36, and you’re left with 1.44 yards. Round that up to 1 ½ yards of fabric.
Measure your waist. Add ½”, and that’s the amount of elastic you’ll need.

2. Prewash your fabric so your skirt doesn’t shrink later. Divide your hips-plus-12” measurement in half (in my example above, that comes out to 26”). Fold your fabric with the selvages together. Cut two pieces of fabric perpendicular to the selvage that are that width.
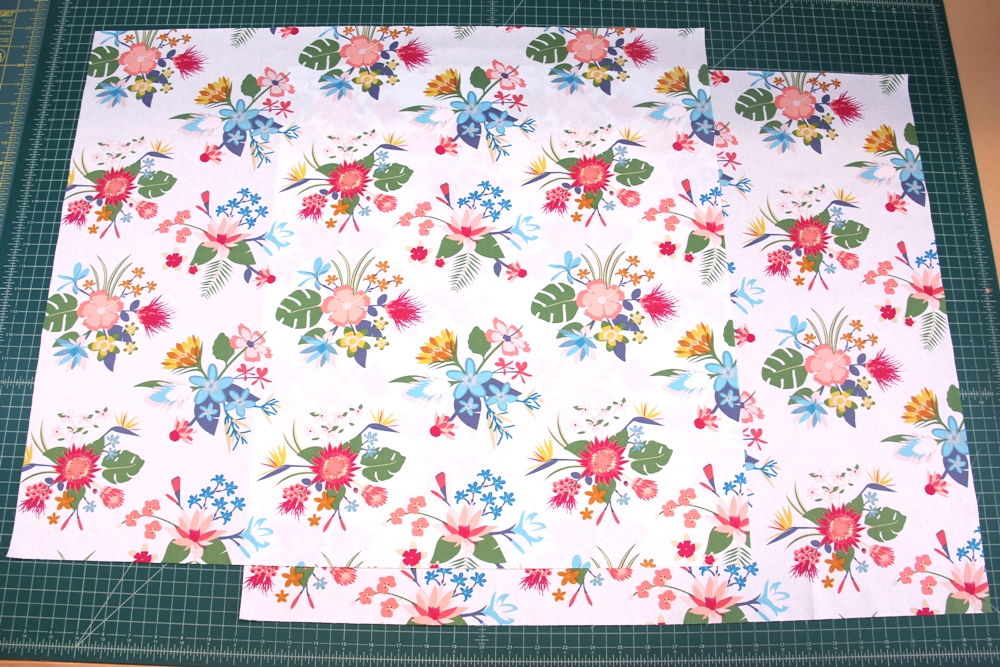
3. Determine the length you’d like for your finished skirt. I used 21”. Add 2 ½”, so for me that was 23 ½”. Cut your two rectangles to that length, cutting off from the selvage edge.
In my example, that’s now two rectangles that measure 26 by 23 ½” each.

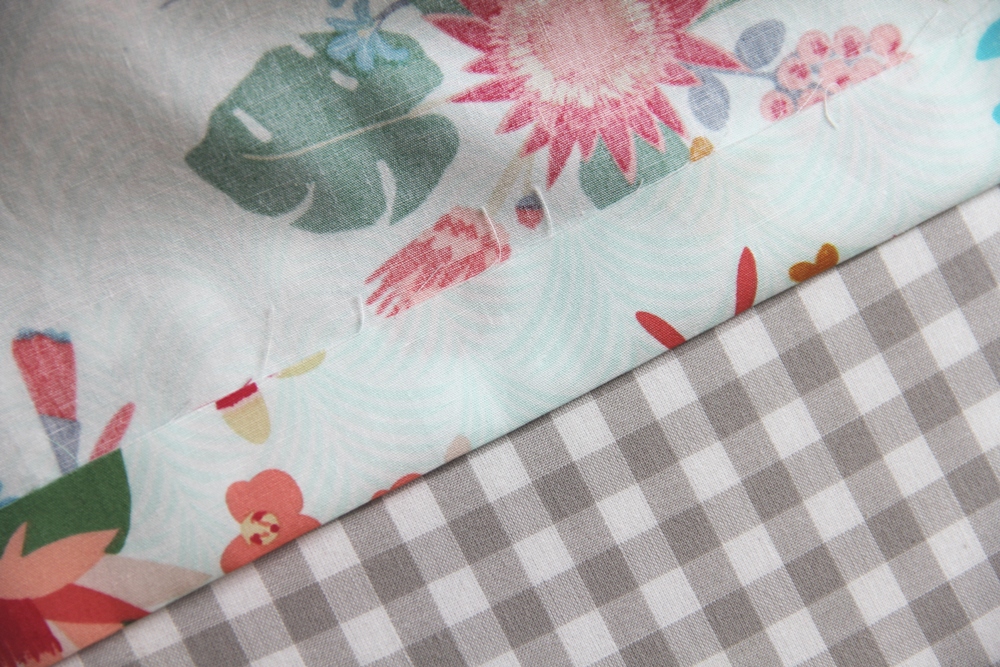
4. Pin the two rectangles with right sides together. Stitch down both sides (for me, the 23 ½” sides) with a ½” seam to create a tube.

5. Zigzag stitch over the edge of the seam or cut it with pinking shears so it won’t fray. Press the seams to one side.
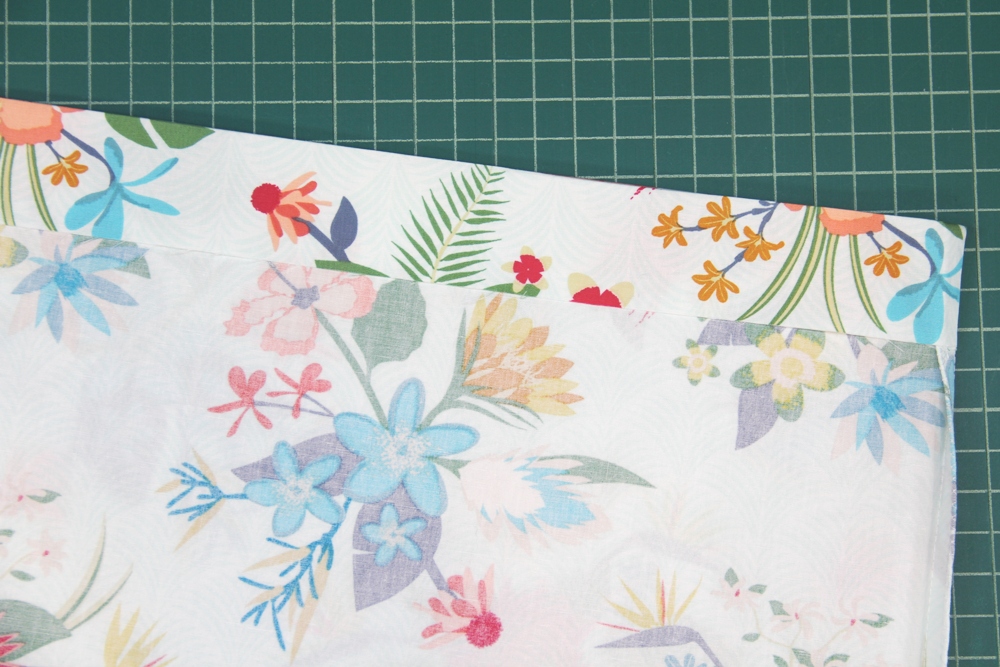
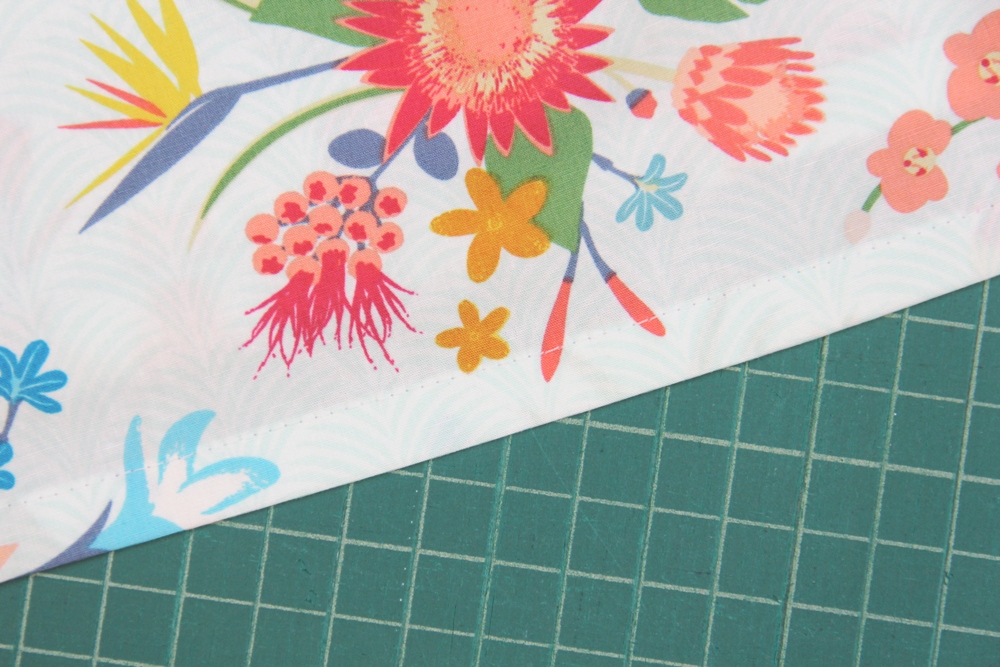
6. Fold the top edge under 1 ½” to create the waistband. Press.
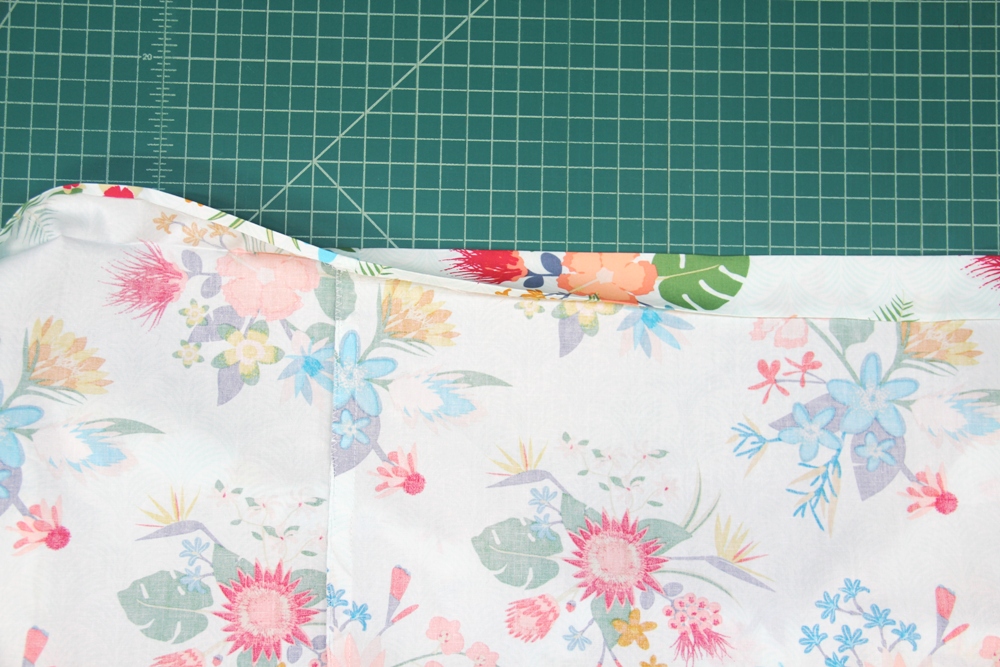
7. Open it up and fold the raw edge under ¼”. Press. Turn the waistband back under and pin in place.
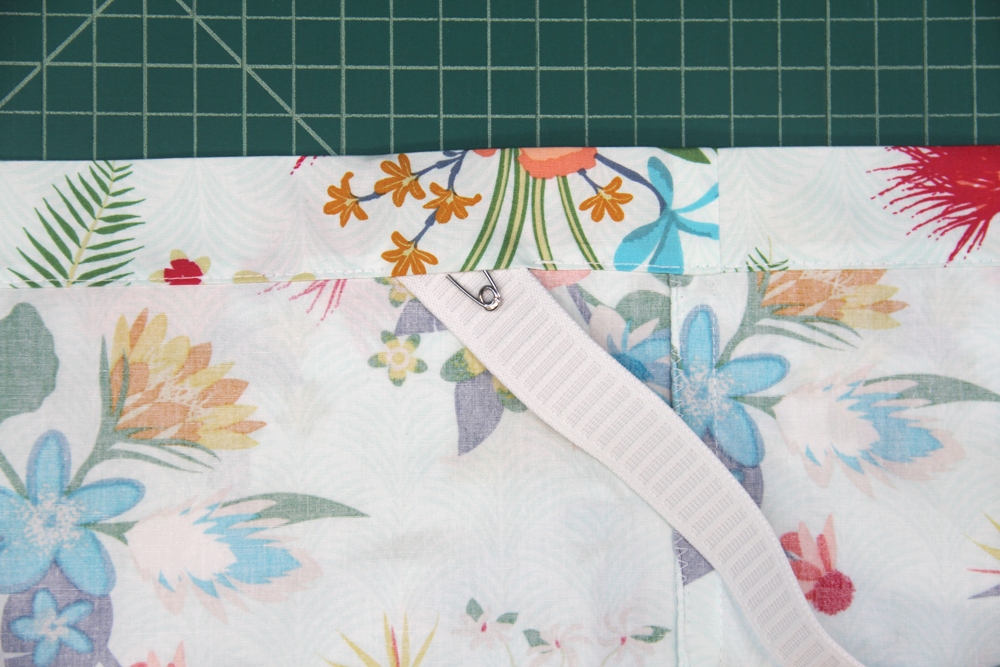
8. Stitch close to the inner fold, leaving 1 ½” open to insert he elastic. Feed the elastic into the casing by pinning a large safety pin to the end and pushing it through.
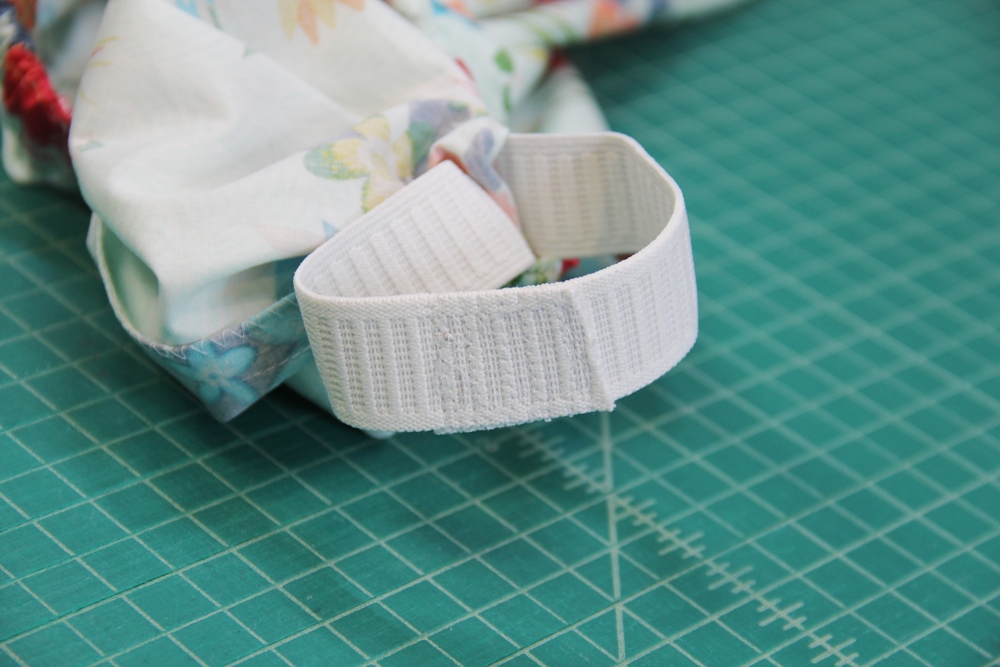
9. Make sure there are no twists in the elastic, then overlap the two ends by 1” and stitch together securely. You may want to overlap the ends, pin them, then try the skirt on to verify the fit before stitching.
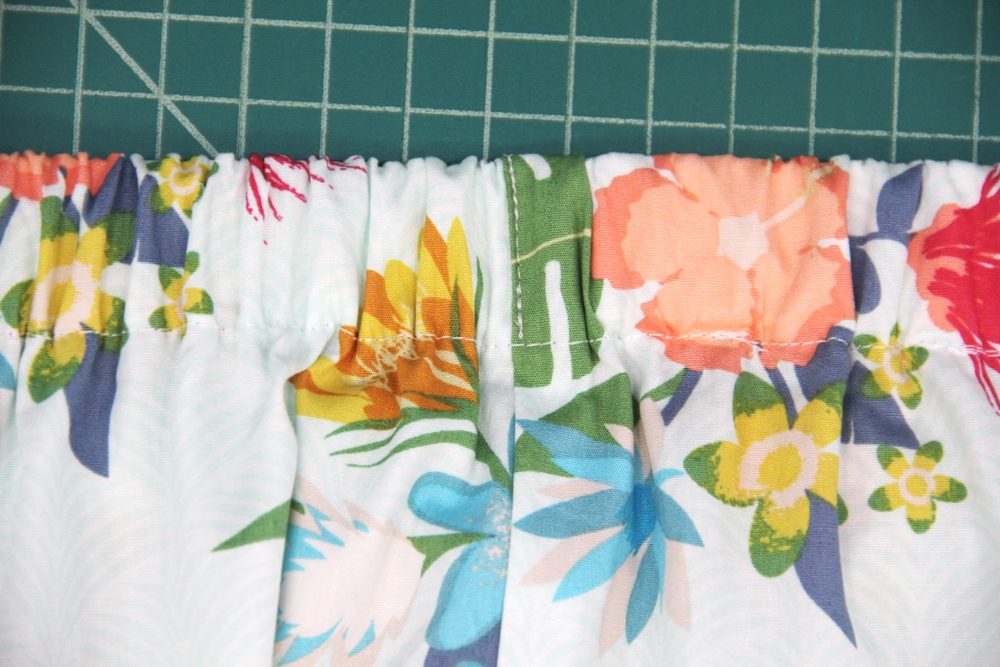
10. Push the elastic completely into the casing and stitch the opening closed. Even out the gathers. Stitch vertically through the waistband at the side seams to prevent the elastic from rolling and twisting.
11. Fold the bottom edge of the skirt under 1” and press.

12. Tuck the raw edge into the fold and press again, so you’re left with a ½” hem.
13. Stitch close to the inner fold.

Now you’re ready to enjoy a beautiful day!

I’ve been a maker for as long as I can remember. If there’s a technique I haven’t tried, it’s probably on my to-do list. At my blog, Crafty Staci, I create beginner-friendly craft and sewing tutorials, simple recipes, and curate links to fun things to make. Sometimes people are hesitant to take that first step into making things. My goal is to guide and inspire them to jump in, and not be afraid to make mistakes along the way. I want to do my part to keep handmade alive and well!
Disclosure: some of my posts contain affiliate links. If you purchase something through one of those links I may receive a small commission, so thank you for supporting SewCanShe when you shop! All of the opinions are my own and I only suggest products that I actually use. 🙂