How to Sew Knit Binding: Easy Tutorial
I’ve been sewing lots of knit binding on little knit tee shirts and dresses lately, so I thought I’d show you my process.
You can sew knit binding if your pattern calls for it, or as a substitute for facing or a typical ribbed neckline. If you are substituting it for a different edge finish, trim away the seam allowance.
I have another article that shows how to sew woven fabric binding. It’s great if you are using woven fabric for your project.

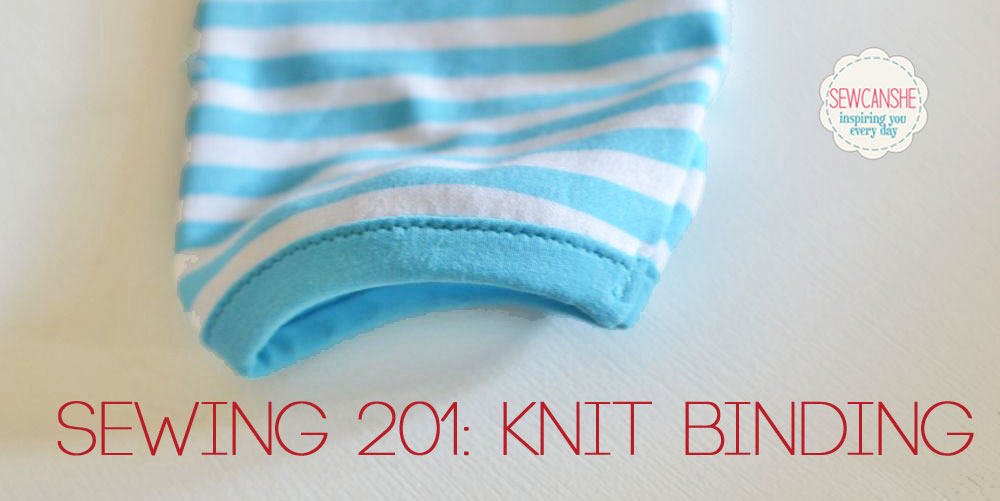
You can make a knit binding out of rib knit (like the photos above) or stretch jersey (like the photo at the very top). If you use jersey, make sure it has a bit of spandex in it. 100% cotton jersey won’t give satisfactory results. You can get away with 100% cotton rib knit, but I still prefer to use rib knits with a small amount of spandex for recovery.
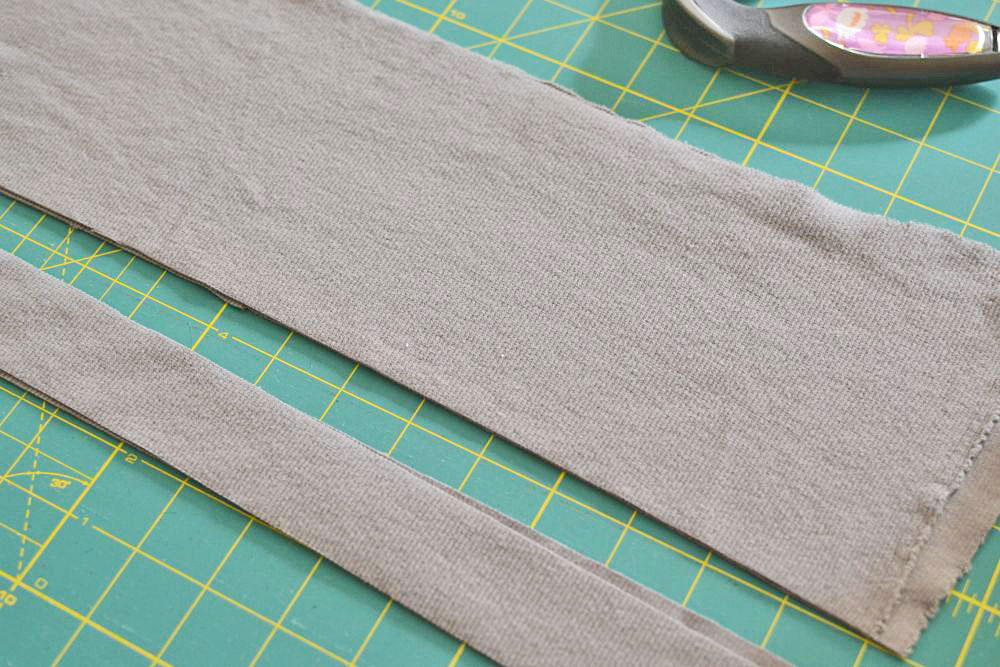
One general rule of thumb is to cut your length of binding 80% of the length needed. You could refer to your pattern or measure the edge to be bound. Or you could just cut a strip of binding longer than you’ll need and cut the extra off (what I do.)
I like to cut my binding 1.5” wide (or tall). So smooth your fabric out on your cutting board, trim off the edge if it is uneven, and cut a strip 1.5” tall. Make sure the strip is cut along the direction of stretch. Not parallel to the selvage.
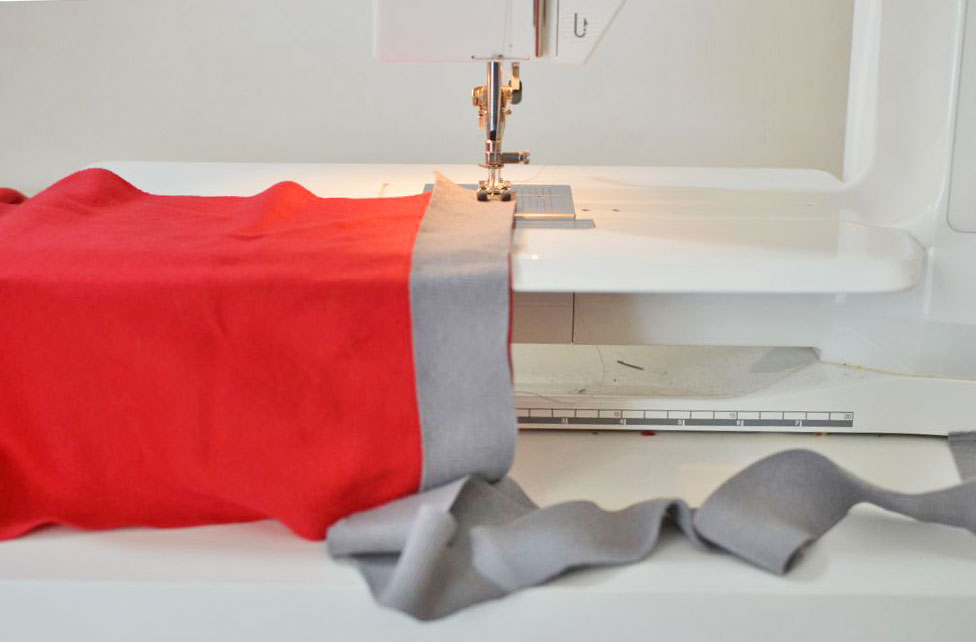
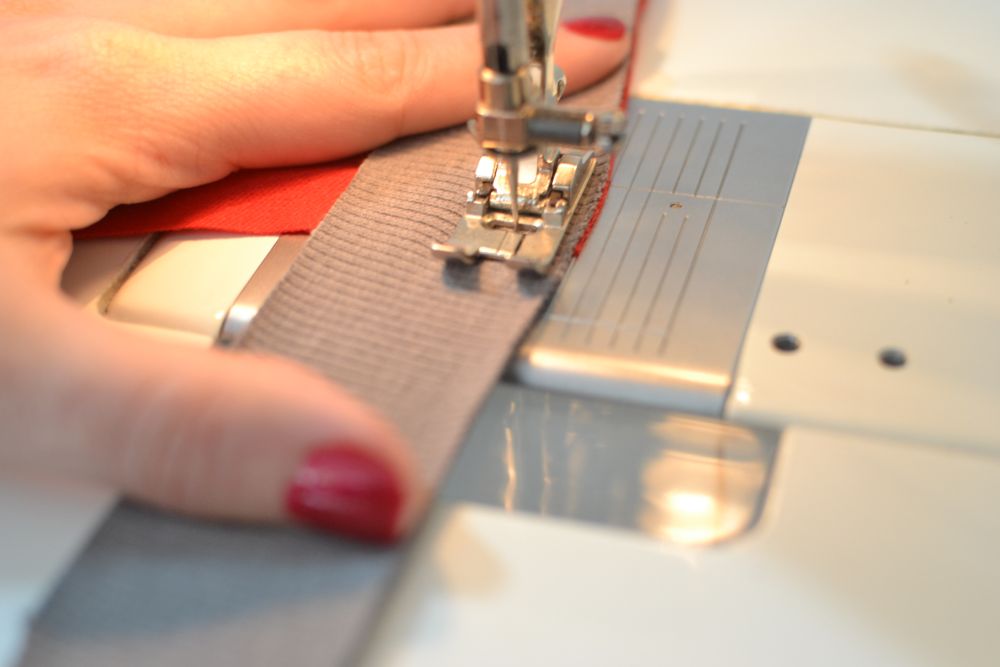
Bind your sleeve edges before you sew them to the top or dress. Place the right side of the binding against the right side of the sleeve edge. You can see my long strip of binding… this will be enough for both sleeves and the neckline.
This is the part that I think most people are afraid of, but with a little practice you’ll be a pro. It’s very forgiving anyway.
The key is that your binding must be stretched a little bit, but the sleeve (or neckline) must feed evenly through your machine. So careful not to stretch the bottom layer. At the same time gently pull on the binding. You’ll get a feel for how much to pull on it. If you pull hard, the edge will gather. If you don’t pull enough, it will be wavy.
Just pull a ‘comfortable’ amount. I know that sounds vague, but when you try it you will know what I mean. And like I said, it is very forgiving. After 2 tee shirts, you will be a pro!
So stitch the binding to the edge with a 3/8” seam allowance and backstitch.
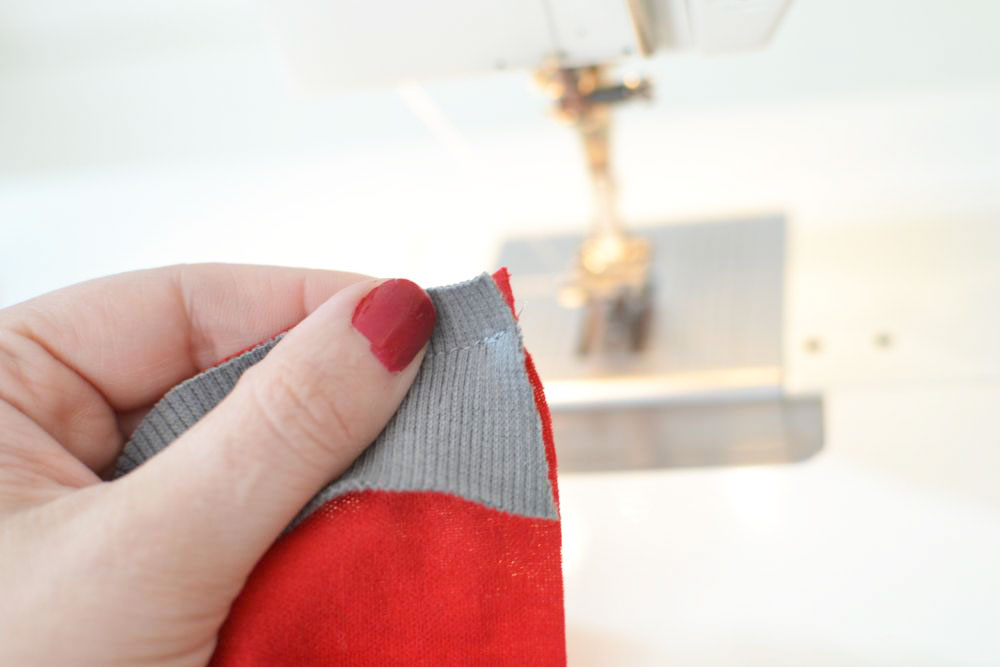
Cut off the extra binding. See, you used just the amount you needed with no waste! I like this method because different binding fabrics have varying degrees of stretch and I’d rather depend on ‘feel’ than how much binding the pattern says I need.
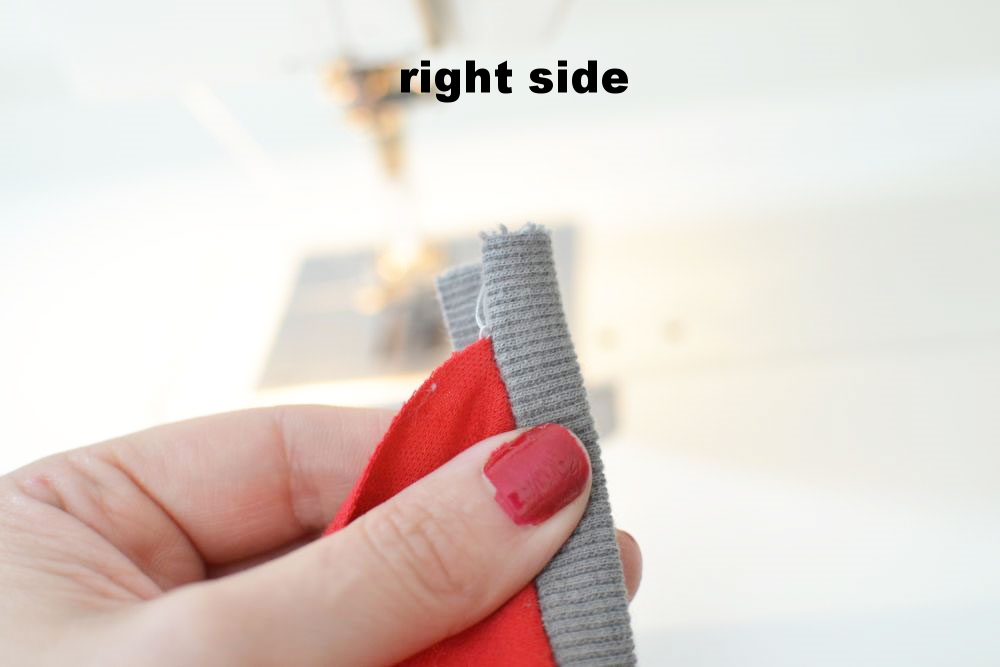

Now wrap the binding around to the wrong side of the sleeve or neckline.
You can pin the binding around the edge if you want, but I don’t think it’s necessary.
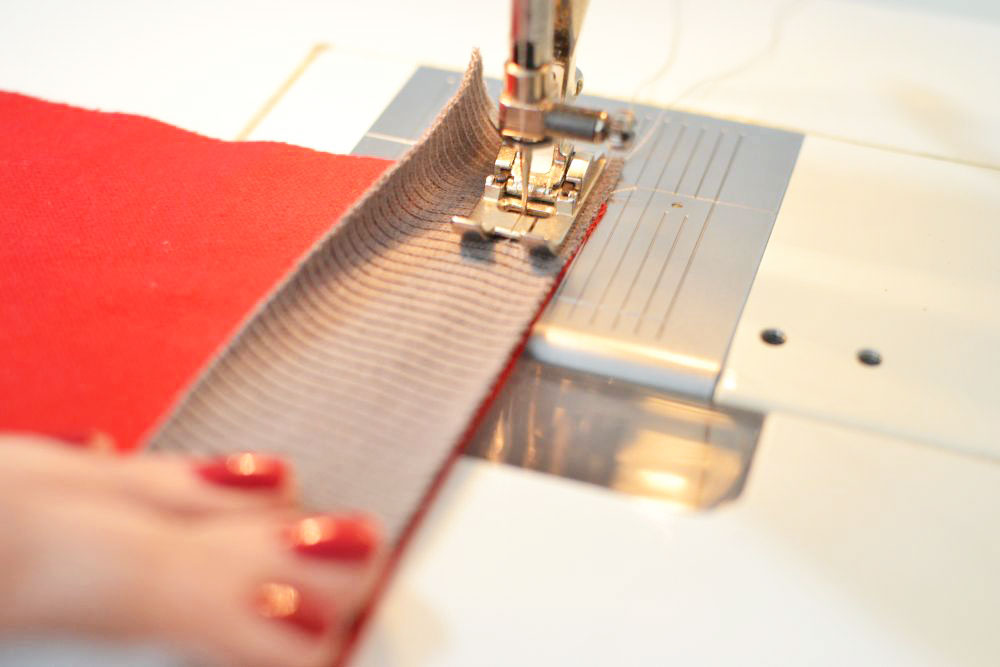
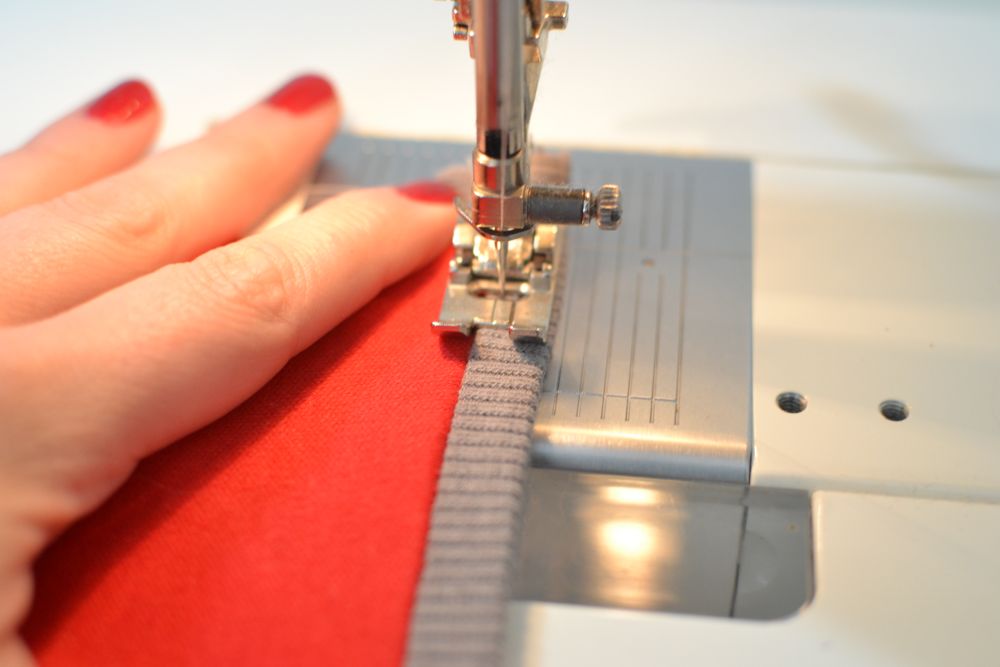
The trick for this last step is to gently stretch all of the layers so they feed smoothly. This will also make the binding a tiny bit stretchy so the threads won’t break when the sleeve or neckline stretches.
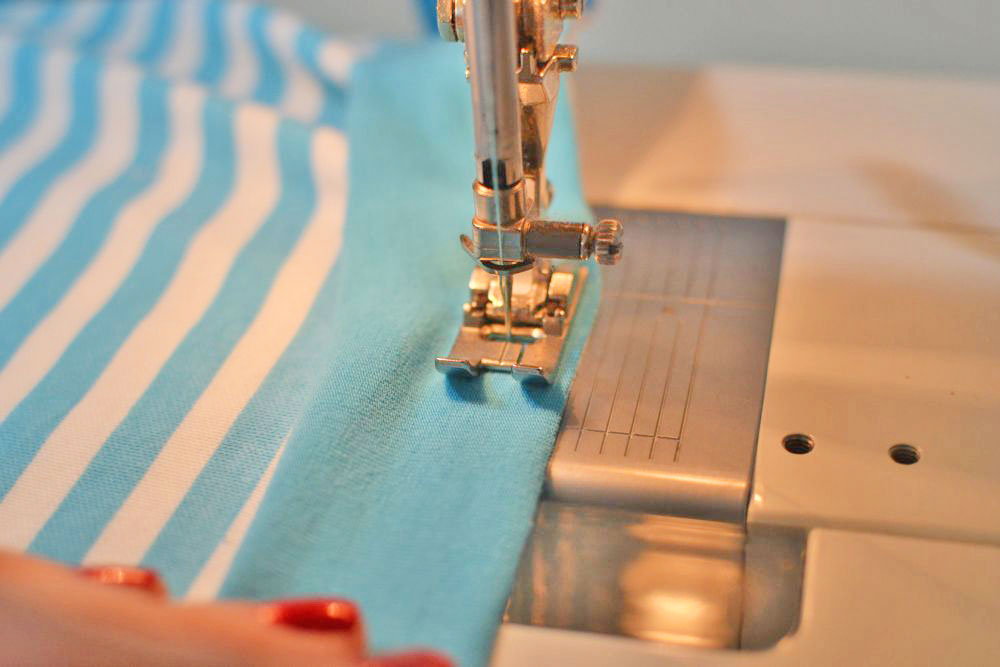
I like to edgestitch on top of the binding about 1/8” from the edge. You could ‘stitch in the ditch’ right in the seam, but when I do that I mess up more often, not catching the binding on the back. Neatly stitching on top of the binding works best for me. 🙂
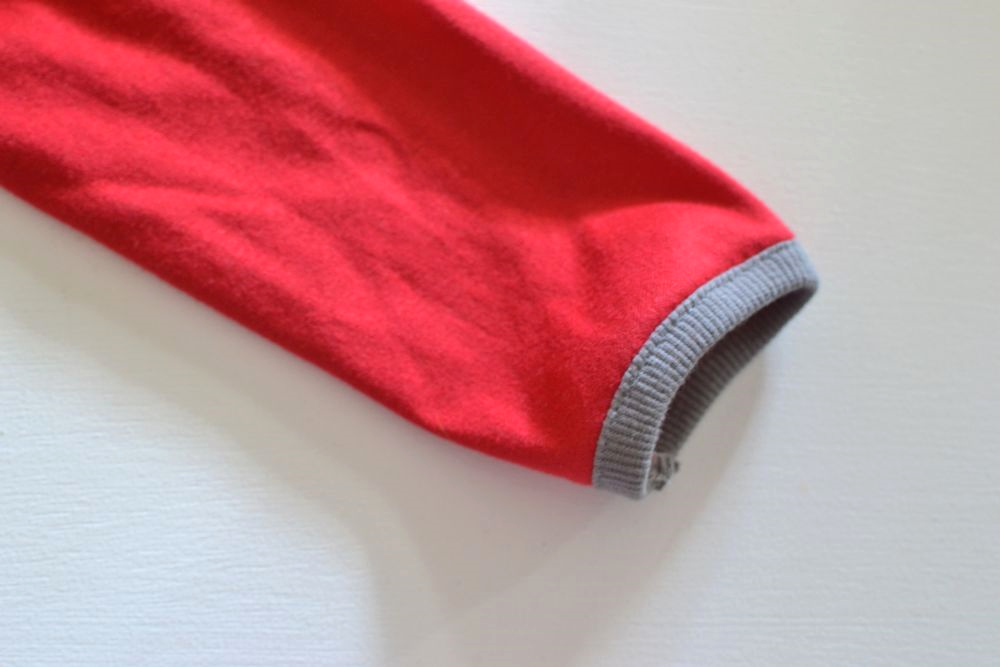
For children’s clothes I use a narrow zig zag stitch to further prevent thread breakage. I set my stitch width to 1 and length to 3. You can easily see that in the baby top cuff in the top picture of this post.
Tip: Cotton thread has no stretch so I never use it when I sew knits. I always use polyester. Use a ball-point needle too – sharp needles pierce holes in knit fabrics.

Done! This is the cuff edge of a long sleeve tee shirt for my son Connor. Just trim the extra binding away and you are ready to sew the sleeve in.
If my binding is a different color than my shirt then I’ll often sew on both the sleeve and neckline binding first (sew one shoulder seam, and then sew on neckline binding before sewing the other shoulder seam). Once my binding is done I can put the other color of thread in and not have to switch back and forth.
Here I am using a stretch jersey for a binding. Stretching just a little bit.
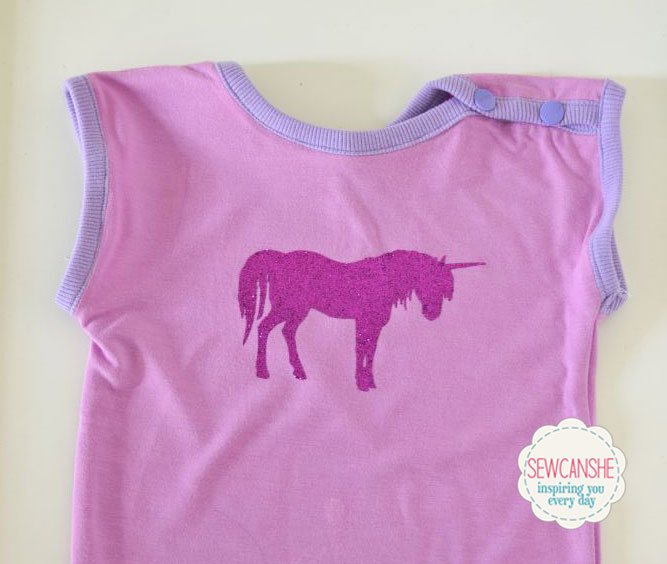
This is a little baby tee I made my niece Libby. It has ribbed binding all over it. Once you get the hang of it, you’ll bind everything!
Disclosure: some of my posts contain affiliate links. If you purchase something through one of those links I may receive a small commission, so thank you for supporting SewCanShe when you shop! All of the opinions are my own and I only suggest products that I actually use. 🙂