How to Sew Woven Fabric Binding: pretty and crisp
Learn how to sew a fabric binding to finish the edges of clothing and other projects. This is a neat finish that you’ll use all the time.
Last month I wrote an article about knit fabric binding, and it was so successful that I thought I’d write another article about it’s cousin… woven fabric binding.
Woven fabric can also be used for a self binding (like on the little dress above) or a contrasting binding on a woven fabric project. It can replace a facing or even a lining if your fabric will allow. It is definitely prettier than a hemmed neckline or armhole, in my opinion. The trick is that the binding must be cut on the bias to allow a tiny bit of stretch. This will make your bound edge pretty and crisp. Read on for all the cutting and sewing instructions below!
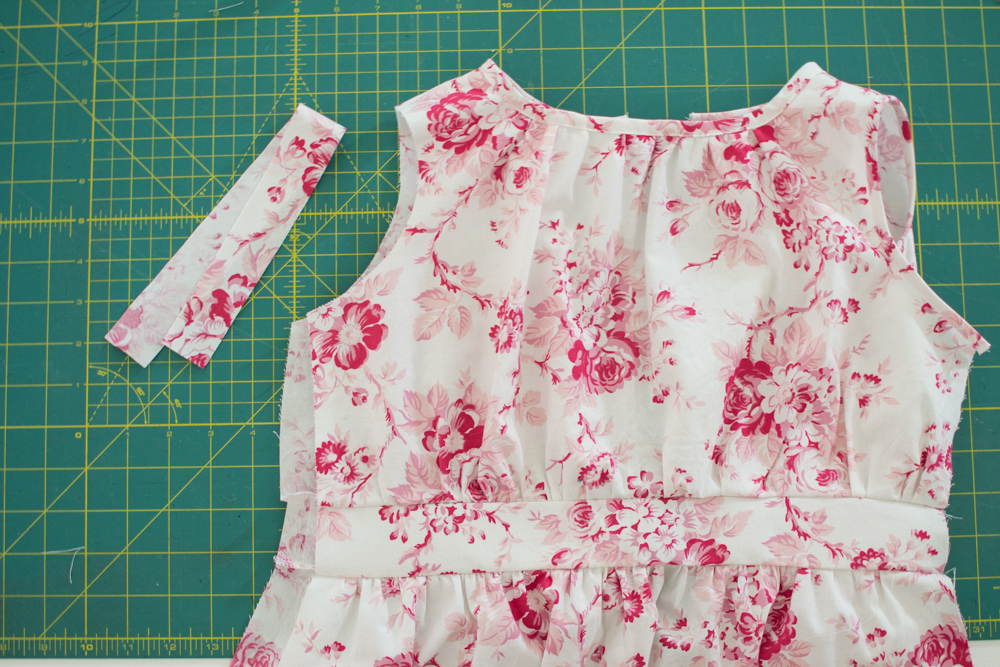
I am putting this binding on a dress that is nearly finished. I have already sewn the shoulder seams but not the side seams. As you can see, I have already bound the neckline and one armhole.
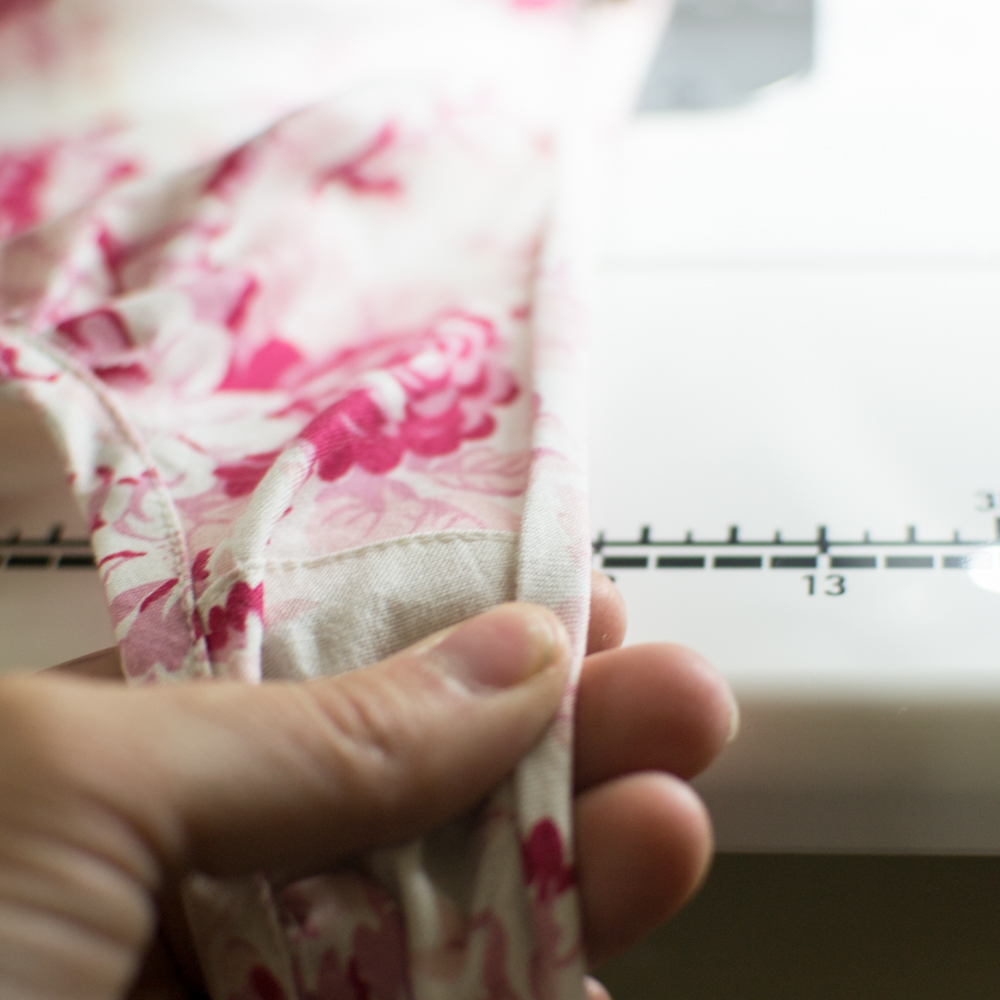
Measure your edge to be bound and cut a bias strip that is that same length and 1 1/4” wide. (FYI: a bias strip is cut at a 45 degree angle to the fabric selvage to give a little bit of stretch.This youtube video shows one expert cutting method.)
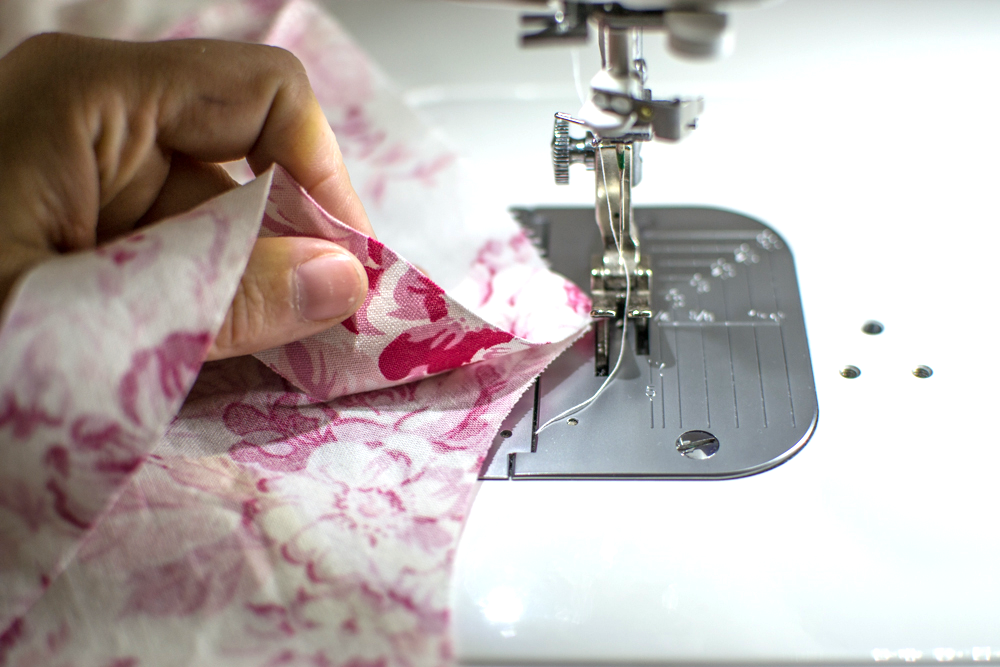
Let’s call this ’round 1.’ Place the bias strip right side against the wrong side of your armhole or neckline.
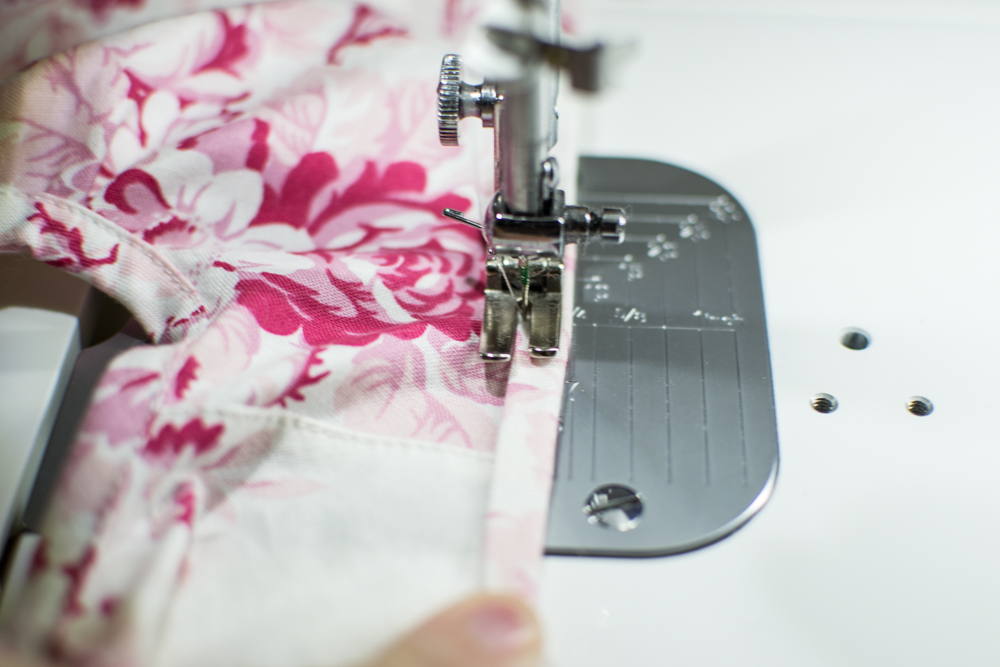
Sew with a 1/4” seam allowance. If you wobble to the right a little and your seam allowance is narrow, that’s okay. But don’t make it any wider.
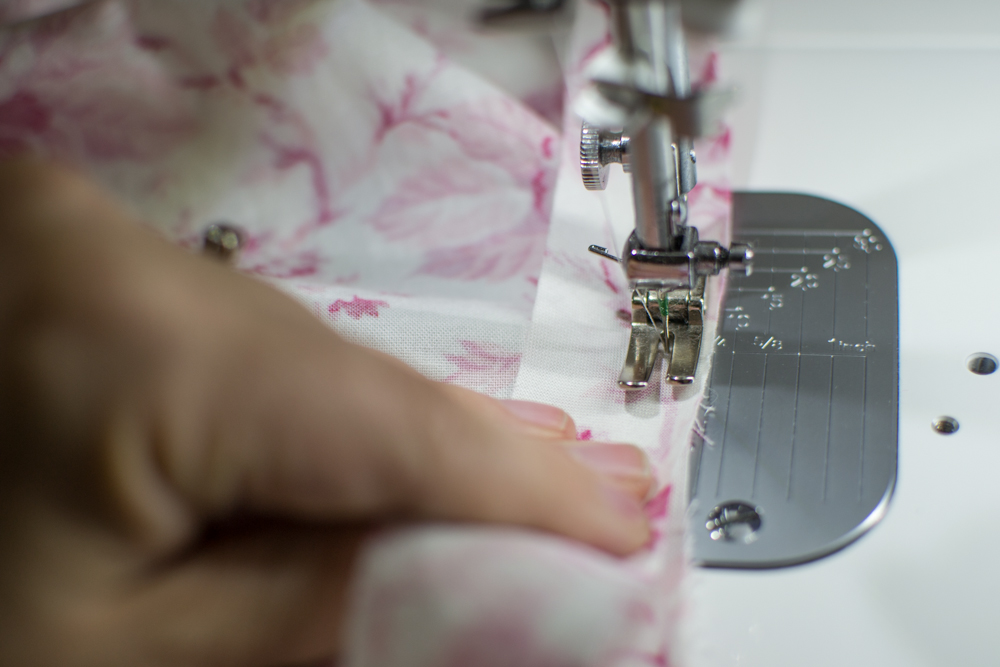
To make your bound edge pretty and crisp, pull the binding taut as you go (while the fabric underneath feeds naturally). You don’t have to pull hard, just keep it taut, especially around the curves. You will end up with a little bit of extra binding that you can trim away.
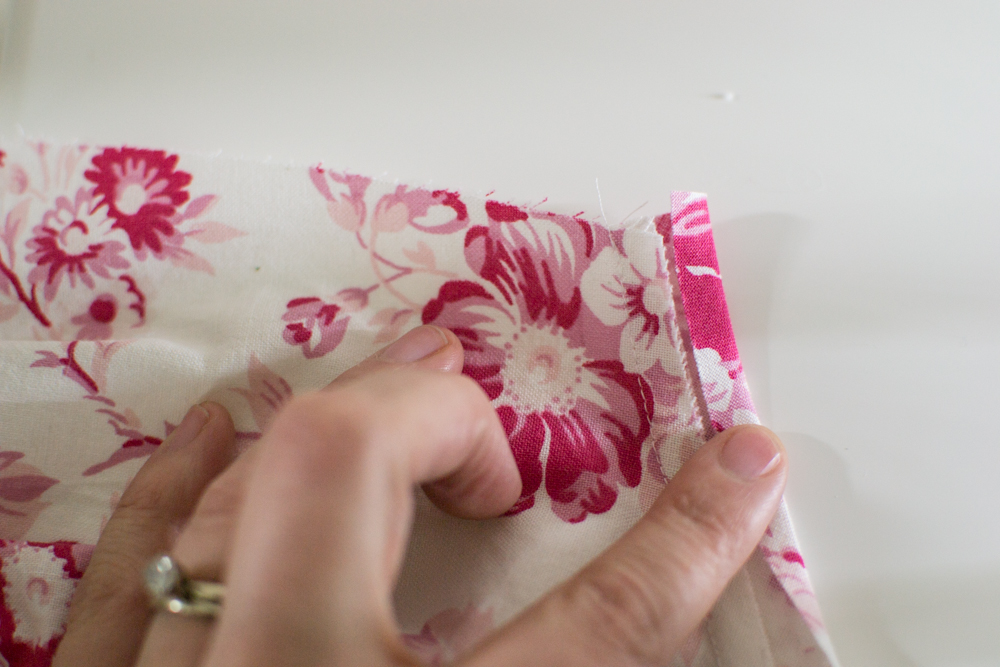
Now for round 2. Turn your project over to the right side and fold the opposite edge of the binding over to meet the raw edges of the seam you just stitched. You may press this if you like. I find it easier to simply finger press as I go.
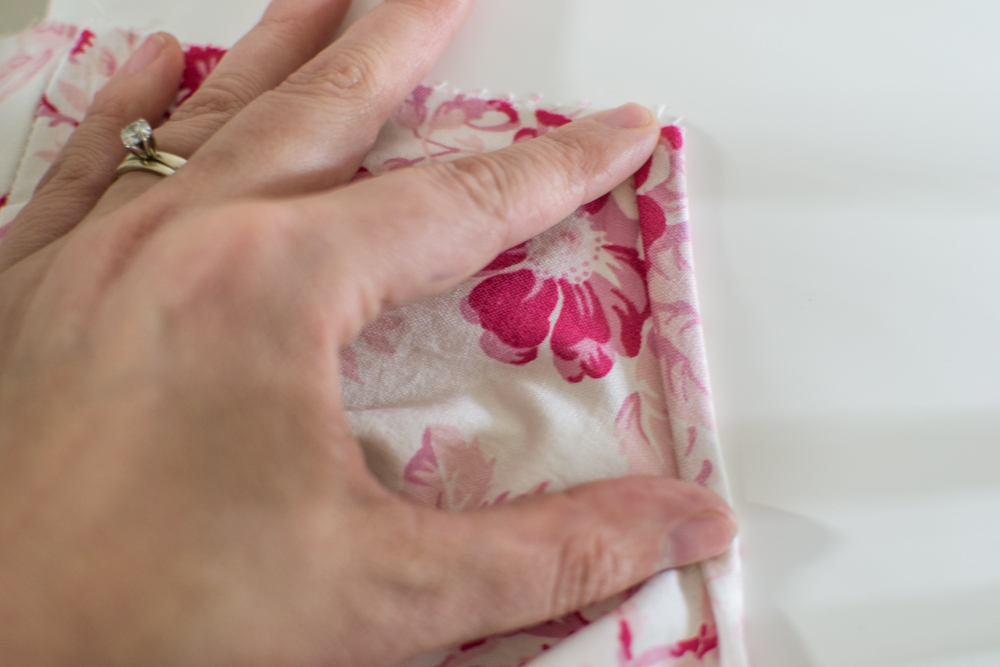
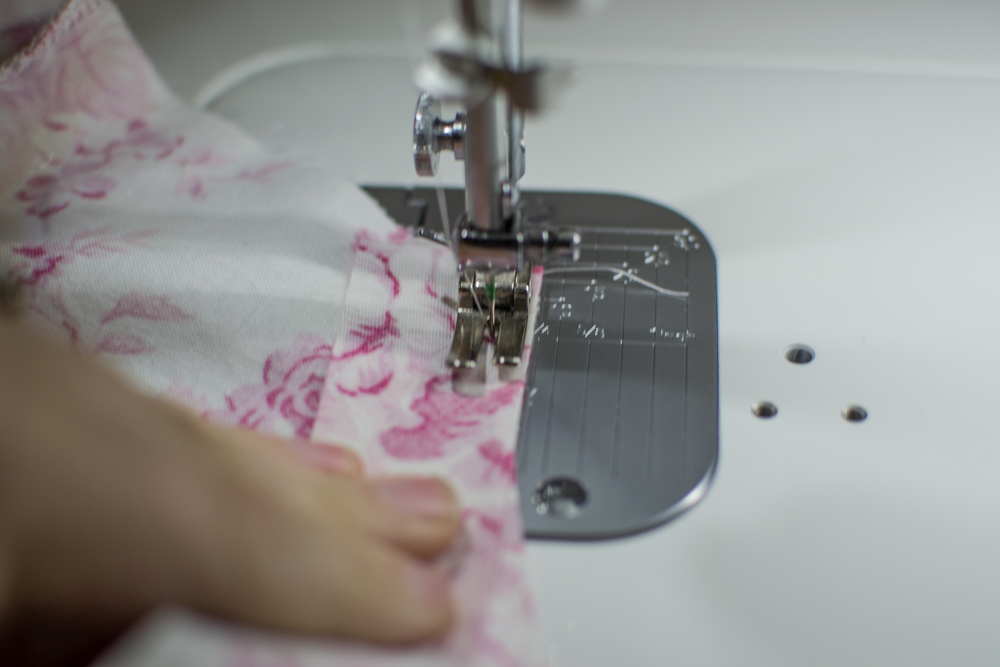
Now fold it over one more time to cover the stitched line.
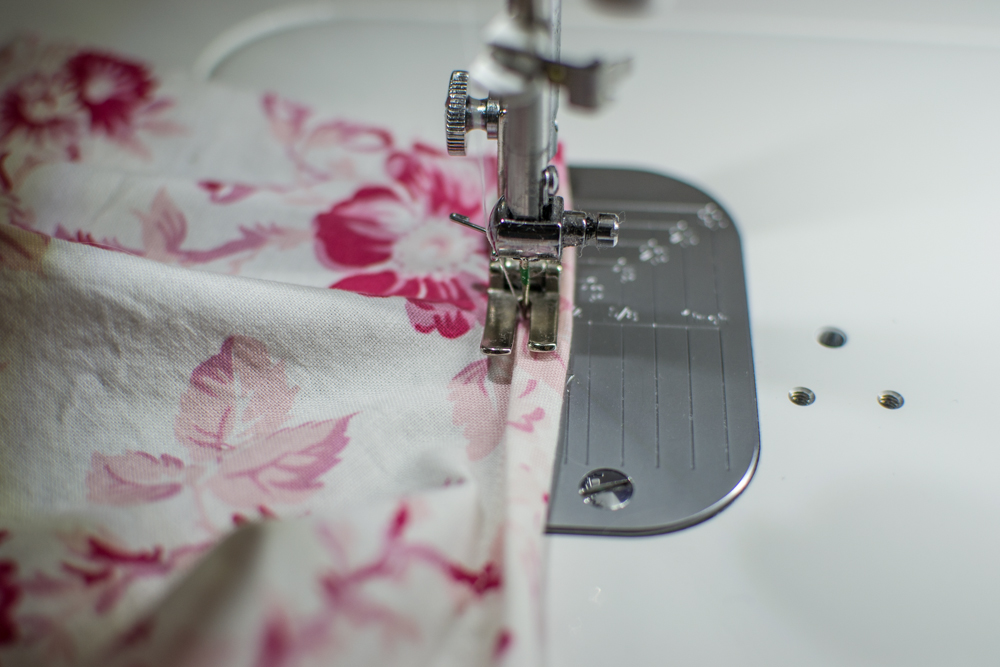
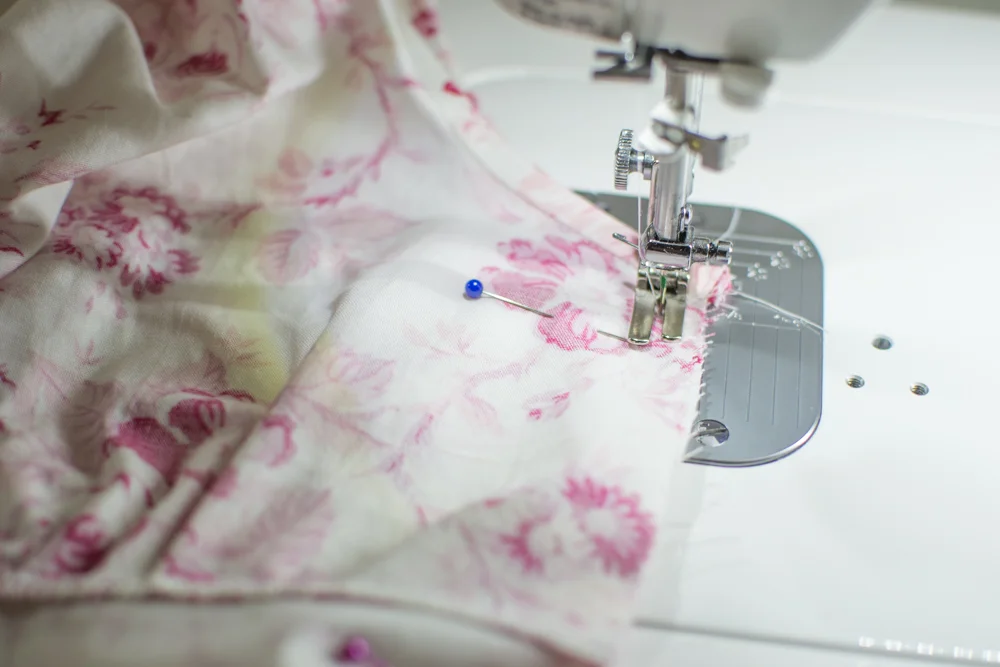
Stitch as close to the folded edge as you are comfortable doing. Make sure your thread coordinates. 🙂

As I mentioned, you could press this beforehand but I find it easier not to because my pressing can be uneven. I simply roll the edge as I go.
So stitch along to the end and backstitch.
Now sew the side seams as usual. The back of my dress still needs a zipper so I was able to stitch the neckline binding in a straight line also (it even has gathers). You can sew this type of binding on in a circle as well. Just cut your bias strip 1 1/4” wide and plenty long. On the first round, sew it most of the way around, leaving about 4” unstitched. Pin the rest of the binding to the opening to find out where your seam in the binding should be. Mark the seamline with chalk or a finger-press, and sew the edges together. Then trim the extra away and finish sewing the binding on. If I get the chance I’ll photograph these steps on a future project.
Now I’m off to sew in the invisible zipper! In case you are wondering, this little dress is #35 from the latest Ottobre Design, issue 3/2014.
Happy sewing!
Disclosure: some of my posts contain affiliate links. If you purchase something through one of those links I may receive a small commission, so thank you for supporting SewCanShe when you shop! All of the opinions are my own and I only suggest products that I actually use. 🙂