How to Sew a Fat Little Card Wallet from my free video course!

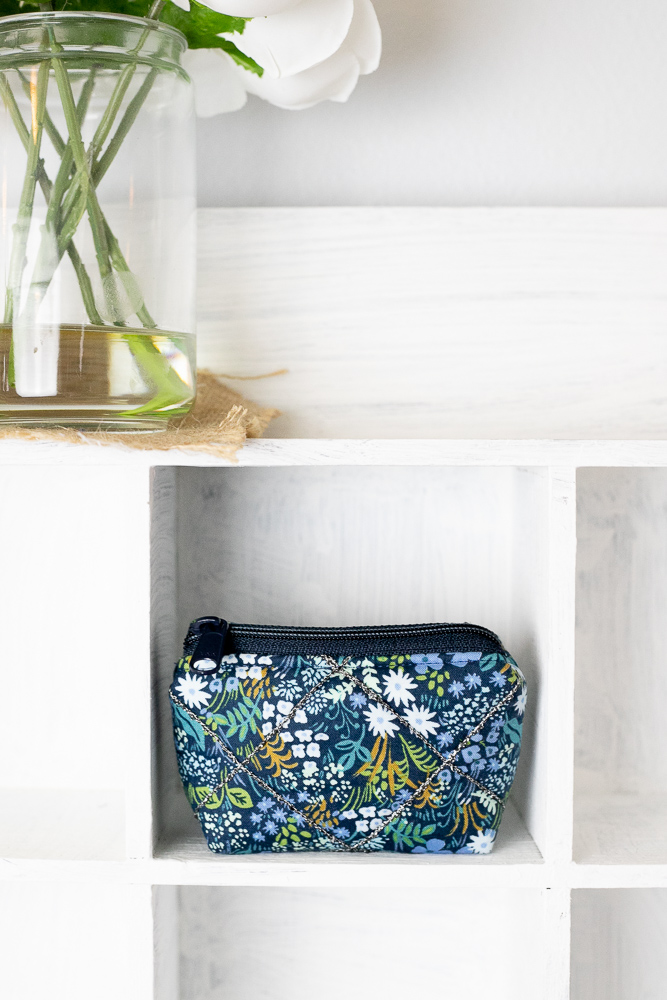
Sewing wallets is one of my favorite things to do, so decided to sew myself a new little card wallet using all the same steps that I share in my free Designer Zipper Bags Video Course.
I used my serger machine for quilting and embellishing the sides of the pouch and for finishing the seams. A serger isn’t necessary for this project, but I had fun using it.
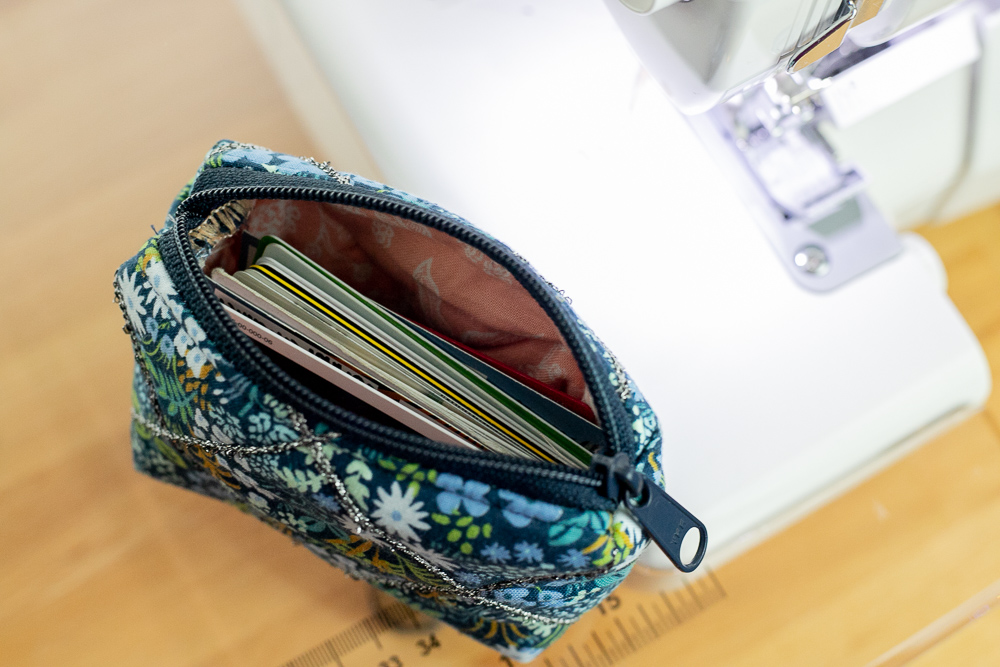
And my new fat little card wallet is perfect – it holds all my cards!

I have too many cards that I carry around.
Maybe it’s because I’m the primary shopper in our household, or perhaps because I’m the mother of 4 children, but I always end up with multiple credit and debit cards, library cards, insurance cards, and passes to one place or another.
This makes using a small zipper card holder (which I love to do) kind of difficult.
Below I’ll share the dimensions of my pieces so you can watch my video course and make the exact same little zipper bag.

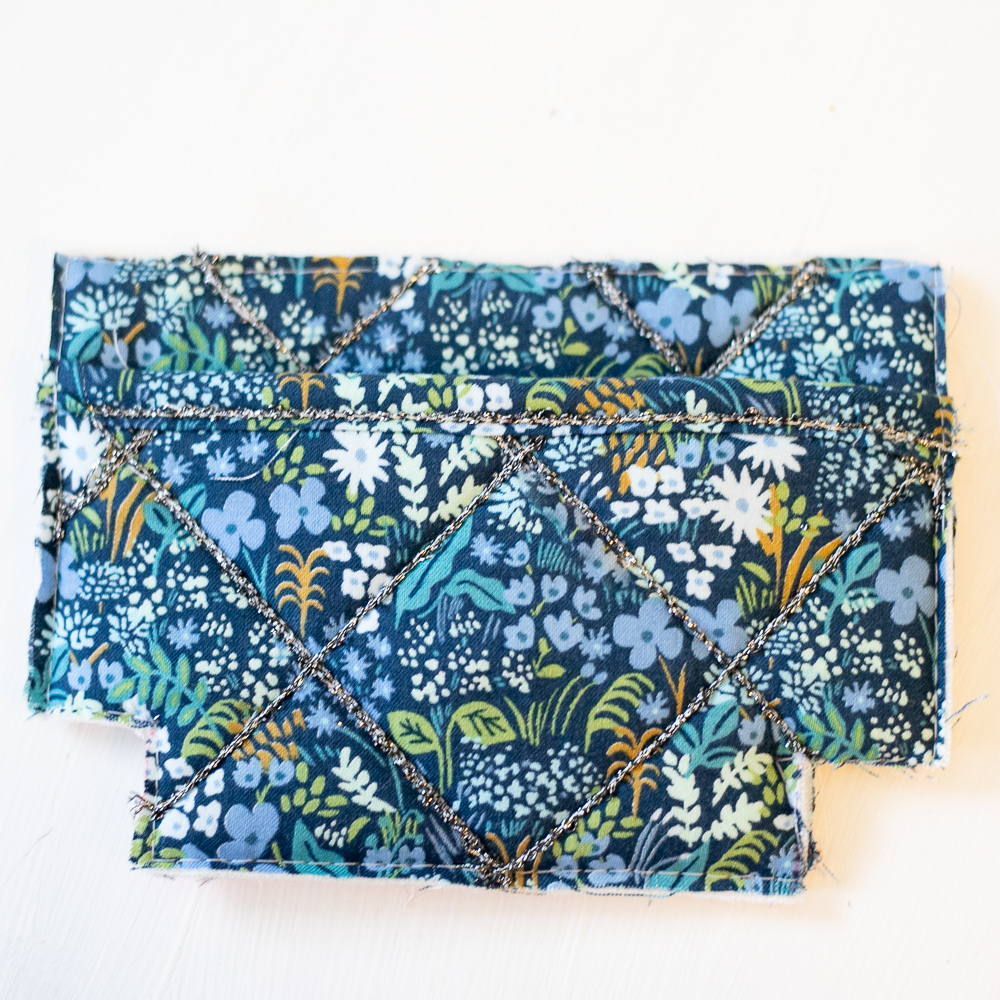
The exterior of the pouch is quilted with chainstitching – a decorative (or utility) stitch that coverstitch capable sergers can make, as well as coverstitch machines.
I used thick silvery metallic thread (Razzle Dazzle brand) which made bulky thick lines with lots of texture. I love it!

I quilted extra fabric and stabilizer so I could have a little exterior pocket, which I’m not sure I would do again.
Sure, it’s cute, but not very secure (so not really functional) and it made the seams so bulky that my serger struggled to finish them in some places.

If you want to try this technique, set your coverstitch capable serger or coverstitch machine up for 2-thread chain stitching (there are lots of YouTube videos showing how to do this – or check your machine’s manual).
Use a sewing machine to baste your fabric and stabilizer sandwich together (Lesson 1.2 of the video course), and then mark quilting lines on the wrong (lining side) of the piece.
Use your serger or coverstitch machine to sew along the lines on the wrong side…

Which will make beautiful chain stitching lines on the right side! Mine are extra bulky because of the thick thread in my chain looper.
Tip: You can use chunky thread like that in your regular sewing machine’s bobbin. Just fill up a bobbin and sew with the right side down (just like I did). Test first to determine the correct stitch length and top thread tension.

The three pieces cut from my quilted fabric and stabilizer sandwich.

The pocket basted to one side piece.
To make a fat little wallet the same size and shape as mine (regardless of whether you use a regular sewing machine or serger):
-
Cut your fabrics and stabilizer pieces 13’’ tall and 7’’ wide. If you skip the exterior pocket, you only need it to be 9 1/2’’ tall and 7’’ wide ( Lesson 1.1).
-
After quilting (Lesson 1.3), cut your bag side pieces 4 1/2’’ tall and 6 1/2’’ wide (Lesson 1.4). My (optional) pocket piece is 3 1/2’’ x 6 1/2’’.
-
The cut out corners should be 1’’ squares (although in the video course I don’t do this until Lesson 3.1).
-
After cutting out my pieces, I bound the top edge of my pocket piece and basted it to one of my side pieces.
-
My zipper was 5 1/2’’ long (with both ends cut off – I used zipper by the yard).
-
Then just continue to follow all the lessons in the video course.
I made a list of my favorite notions to make these zipper bags in my Amazon Storefront.

If you decide to sew up a fat little card wallet too, please let me see it by uploading a pic to instagram and tagging me @sewcanshe.
Have you watched my free Designer Zipper Bags Video Course? What do you think of it?
Disclosure: some of my posts contain affiliate links. If you purchase something through one of those links I may receive a small commission, so thank you for supporting SewCanShe when you shop! All of the opinions are my own and I only suggest products that I actually use. 🙂
