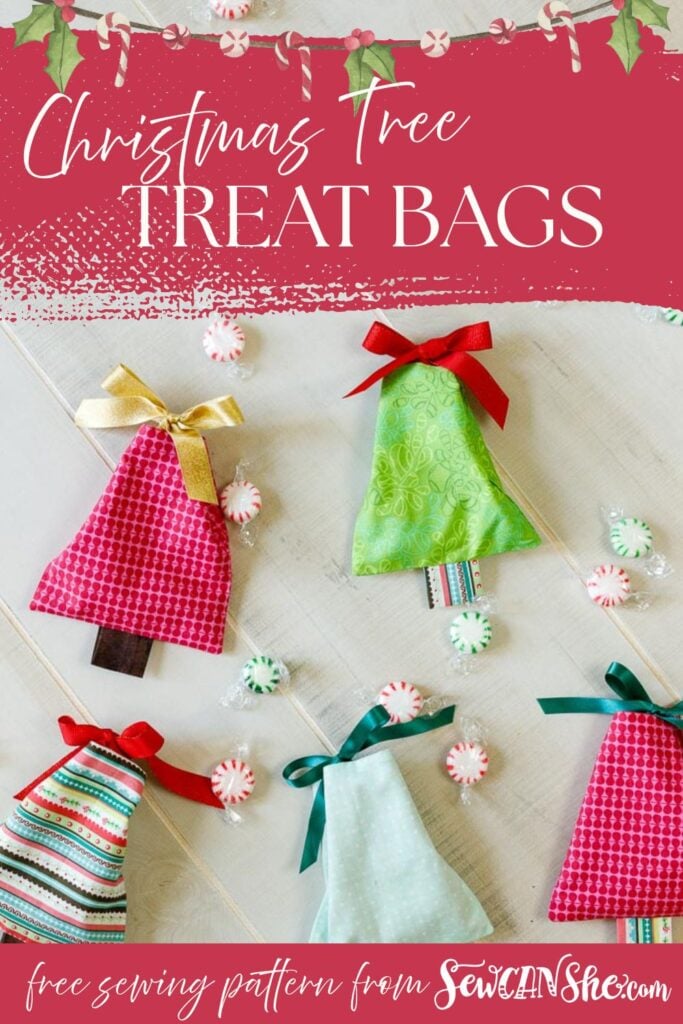
Adorable Christmas Tree Treat Bags: Free Sewing Pattern
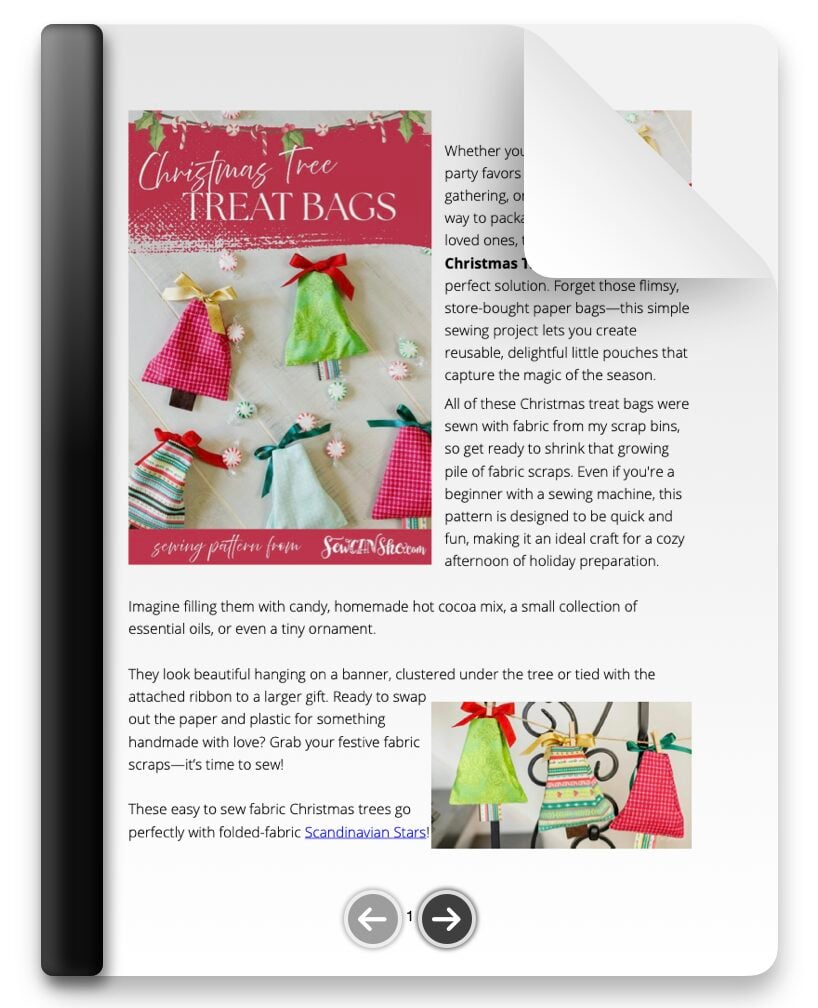
Whether you’re looking for creative party favors for your annual gathering, or simply want a special way to package sweets and treats for loved ones, these Adorable Christmas Tree Treat Bags are the perfect solution. Forget those flimsy, store-bought paper bags—this simple sewing project lets you create reusable, delightful little pouches for gifting and sharing all season long.
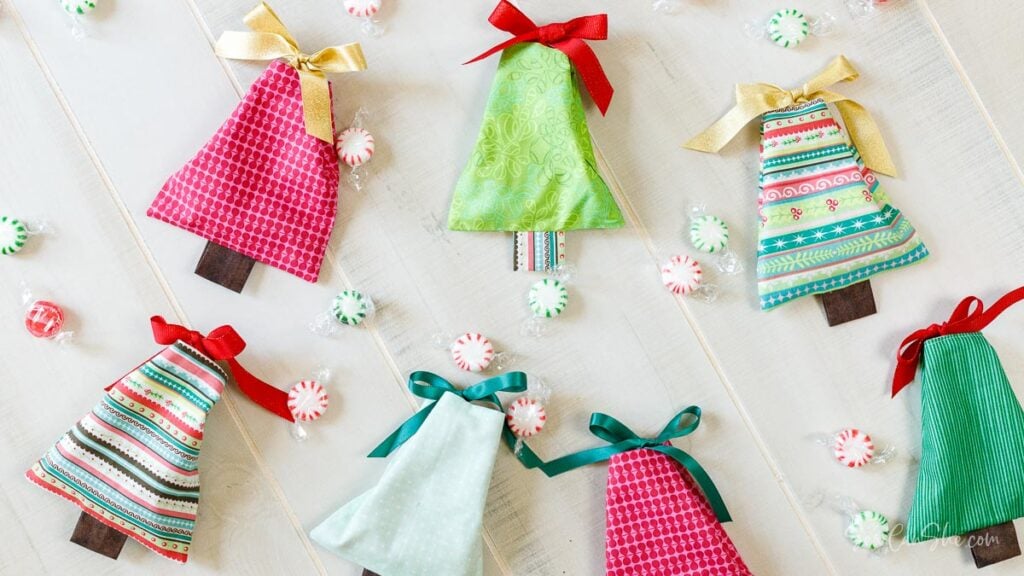
All of these Christmas treat bags were sewn with fabric from my scrap bins, so get ready to shrink that growing pile of fabric scraps. Even if you’re a beginner with a sewing machine, this pattern is designed to be quick and fun, making it an ideal craft for a cozy afternoon of holiday sewing.
These darling little bags aren’t just for candy! I filled mine with Wonderclips in order to photograph them and friends from our SewCanShe Sewing Bee Community (who got a sneak peek) agreed those are a delightful ‘treat’ for a quilter. Or imagine filling them with homemade hot cocoa mix, a small collection of essential oils, or even a tiny ornament.
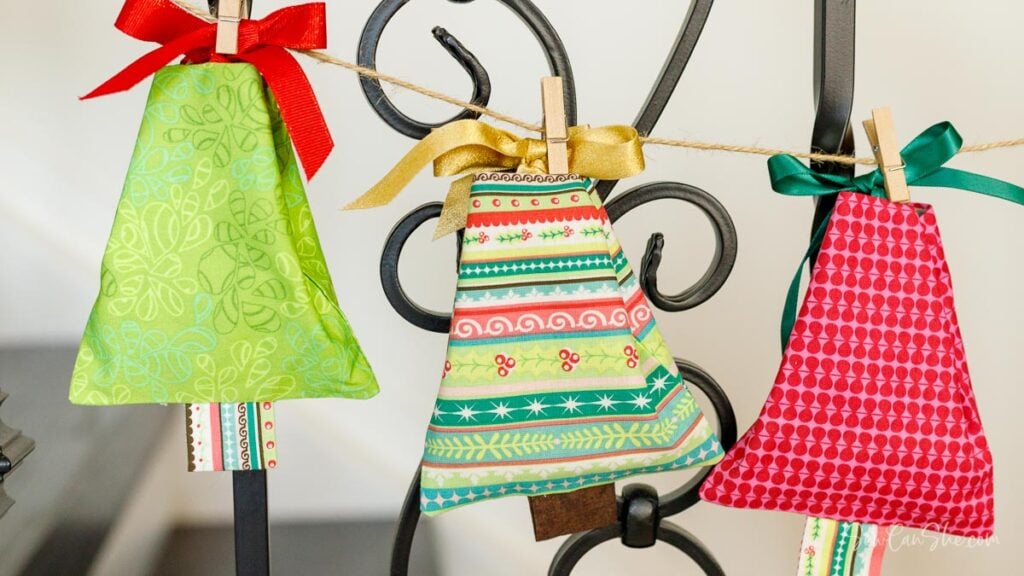
They look beautiful hanging on a banner, clustered under the tree or tied with the attached ribbon to a larger gift. Ready to swap out the paper and plastic for something handmade with love? Grab your festive fabric scraps—it’s time to sew!
The blog post below is totally free to read, print, and sew! Just hit CTRL +P on your computer to print. There is an optional PDF download offered at the end of the post. Join our Sewing Bee Community for access to over 300 PDF patterns (including this one), live workshops, premium video courses, and more.
This free sewing pattern contains the complete, free sewing pattern and step-by-step instructions so you can whip up a forest of these cheerful Christmas Tree Treat Bags in no time.
These easy to sew fabric Christmas trees go perfectly with folded-fabric Scandinavian Stars!
Christmas Tree Treat Bag Details and Dimensions
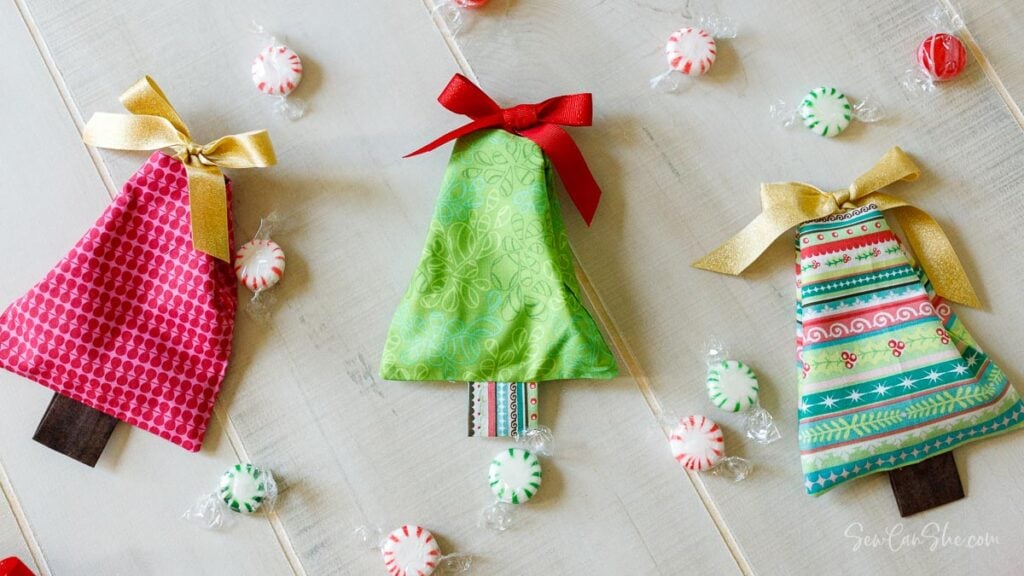
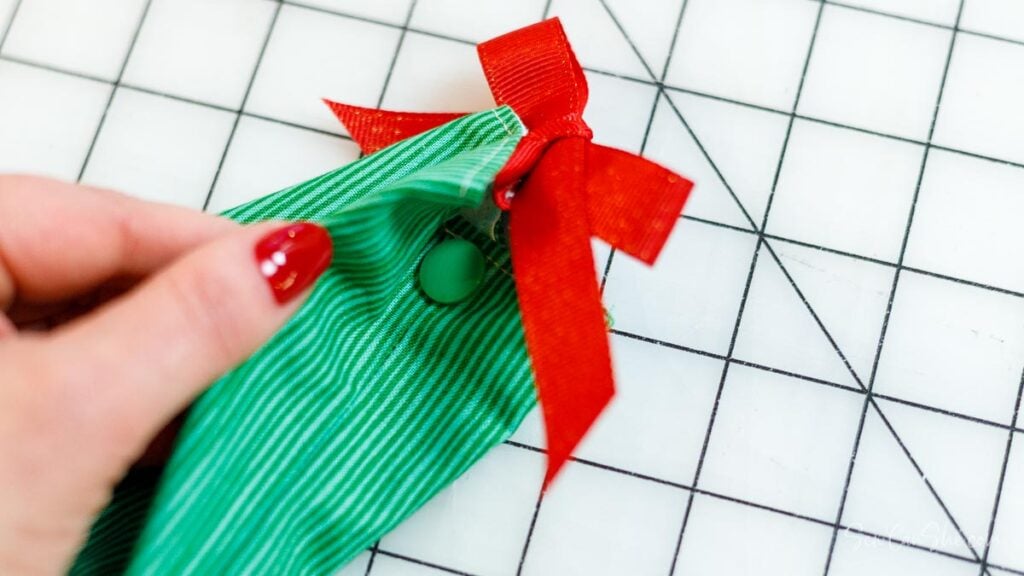
These holiday treat bags feature a tie ribbon at the top, a snap hiding in the seams (this is what makes the Christmas tree shape), and an easy folded fabric trunk at the bottom of the bag.
My small fabric bags are approximately 5” tall and 4 1/2” wide, not including the tree trunks or the ribbon ties. You can fill them with about 1/2 cup of candy or other small items before they will start to look stuffed – but that’s cute too!
For more fun projects like this, check out all my free sewing patterns.

Tips for Choosing Fabric and Thread
This project works best with cotton quilting fabric, but you can also use linen, cotton-linen blend fabric, or very lightweight cotton canvas. All of these fabrics are easy to sew with and available in so many beautiful patterns.
This pattern is very scrap friendly because you can use fabric pieces as small as 2 1/2” x 3”. Left over layer cake squares or fat quarters work great too.
Any kind of thread that you can use on your sewing machine will work great. I used polyester thread on my treat bags, but cotton thread is fine too.
Attaching the Snaps
The secret to making rectangular fabric treat bags into a Christmas Tree shape is snaps attached at the side seams of the bag.
I used plastic snaps (like these on Amazon that are similar to Kam Snaps), but any brand of small plastic snaps that are attached with a snap setter will do. You can also use sew-on snaps if that’s what you have available.
So let’s get started!
Materials List
You will need:
- Fabric or fabric scraps for the bag exterior, lining, and tree trunk piece
- 18” of ribbon that is 3/8” – 1” wide
- Thread
- Plastic snaps with a setting tool (such as Kam Snaps or similar) or sew-on snaps
- Cutting tools: scissors, rotary cutter, acrylic ruler, and cutting mat
- Sewing pins
- A sewing machine and sewing machine needle (size 90/14 suggested)
- Chopstick or turning tool
Cutting:
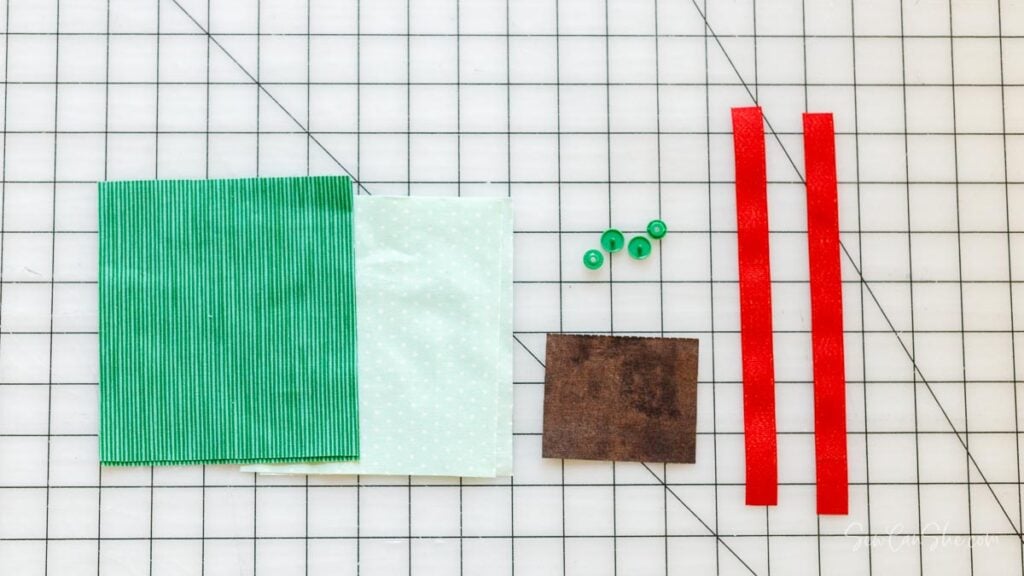
From cotton fabric, cut:
- 2 rectangles 5 1/2” tall x 5” wide for the bag exterior
- 2 rectangles 5 1/2” tall x 5” wide for the bag lining
- 1 rectangle 2 1/2” tall x 3” wide for the trunk
From your ribbon, cut:
- 2 pieces 9” long (you may not need this much ribbon if you are using narrow ribbon, but it’s a good start)
Make the Trunk and Attach the Trunk and Ribbon
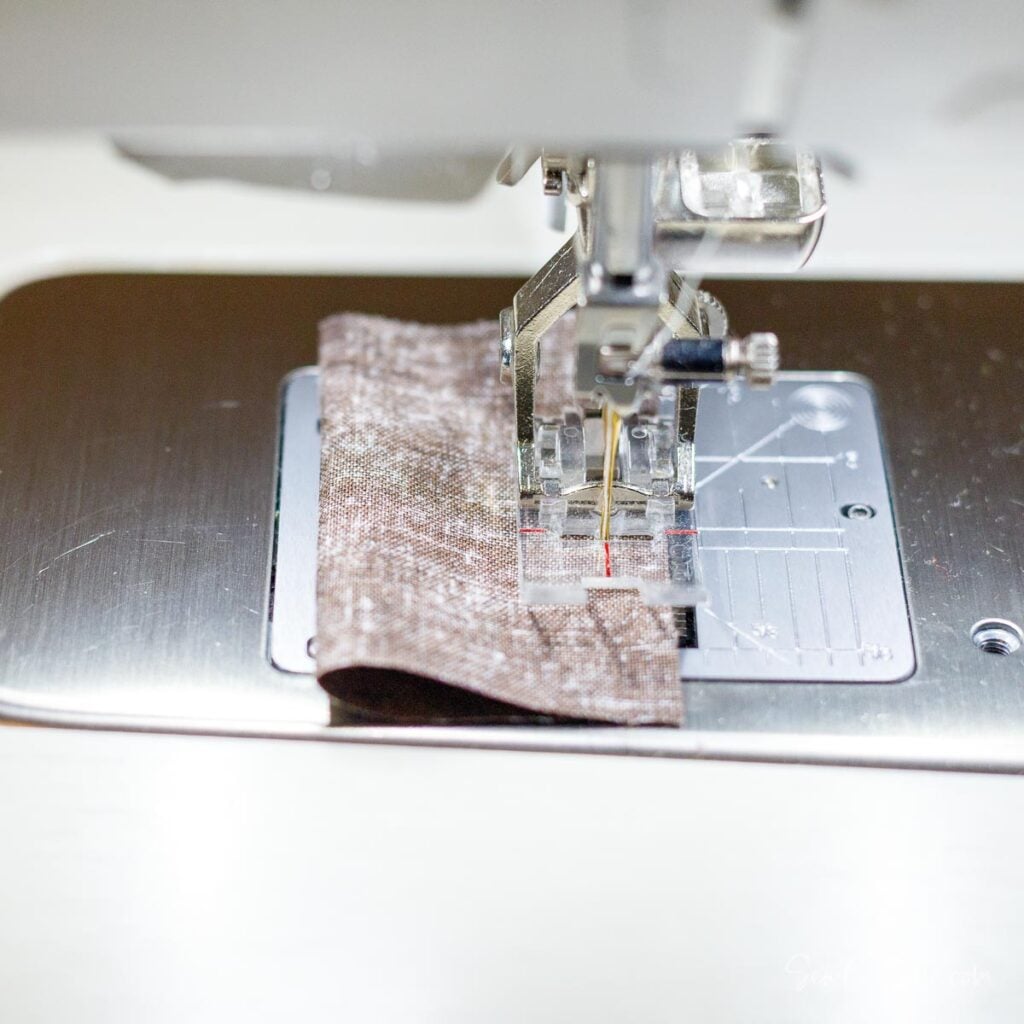

1. Fold the trunk piece in half with the shorter edges right sides together. Sew the 2 1/2” edge with a 1/4” seam allowance.
Turn the trunk right side out and press it flat with the seam running down the middle of one side.
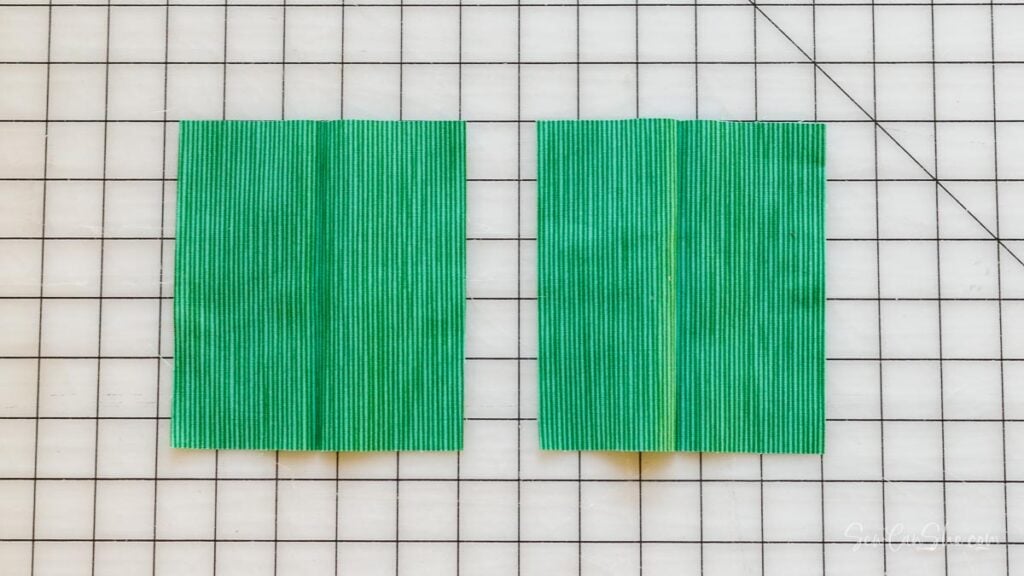
2. Fold the bag exterior pieces in half lengthwise and press lightly to mark the center of the pieces at the top and the bottom.
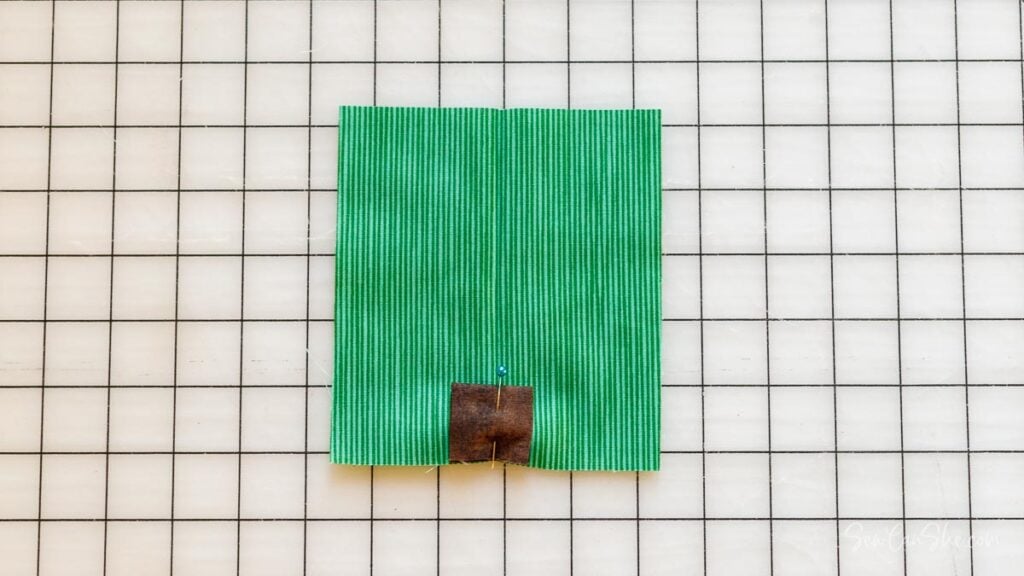
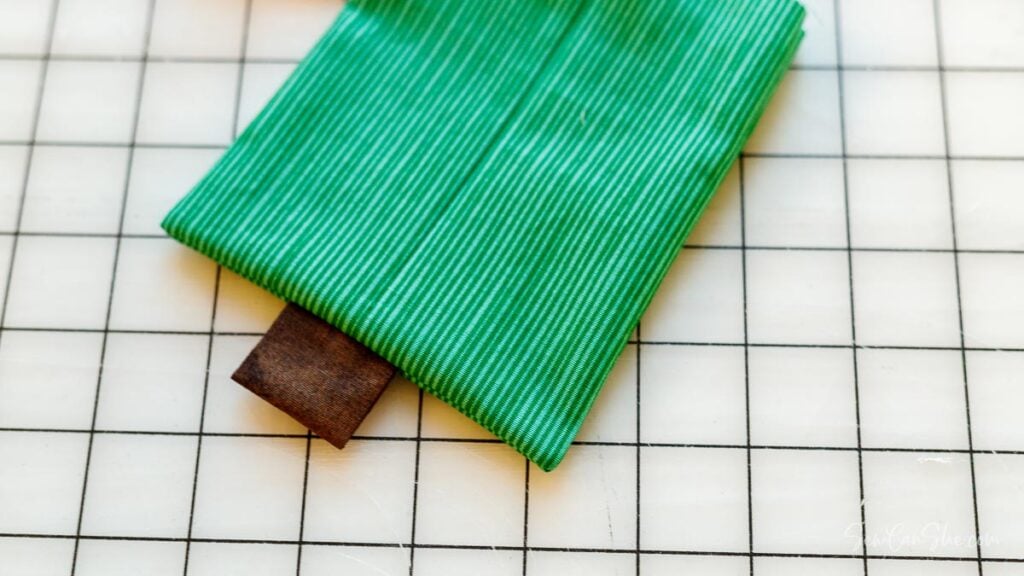
3. Fold the trunk piece in half with the raw edges together and the seam hidden inside.
Pin the trunk to the bottom edge of one of the exterior pieces, centered on the fold mark. Match the raw edges of the trunk and the raw edge of the exterior piece.
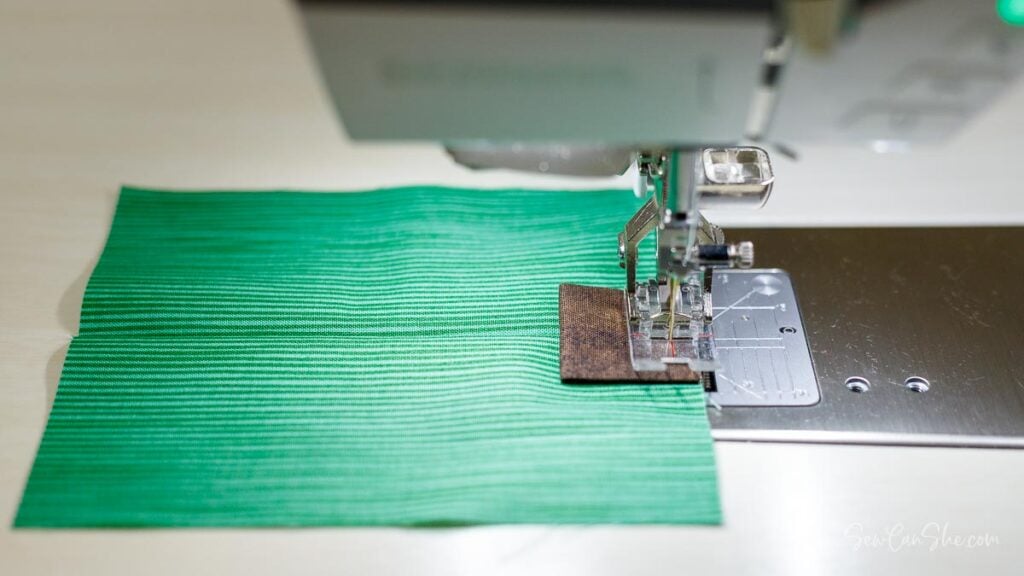
3. Sew across the bottom of the trunk less than 1/4” from the edge so this stitching will be hidden in the seam.
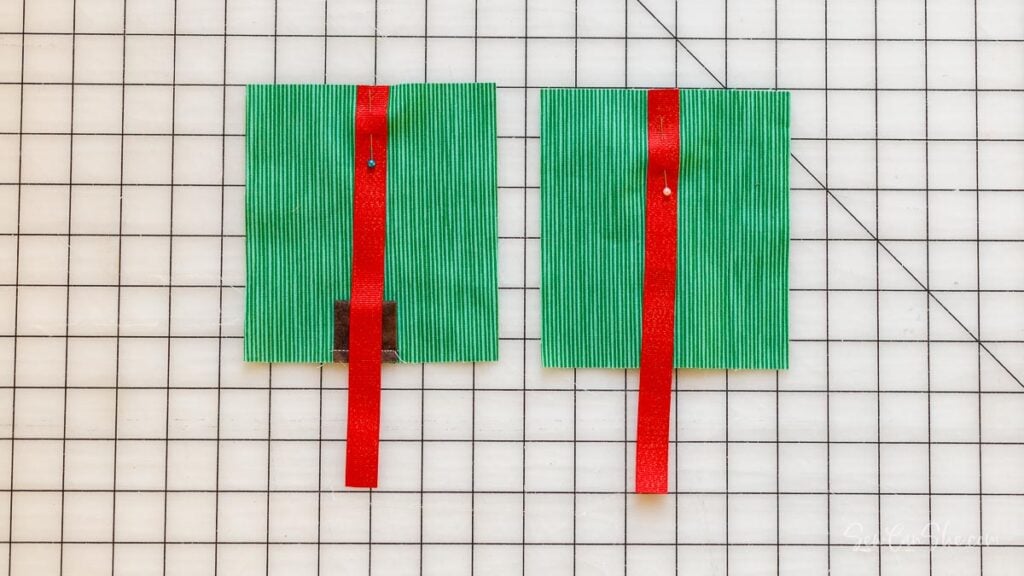
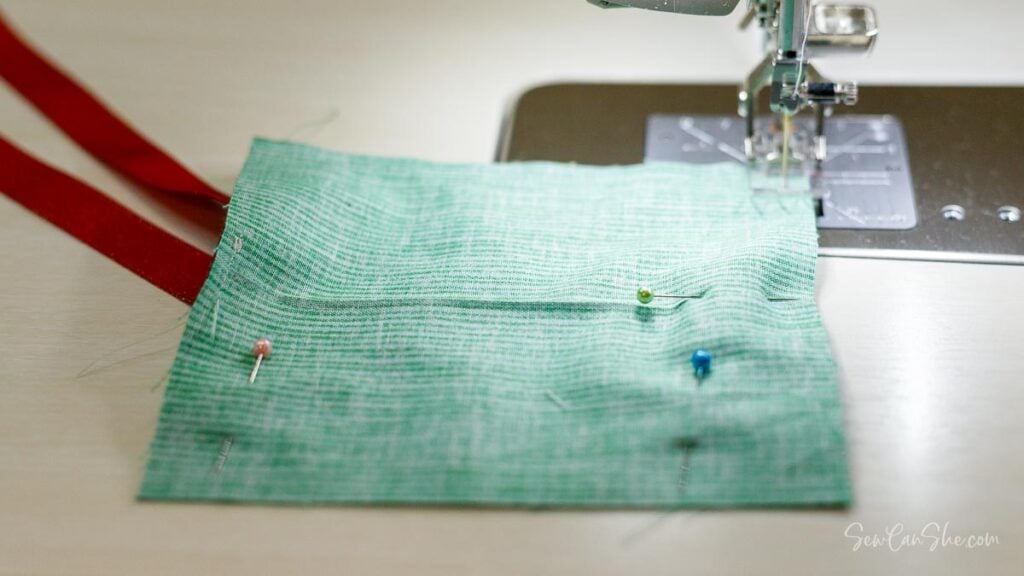
4. Pin one end of each ribbon piece to the top edge of each exterior piece, centered on the fold mark.
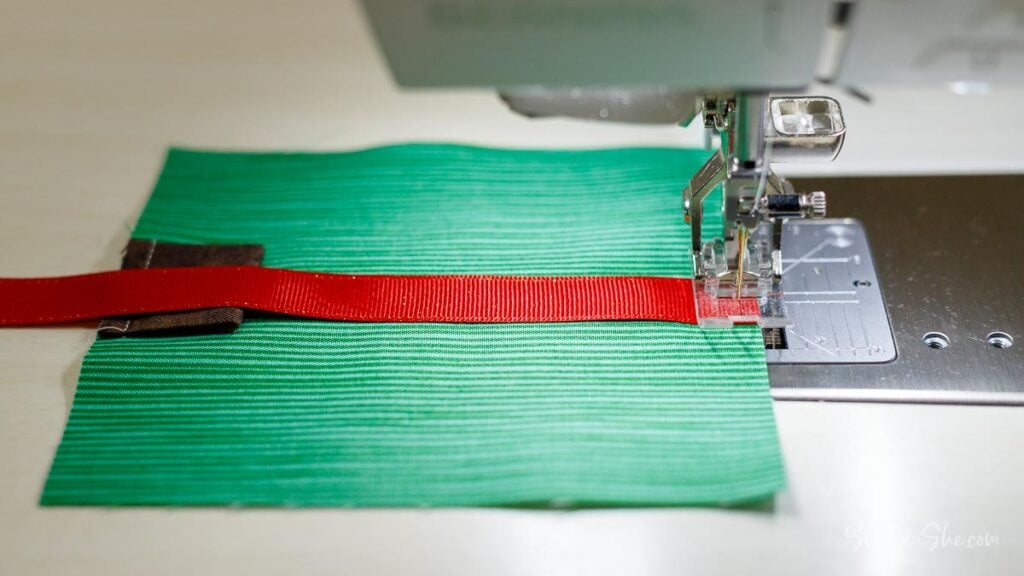
5. Sew across the end of the ribbon less than 1/4” from the edge so this stitching will be hidden in the seam. Repeat for both exterior pieces.
Make the Bag
Use a 1/4” seam allowance.

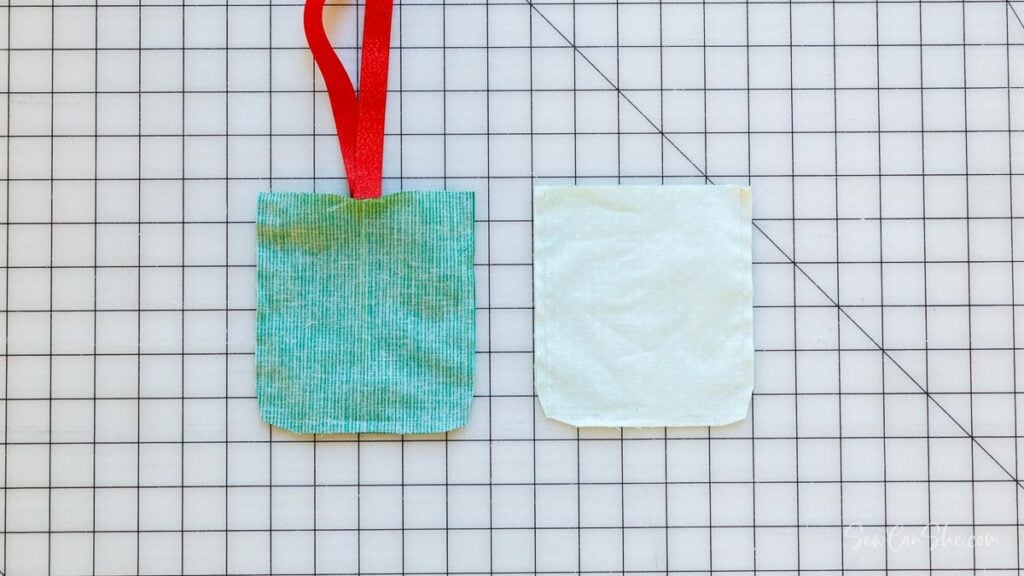
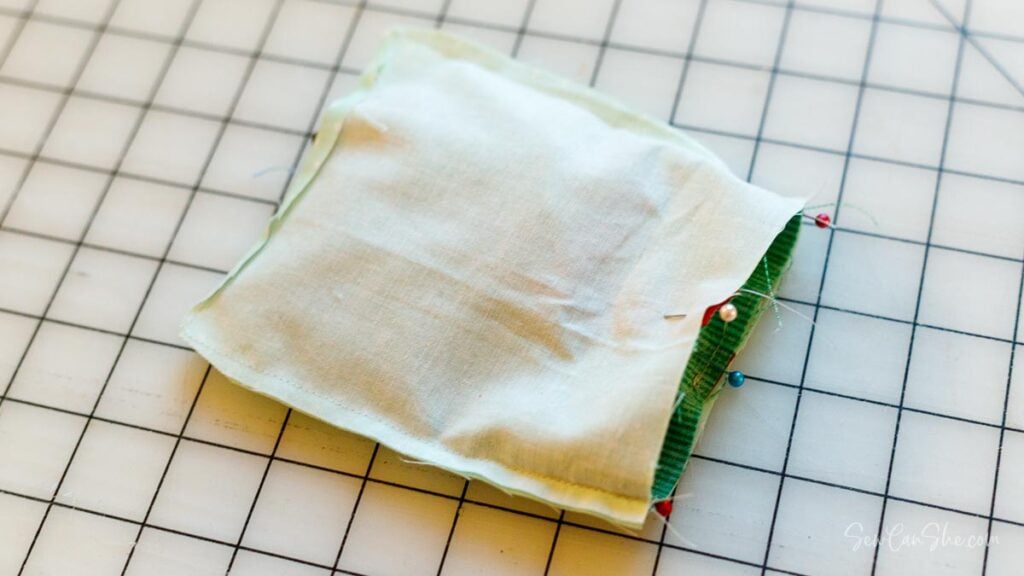
1. Place the bag exterior and lining pieces right sides together and pin around the side and bottom edges.
2. Using a 1/4” seam allowance, sew around the sides and bottom edges of the treat bag exterior. Pivot with your needle down at the corners.
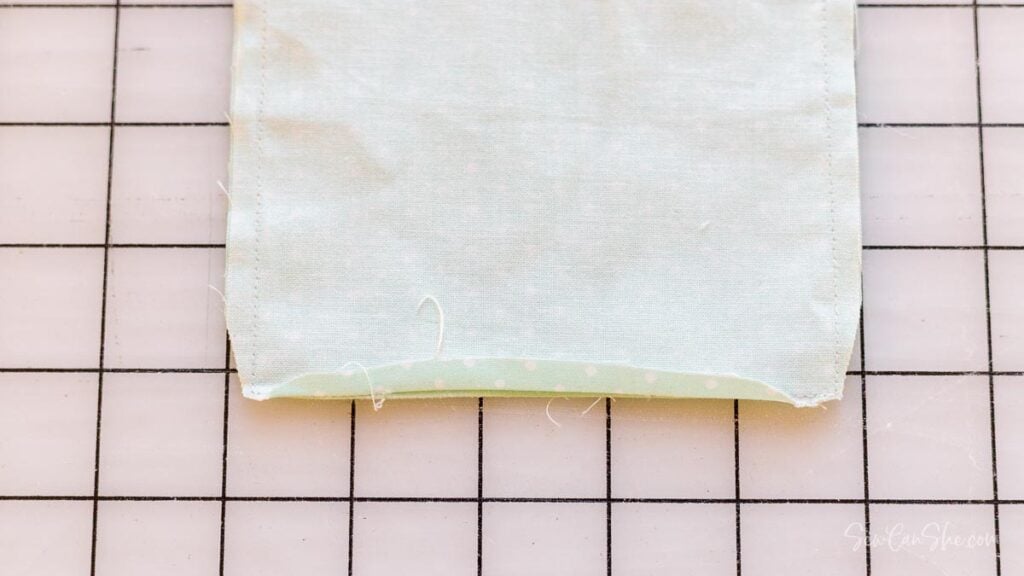
Sew the lining pieces together the same way, except leave a 2-3” opening at the bottom of the lining for turning the bag right side out.

3. Trim away the extra fabric at the corners on both pieces.
4. On the bag lining, fold and press the both seam allowances at the opening back. This will make it easier to sew the opening closed later.
5. Turn the treat bag exterior right side out. Use a chopstick or turning tool to gently push out the bottom corners.
6. Place the lining over the bag exterior with right sides together. Line up the top edges and the seams. Pin around the top, placing the pins on the inside with the heads of the pins sticking out.
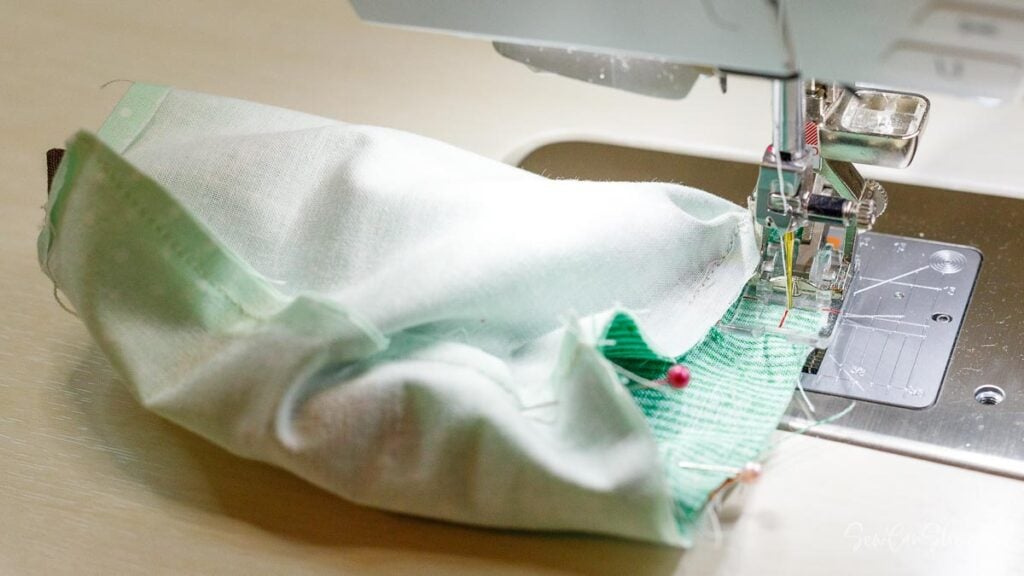
7. Sew all the way around the top with a 1/4” seam allowance. This is easiest when sewing inside the bag (on the wrong side of the exterior fabric). That’s why you placed the pins on the inside.
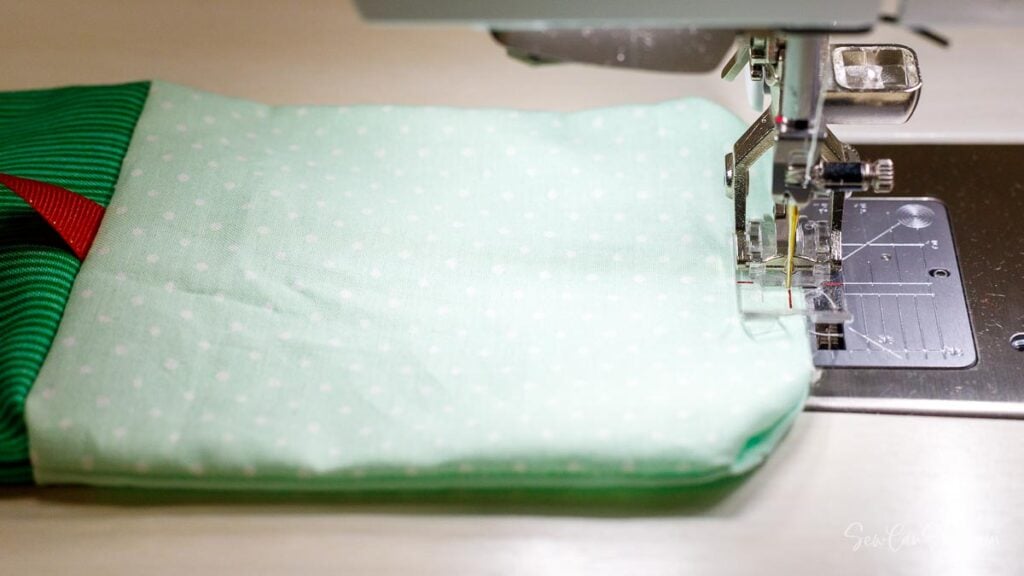
8. Turn the bag completely right side out through the opening in the lining. Line up the opening edges and sew the opening closed close to the folds.
Tuck the lining inside the bag and press the top edge carefully.
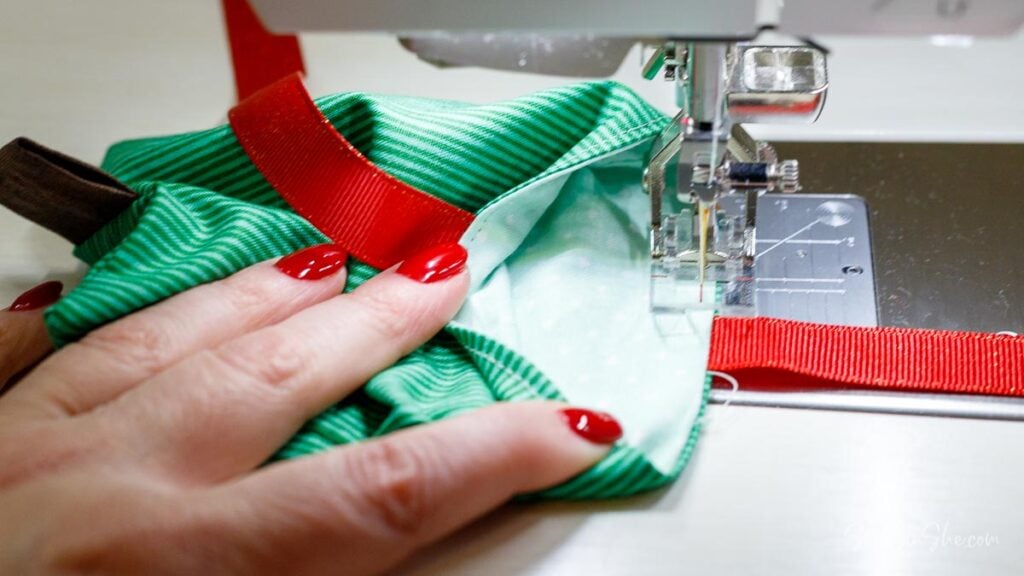
9. Topstitch around the top of the bag, 1/8” from the edge, if desired. I did not topstitch all of my bags because I thought they looked just as cute without topstitching.
Attach a Snap
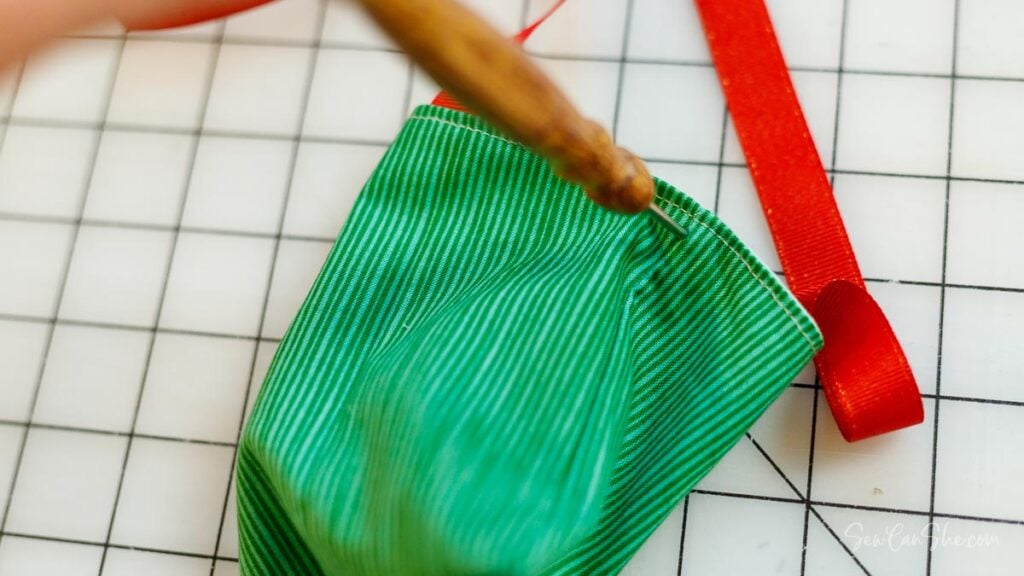
1. Use an awl or sturdy sewing stiletto to make a hole in one of the bag seams, 3/8” below the top edge.
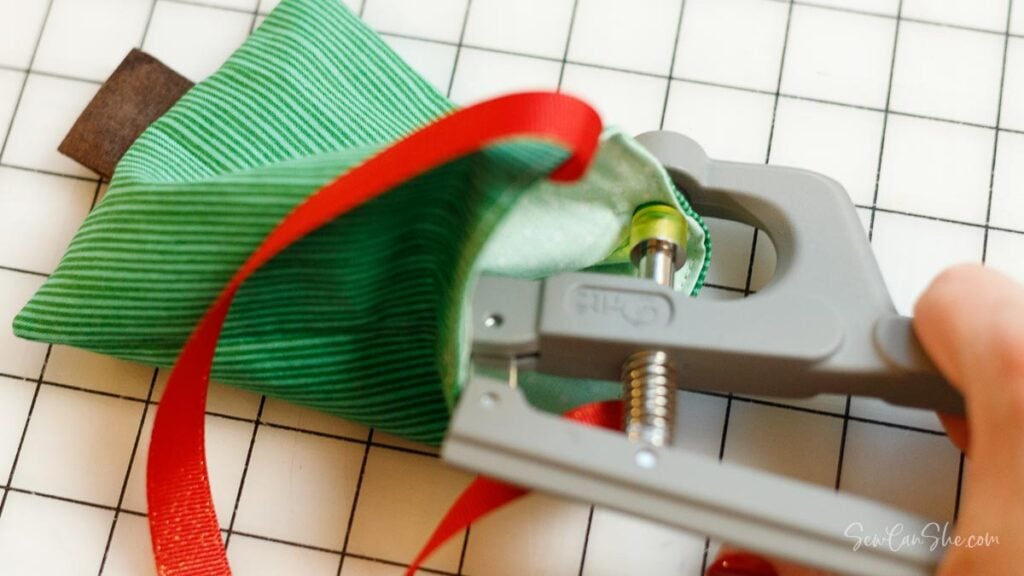
2. Use the snap setting tool to attach one side of the snap to the side of the bag.

Make sure that the smooth ‘pushing’ side of the snap is on the outside of the bag.
3. Install the opposite side of the snap to the other side seam in the same way.
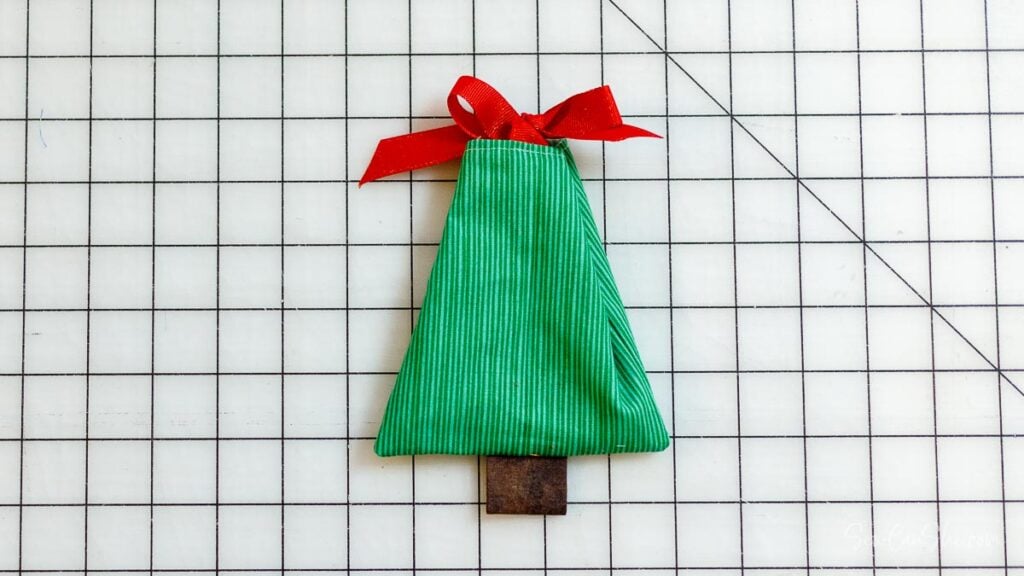
Snap the snap and tie the ribbon to turn this cute little bag into a Christmas tree! 🎄
Now sew a forest of Christmas Tree treat bags for all your kids, grandkids, neighborhood angels, mischievous Sunday school darlings, and sewing soulmates. Make sure to fill the last ones with Wonderclips!
As always, I love to see what you make with my tutorials. Please post a picture to Instagram and tag me @sewcanshe or #sewcanshe so I can see!
Are you looking for more fast and easy Christmas sewing patterns? Check out:
- Every friend and family member loves a new Mini Christmas Stocking every year, so I like to get started making them early.
- My free Christmas Gnome Sewing Pattern is a reader favorite!
- If you’re thinking about making matching Pajama Pants for the kids this year, here’s a free pattern.
Or see my collection of 24 DIY Christmas Sewing Patterns.
Happy sewing,

CHRISTMAS TREE TREAT BAGS SEWING PATTERN
Purchase this pattern in PDF format! The PDF file contains all of the instructions, plus the step by step photos that have been reduced to fit the page nicely with no ads.
Download the file immediately and keep your confirmation email so you can download it again later. Unlimited downloads are available from the confirmation email.
Disclosure: some of my posts contain affiliate links. If you purchase something through one of those links I may receive a small commission, so thank you for supporting SewCanShe when you shop! All of the opinions are my own and I only suggest products that I actually use. 🙂