How to Sew Beautiful Fabric Bag Handles
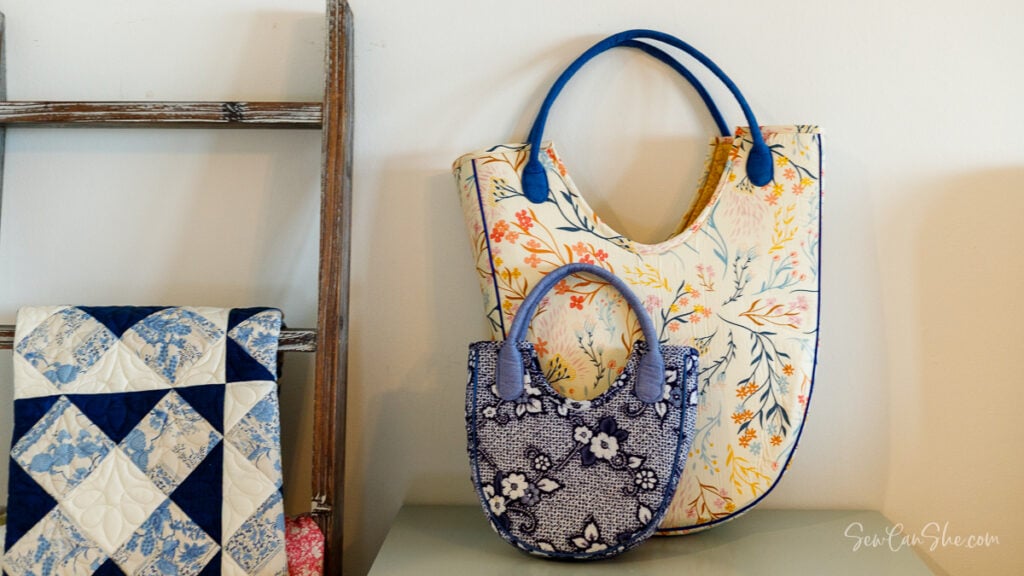
Sewing beautiful bags isn’t just about the bags… it’s about the handles too! You don’t need to depend on store bought handles for the purses and totes that you make. Learn how to sew beautiful fabric bag handles that match your project perfectly. It’s likely that you can use scraps leftover from making the bag or other sewing projects.
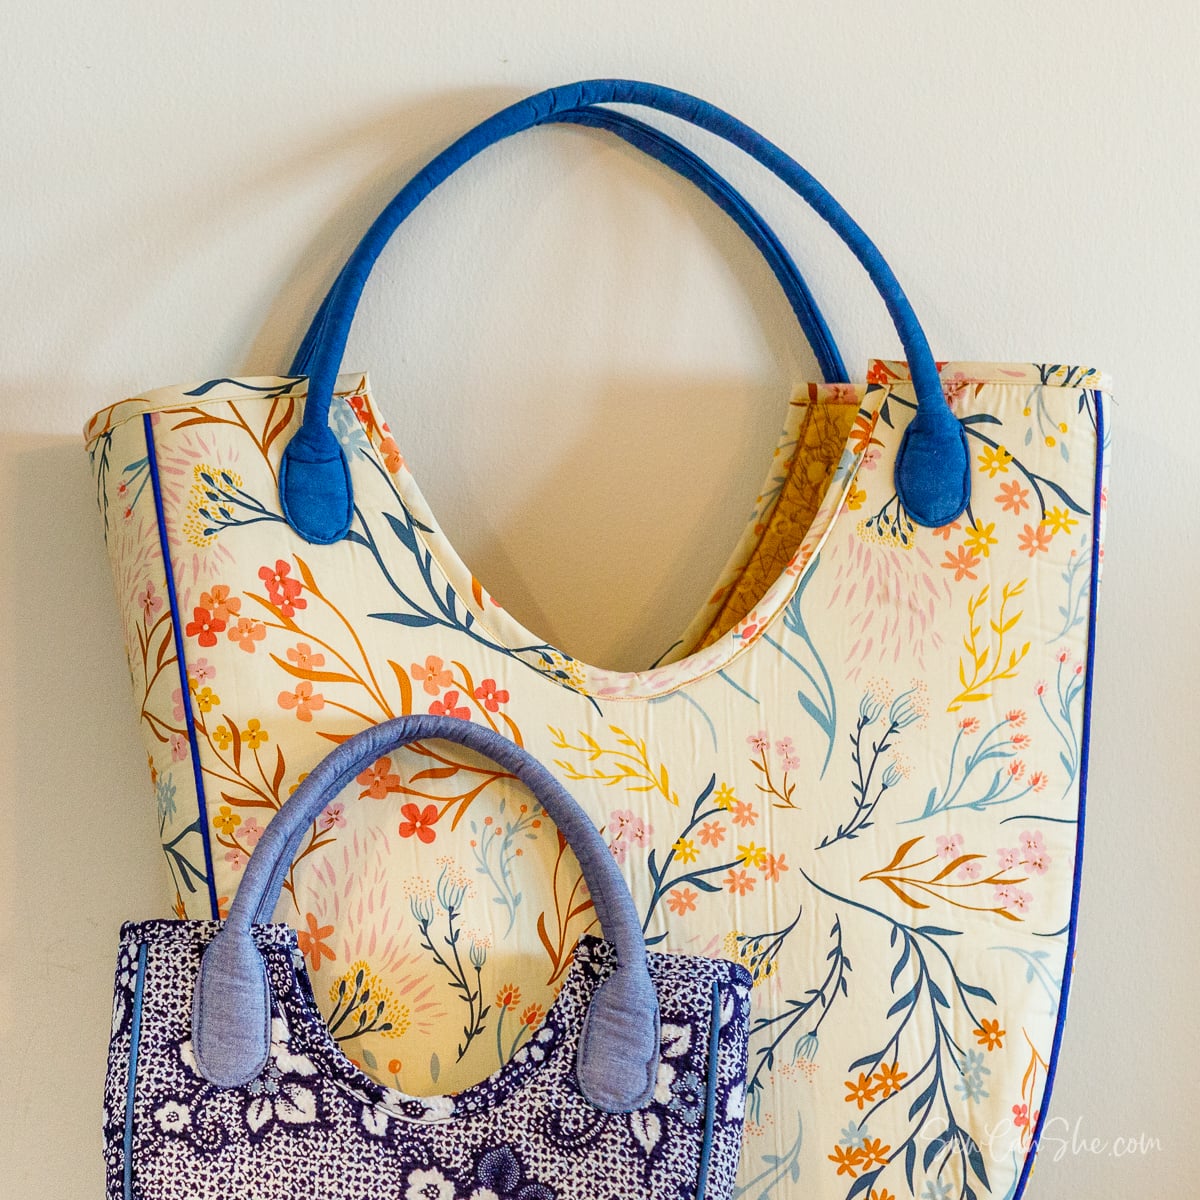
The secret to a professional, high-end bag isn’t just the silhouette – it’s the integrity of the handles. They are the hardest working part of your project and the first thing people notice when they pick it up.
The blog post below is totally free to read, print, and sew! Just hit CTRL +P on your computer to print. There is an optional PDF download offered at the end of the post. Join our Sewing Bee Community for access to over 300 PDF patterns (including this one), live workshops, premium video courses, and more.
Elevate Your Bags

Stop settling for sagging straps. By the end of this project, you’ll have the skills to create handles that aren’t just functional—they’re a design feature in their own right. Let’s turn those fabric scraps into something substantial, sturdy, and undeniably beautiful.
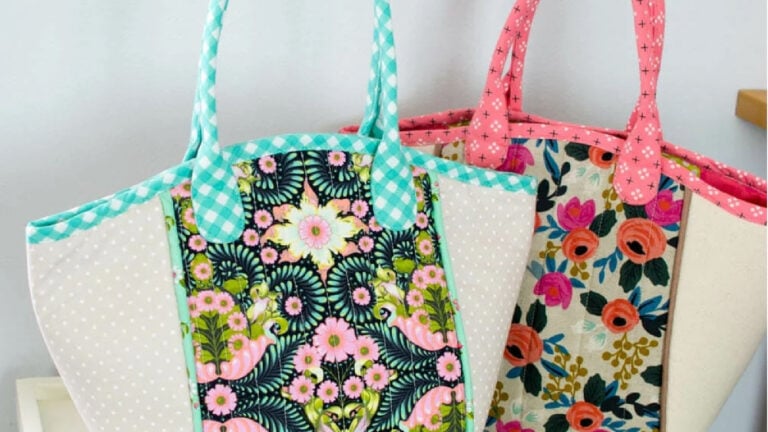
Use this Bag Handle Pattern for Many Bags
These bag handles can be used with so many different bag patterns! Some of my free bag patterns that you can sew these handles on include:


Deciding What Length of Handles to Make
The length of your handles can completely change how a bag functions. A strap that is two inches too short can make a shoulder bag feel cramped, while one that is too long can leave a big tote dragging on the sidewalk.
When deciding on a length, remember to distinguish between Total Cut Length (the raw strip of fabric) and Finished Drop Length (the distance from the top of the bag to the peak of the handle). Since this style of bag handle can be sewn 2 1/2” – 6” below the top edge of the bag, you’ll make it a bit longer than the style of bag handle or strap that is sewn into the seam at the top of the bag.
Recommended Handle Lengths by Bag Type
Here is a quick-reference guide for the most common bag styles:
| Bag Style | Recommended Length to Sew These Fabric Handles | Example Patterns |
| Handheld / Grab Bag | 16″ – 18″ | DIY Purse from a Makeup Bag, Boxy Zipper Bag Purse, Clamshell Bag |
| Standard Shoulder Bag | 18″ – 22″ | Roomy Shopping Tote, Speedy Patchwork Tote, Fabric Basket Tote, 1 Yard Magic Bags (smaller bag), Strappy Bag with Pockets |
| Long Shoulder / Deep Tote | 22″ – 26″ | Speedy Patchwork Tote, 1 Yard Magic Bags (larger bag), Patchwork Bag from a Quilt |
You might notice that some of the bag patterns can use ‘Standard Shoulder Bag’ length straps OR ‘Long Shoulder/Deep Tote’ length straps. This leave it up to you to decide how long you want your handles or straps to be.
Tip: Cut 2” x 20-30” lengths of scrap fabric. Pin them to your finished bag body to help you envison where you would like to sew the straps and how long the straps should be. Cut the strips shorter and re-pin them until you have the perfect length.
Don’t stress too much about making the perfect length of handles. You will be able to adjust the finished length by sewing the ends of the handles higher or lower on the bag.
Finished Strap/Handle Length Vs Cutting Dimensions
All of the straps or handles that you make with this tutorial will be approximately 1/2” shorter than the cutting length for your strips of fabric and stabilizer.
For example, to make 16” long handles, cut your strips of fabric and stabilizer 2” x 16 1/2”. To make 21” long straps, cut your strips of fabric and stabilizer 2” x 21 1/2”. More information about cutting dimensions is provided below.
Materials List
To make 2 handles (any length) you will need:
- 1/4 yard fabric (fat quarters will work for straps 20” long or shorter)
- 2-4” of flexible foam interfacing (it is usually 56-60” wide)
- fabric marking pen, pencil, or tailors chalk
- thread that matches your fabric
- size 90/14 or 100/16 sewing machine needle
- Chopstick or other tube turning tool
- Pins and Wonderclips
Tip: The interfacing (stabilizer) that I use is usually what I have leftover from making the bag. It’s fine to use either sew-in foam stabilizer or fusible foam stabilizer even though you won’t fuse the stabilizer during the sewing process.
Cutting and Marking
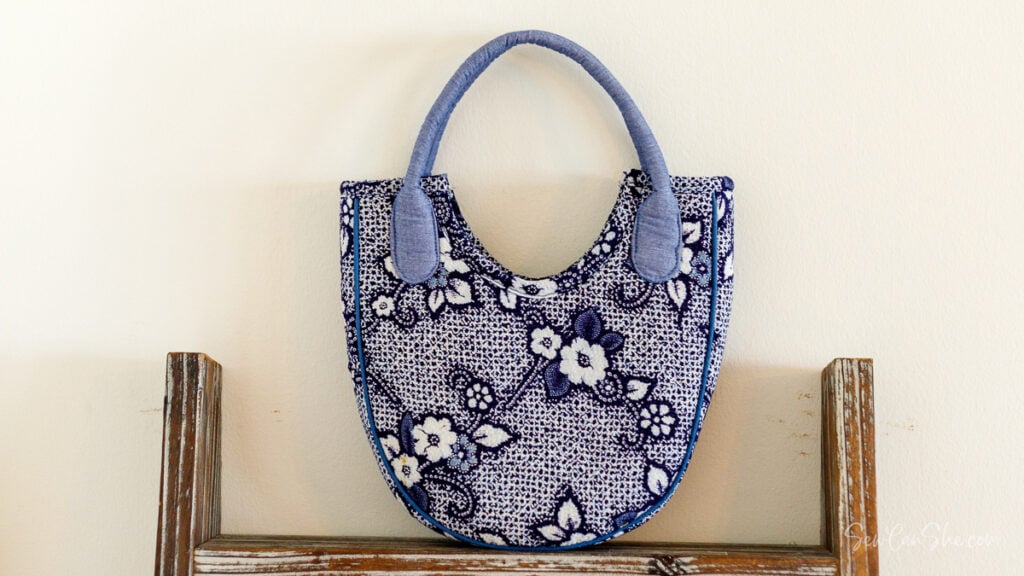
Use the chart above, the pattern instructions, and/or the tip provided above to help you decide how long you would like your handles or straps to be when they are finished. In these step by step photos, I’m making straps that are 16 1/2” long for a small handbag. My fabric and stabilizer pieces are all 2” x 17”.
1. From the handle fabric, cut:
- 4 strips 2” wide x [finished strap length] + 1/2” long
2. From the flexible foam stabilizer, cut 2 strips the same length and width as the handle pieces.
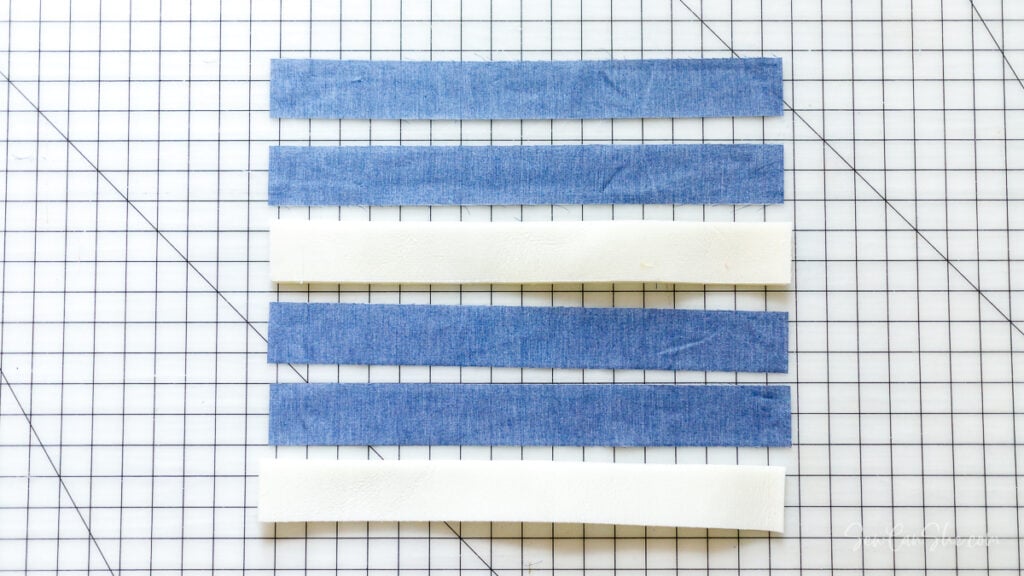
3. Place two fabric strips right sides together and stack them on top of a strip of foam stabilizer. Pin along the length.
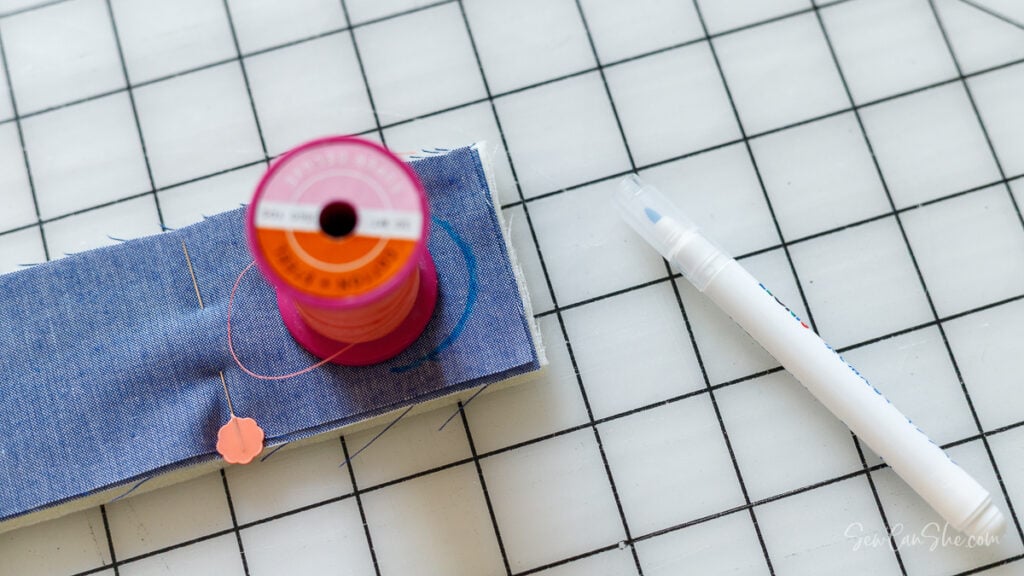
4. Use a regular sized spool of thread to draw a half-circle curve at each end of the strap, on the wrong side of the fabric. The edge of the curve should be 1/4” away from 3 edges of the strap, as shown.
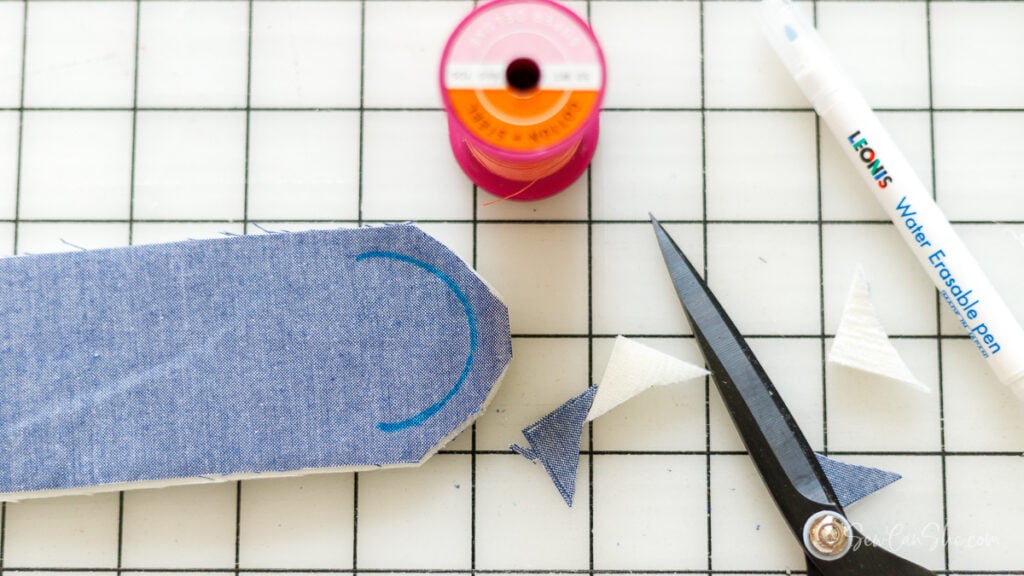
5. Remove the spool and trim away the corner of the interfacing 1/4” away from the drawn curved line. Don’t worry about cutting a smooth edge yet. This is just to remove some extra fabric and interfacing to make sewing easier.
Sewing the Handles
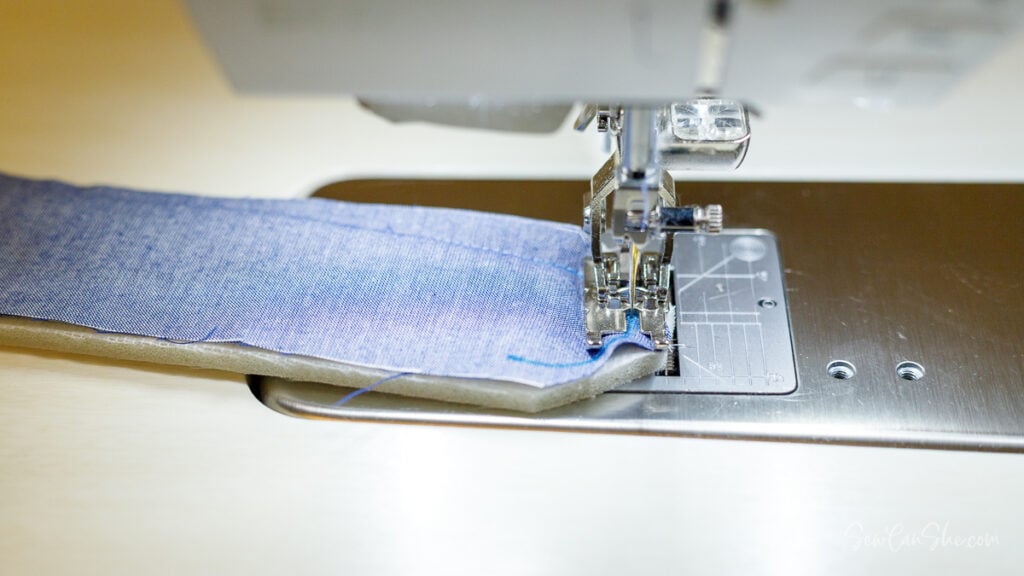
1. Sew all the way around the handle 1/4” from the edge. Sew slowly around each end, taking care to sew on the drawn line. This will help you have nicely curved ends on your bag handles. You do not need to leave an opening for turning.
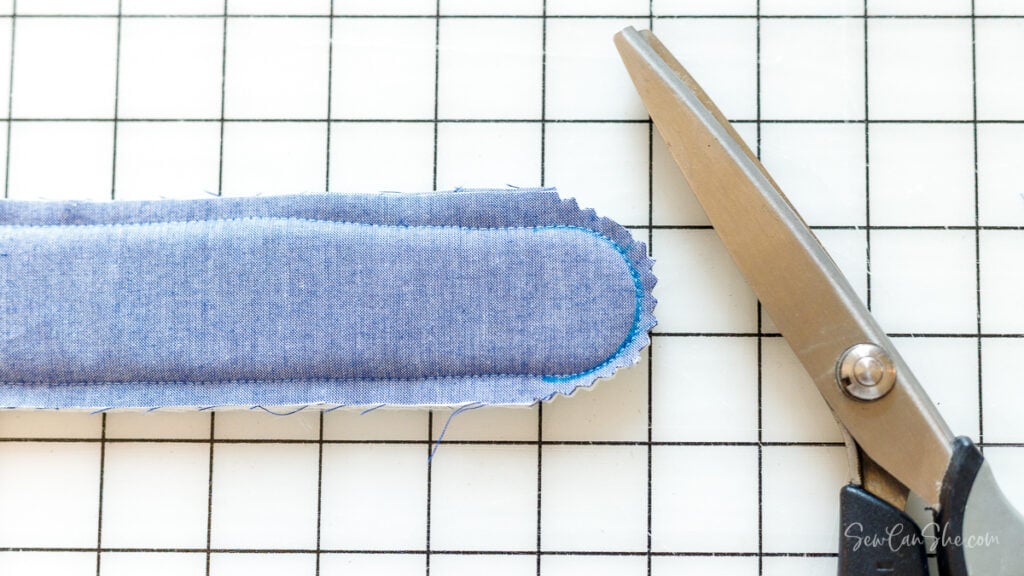
2. Now trim away extra fabric and interfacing 1/4” away from the stitching at the ends. Use scissors or pinking shears to cut notches around the curves to make turning easier.
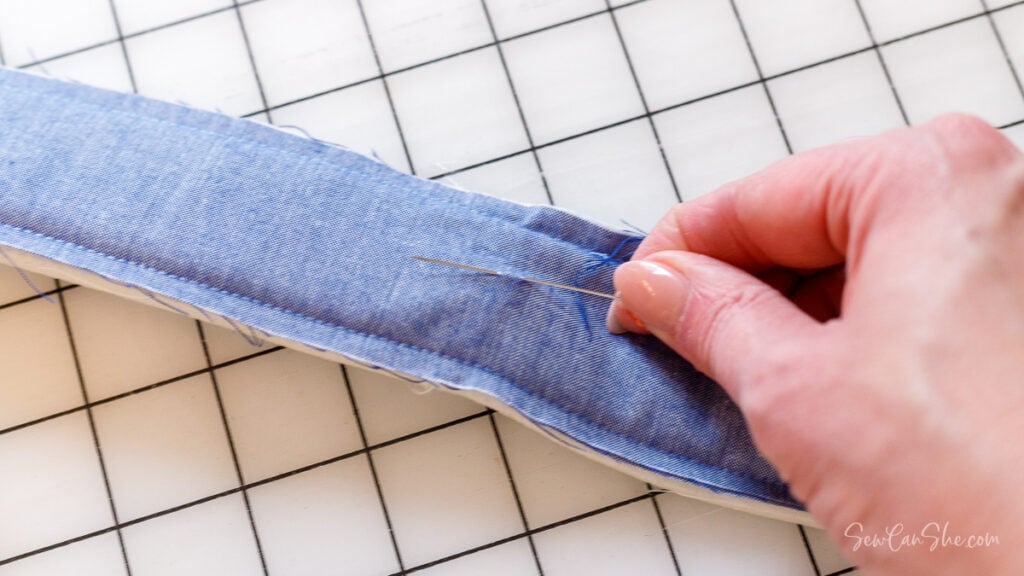
3. Use a pin to help you carefully lift up one layer of fabric in the center of the strap. Pinch and rub the fabric between your fingers to make sure you are only lifting one layer.
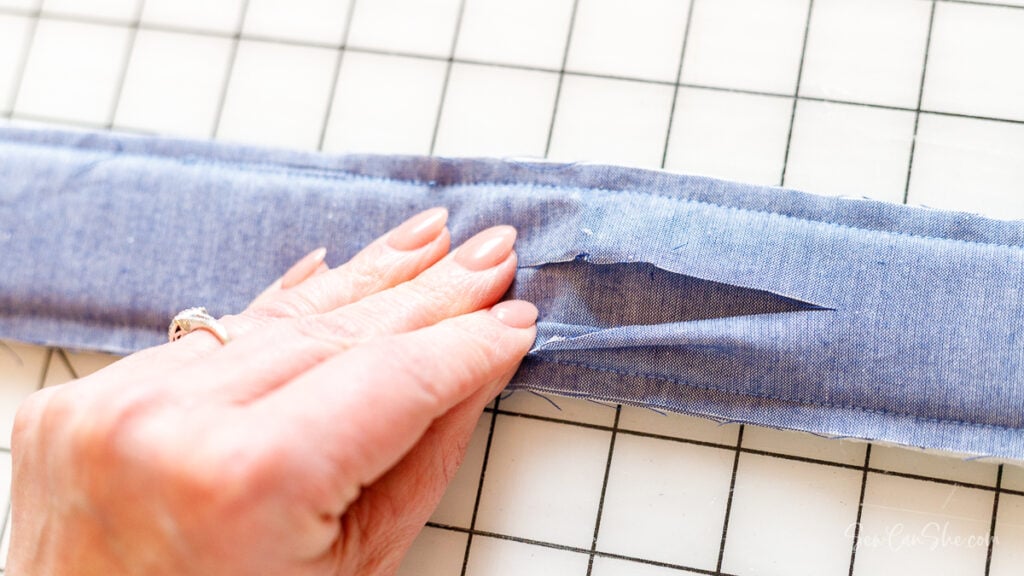
4. Use scissors to cut a 3” long opening in the center of the handle. Make sure you are only cutting through the top layer of fabric.
Repeat steps 1-4 for the other handle.
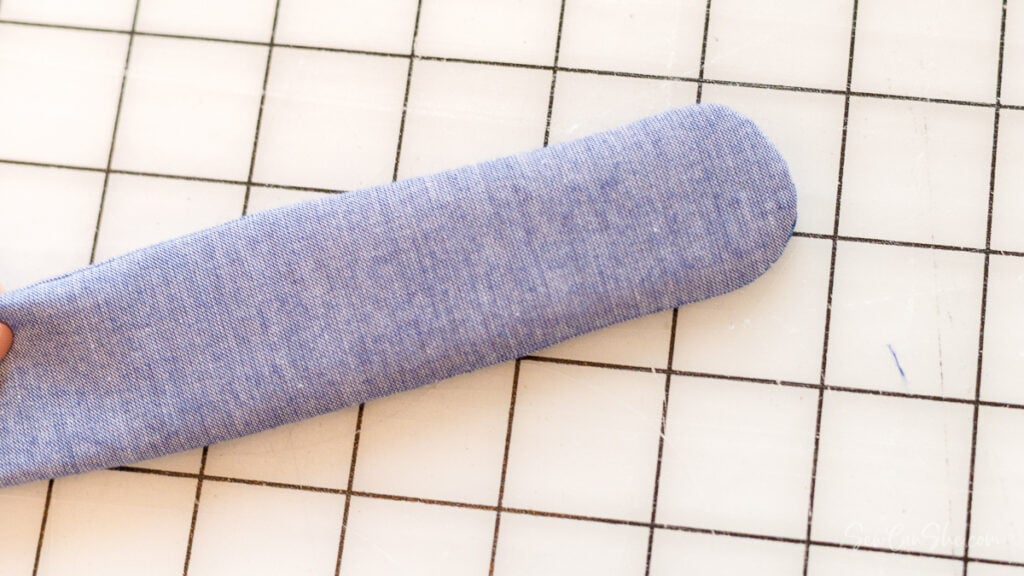
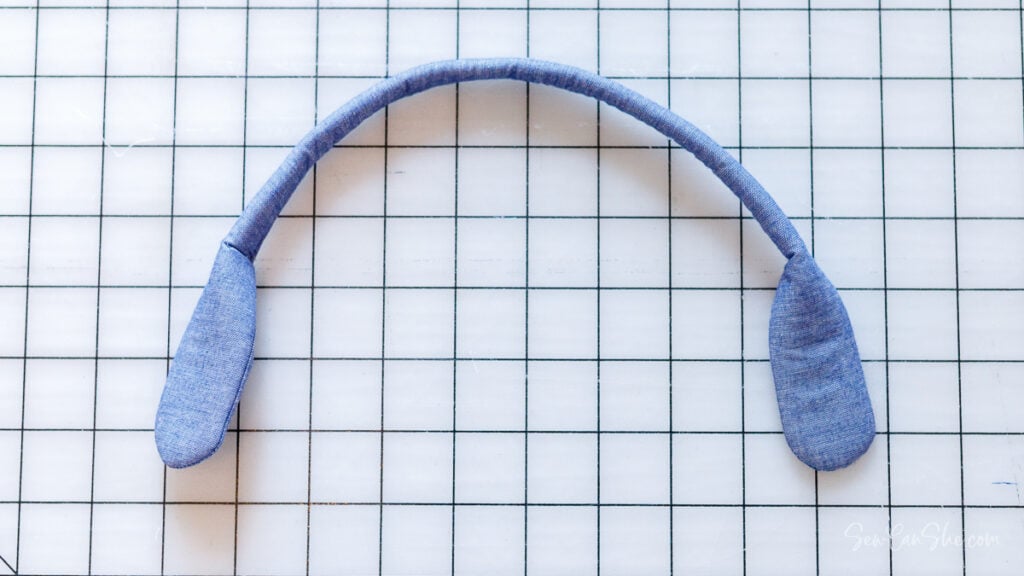
5. Turn the handles right side out using the chopstick or other tube turning tool. Carefully push out the seam at the ends.
Press on both sides, working to keep the seams along the side edges and ends of the handle.
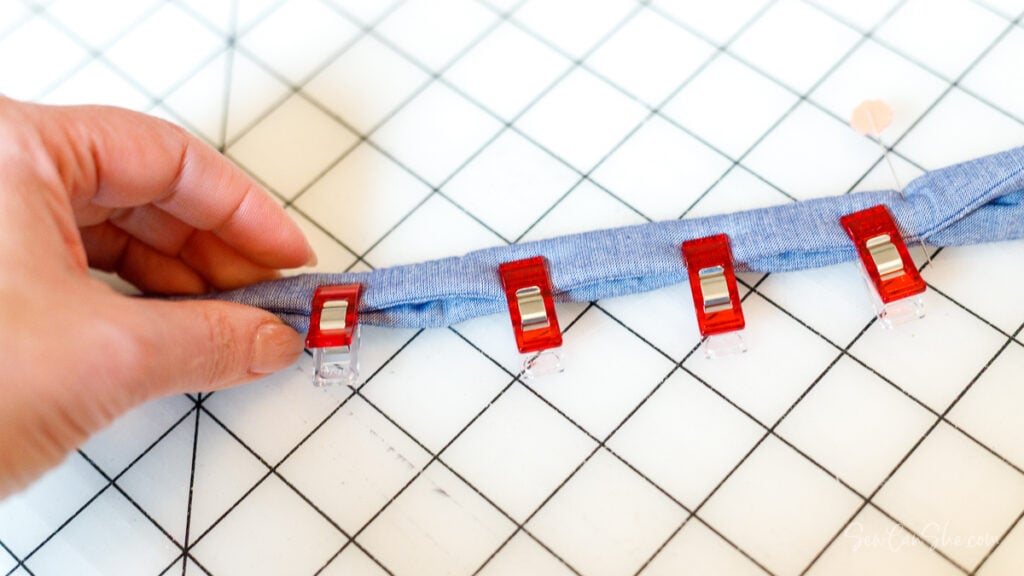
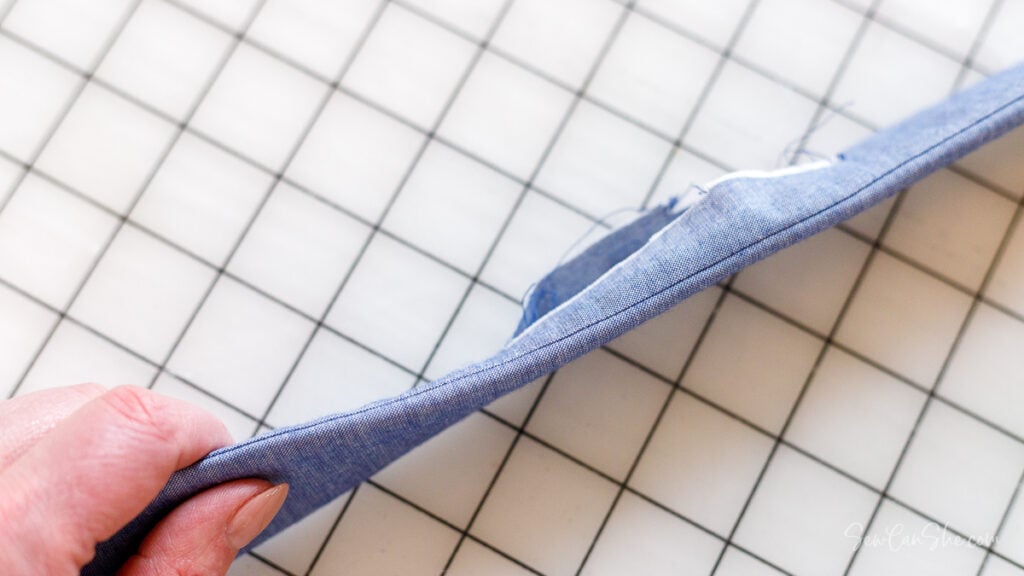
6. Starting in the center, fold the strap in half with the pretty (uncut) side on the outside. Carefully tuck the cut edges inside the center of the strap so they won’t show. Secure with Wonderclips.
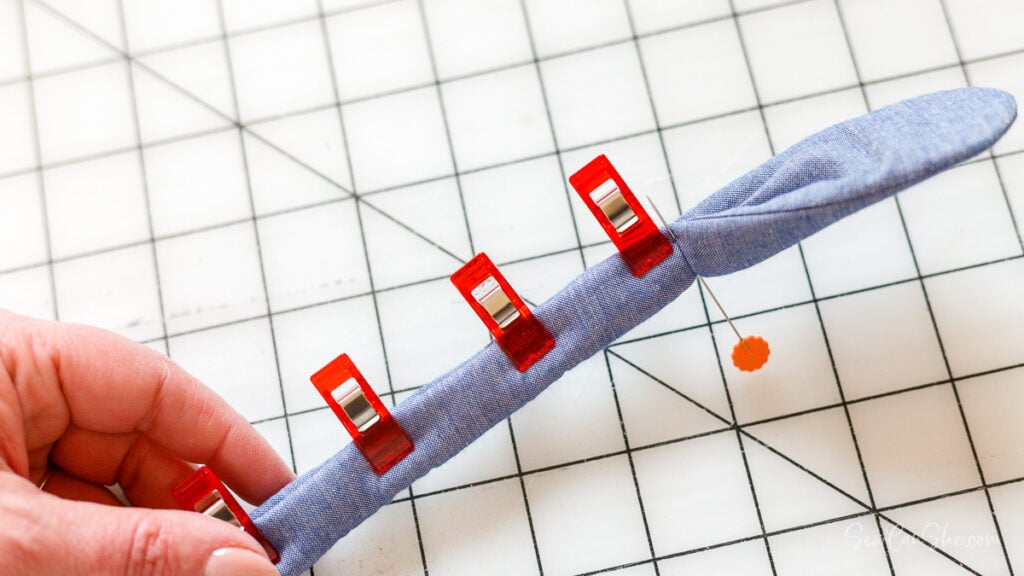
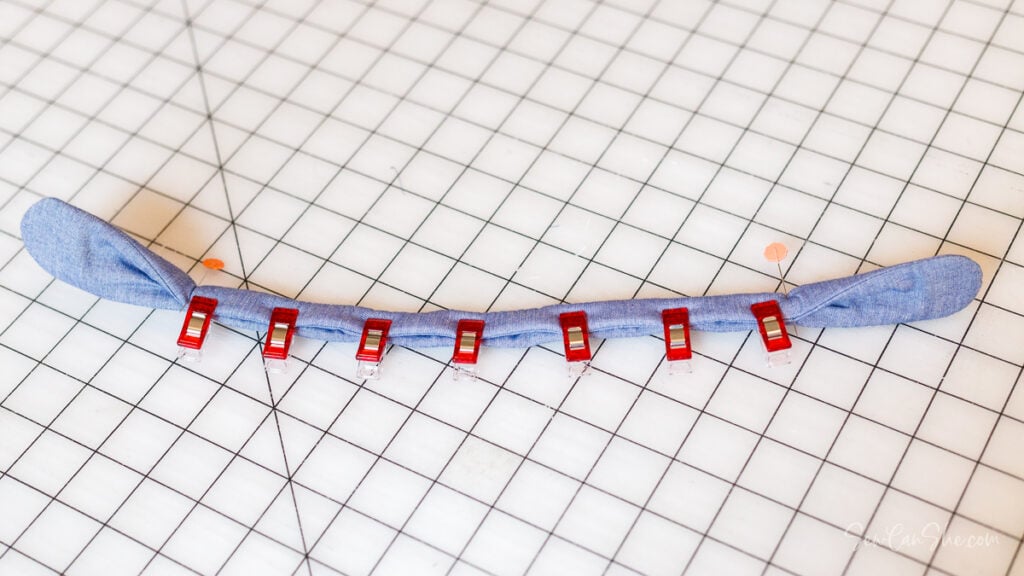
7. Measure and place a pin 2” from each end. This will mark the beginning and end points for sewing the strap.
I like to place Wonderclips along my straps about every 1 1/2” to make sewing them faster and easier.
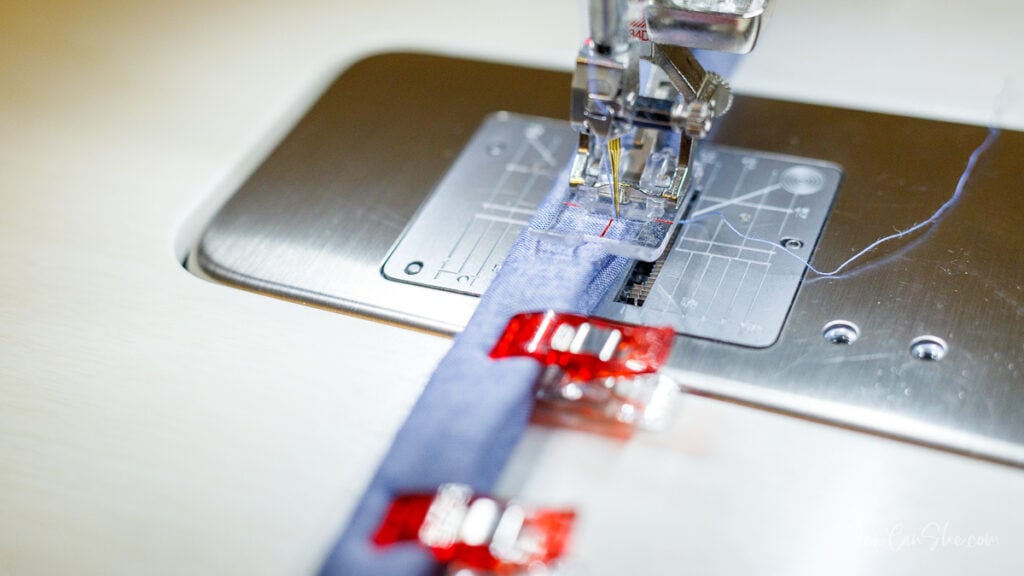
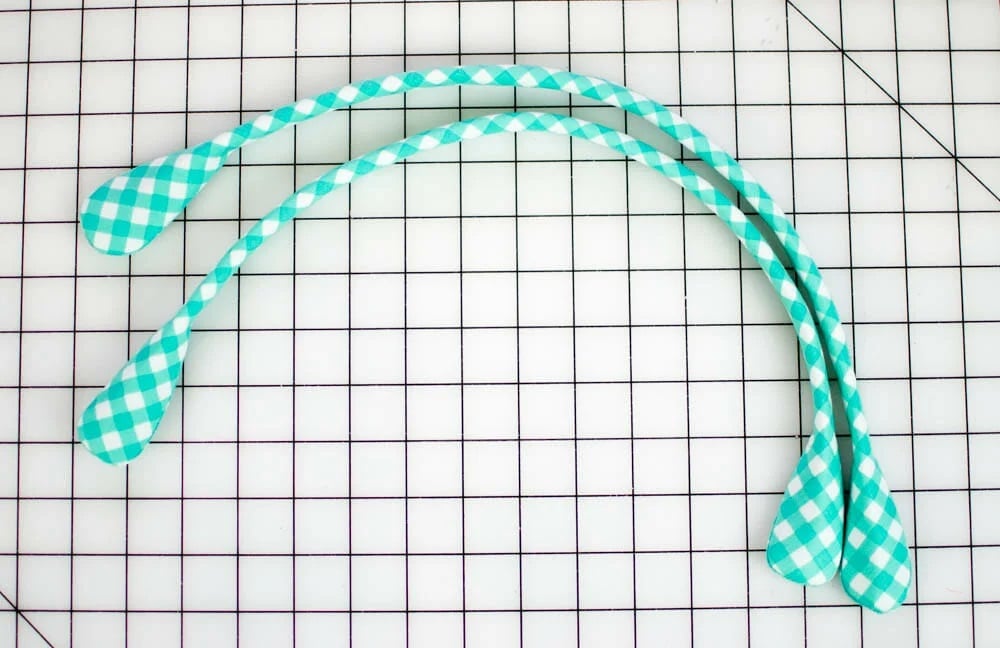
8. Sew along the length of the strap about 1/8” from the edge. Start and end sewing (with neat backstitching) 2” from each end, where you marked with pins.
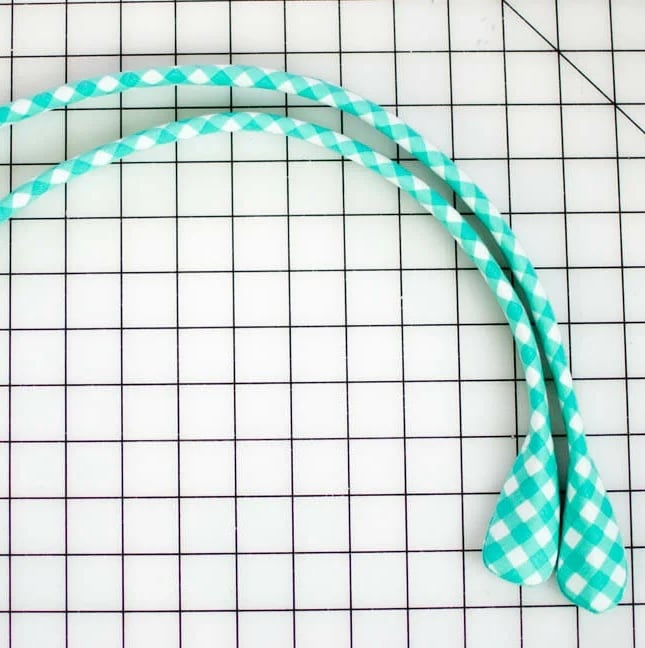
Beautiful! Repeat for the other handle.
Attaching the Handles or Straps to Your Bag
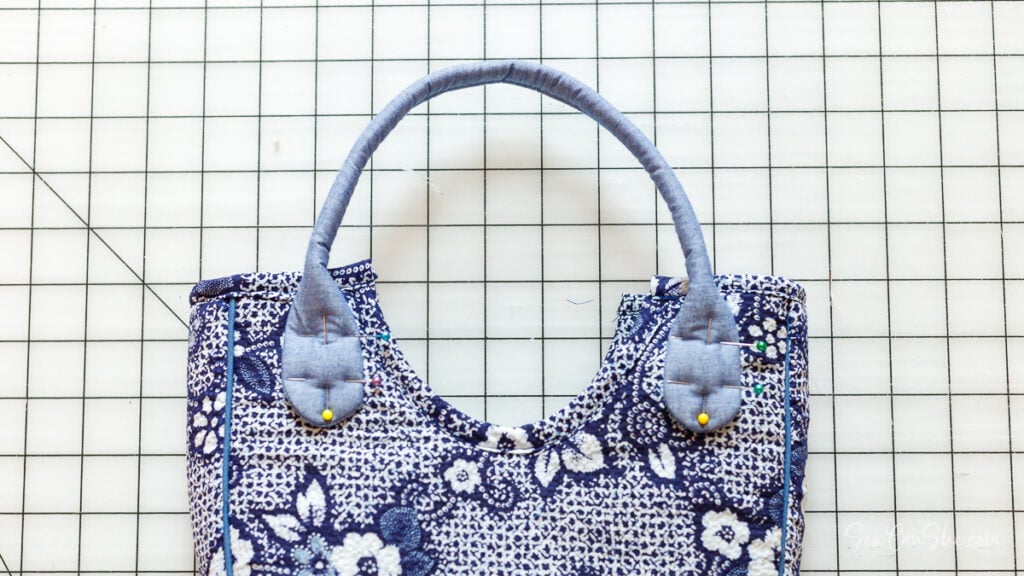
1. Pin the ends of one handle to one side of the bag in your desired location. This may be specified in the bag instructions, or feel free to pin the handle in different spots to see how you like the look and how it feels on your arm or shoulder.
Use 3-4 pins to make sure the handle stays in place as you sew.
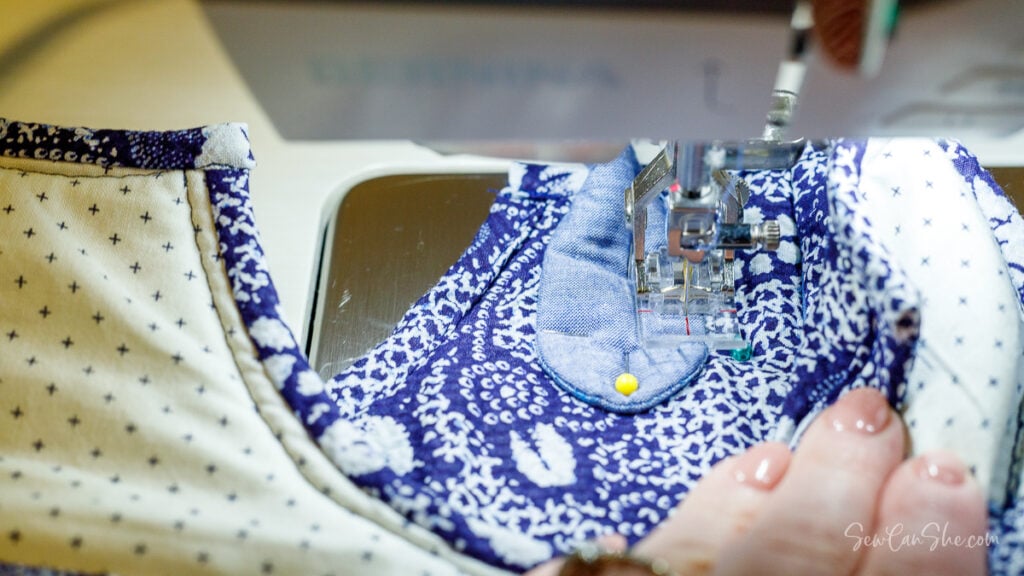
2. Use a sewing machine to sew each end of the handle to the bag through all layers. Or hand sew the handle ends to the bag, sewing through as many layers as you prefer. Backstitch to ensure the handle is securely attached.
Sew the other handle on and you’re done!
Thanks so much for reading my blog. I love sharing free sewing patterns with you!
xoxo,

BEAUTIFUL FABRIC BAG HANDLES
Purchase this pattern in PDF format! The PDF file contains all of the instructions, plus the step by step photos that have been reduced to fit the page nicely with no ads.
Download the file immediately and keep your confirmation email so you can download it again later. Free patterns must be downloaded within 30 days.
Disclosure: some of my posts contain affiliate links. If you purchase something through one of those links I may receive a small commission, so thank you for supporting SewCanShe when you shop! All of the opinions are my own and I only suggest products that I actually use. 🙂