Patchwork Table Trivet Potholder: Free Sewing Pattern for Scraps and Pre-Cut Squares!
Looking for a fast and easy gift or way to spruce up your kitchen? Sew a patchwork trivet potholder with insulated batting that will protect your expensive table or serve as generously size hot pad. This free sewing pattern features easy squares and half square triangles and is perfect for using scraps, pre-cut charm squares or mini charm squares, or unfinished quilt blocks from your stash.
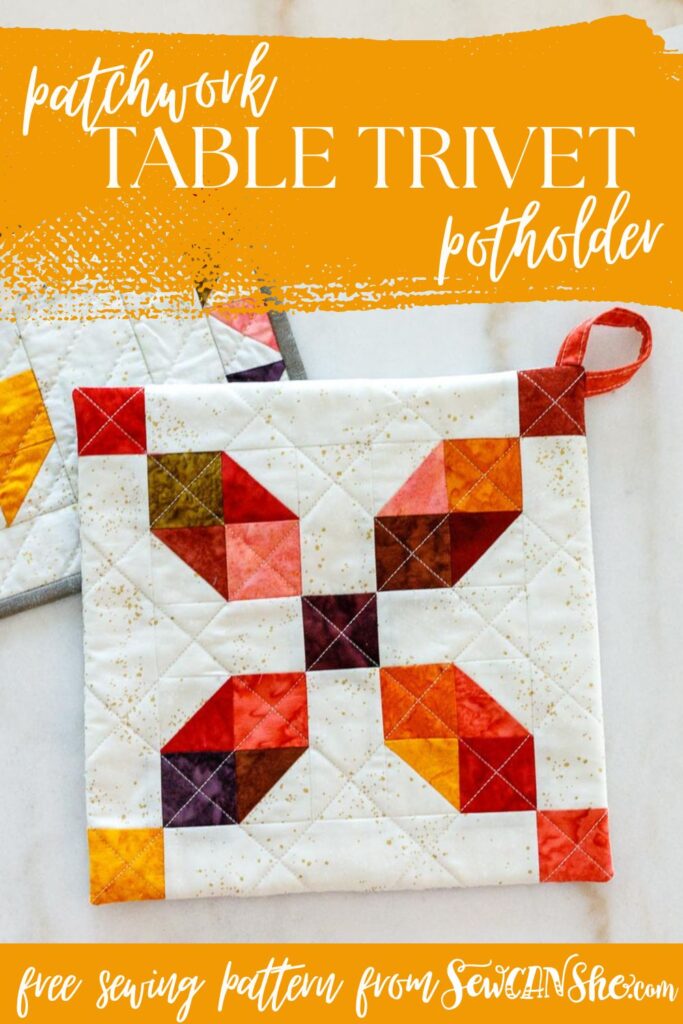
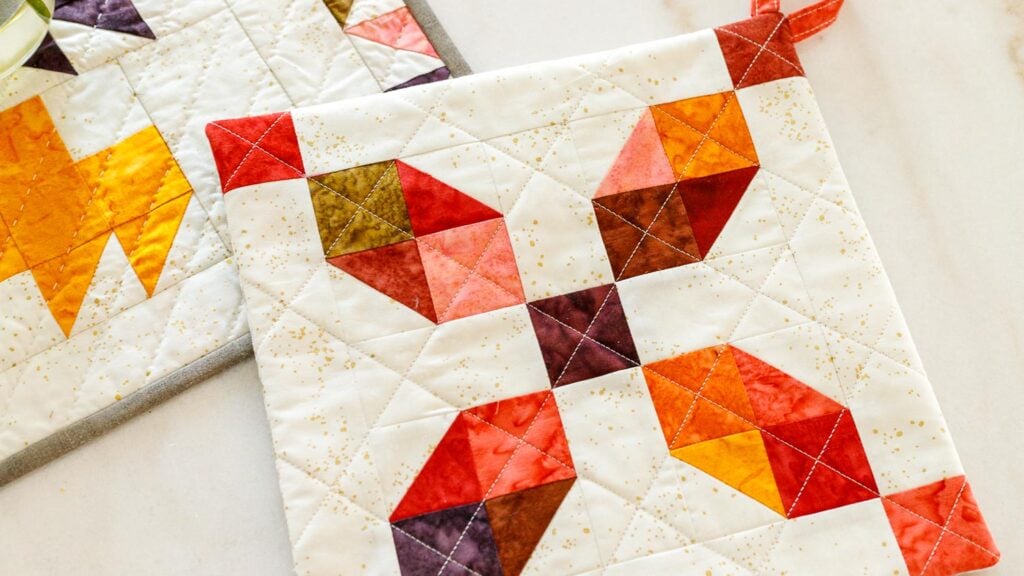
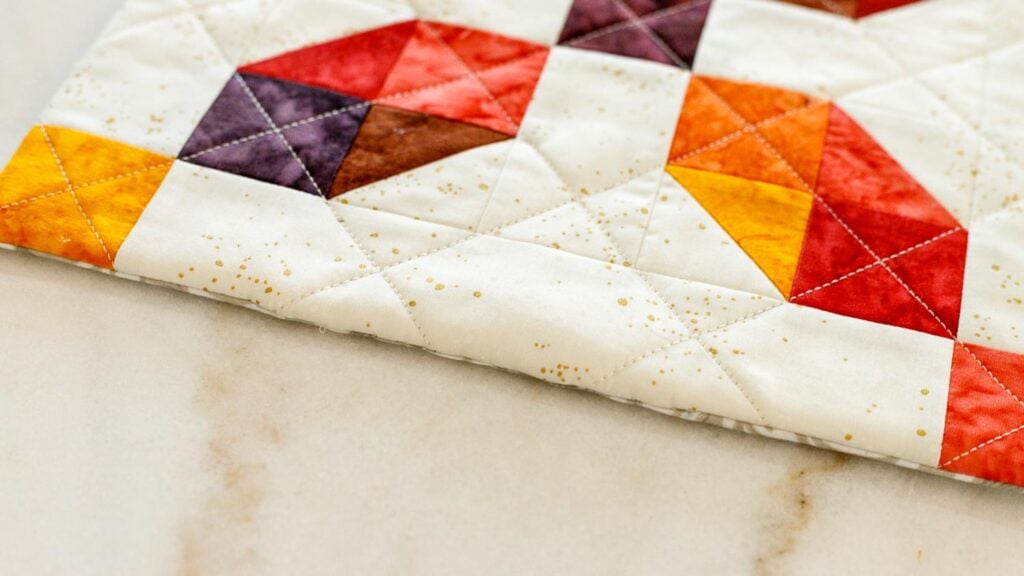
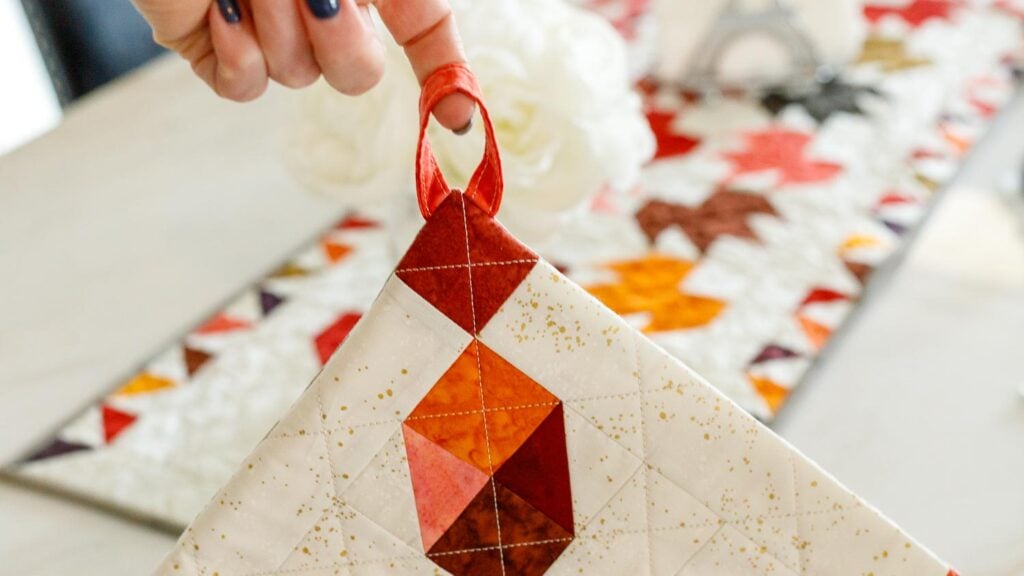
When sewing this table trivet, you’ll learn a shortcut method for making 2 half square triangles at a time. The finished size is approximately 10 1/2’’ x 10 1/2’’ perfect for placing under a large pot! There is a hanging loop attached to one corner.
The blog post below is totally free to read, print, and sew! Just hit CTRL +P on your computer to print. There is an optional PDF download offered at the end of the post. Join our Sewing Bee Community for access to over 300 PDF patterns (including this one), live workshops, premium video courses, and more.
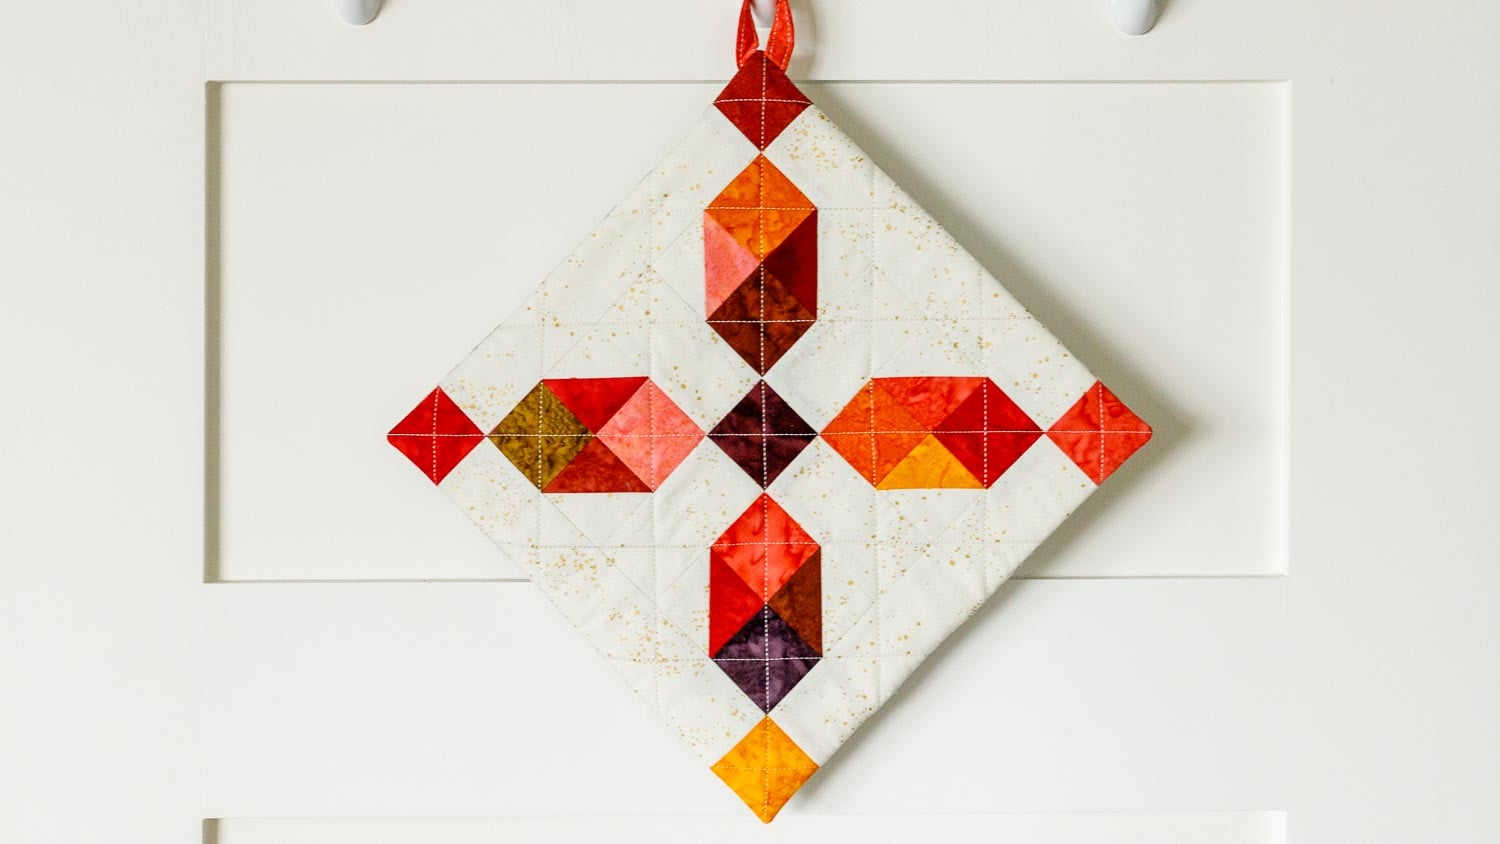
The generous size (probably larger than your other potholders) will make this your favorite kitchen accessory. It’s easy to grab and the insulated batting will keep your hands protected every time. Throw it in the laundry again and again because it’s completely machine washable.
The techniques in this pattern are easily adapted to help you make darling trivets and potholders from any extra quilt blocks you may have in your sewing room as well. Instructions for doing so are included. If you have orphan quilt blocks lying around like I do, you can use this pattern to make a beautiful housewarming or ‘anytime’ gifts in no time at all!
Make a matching table runner too!
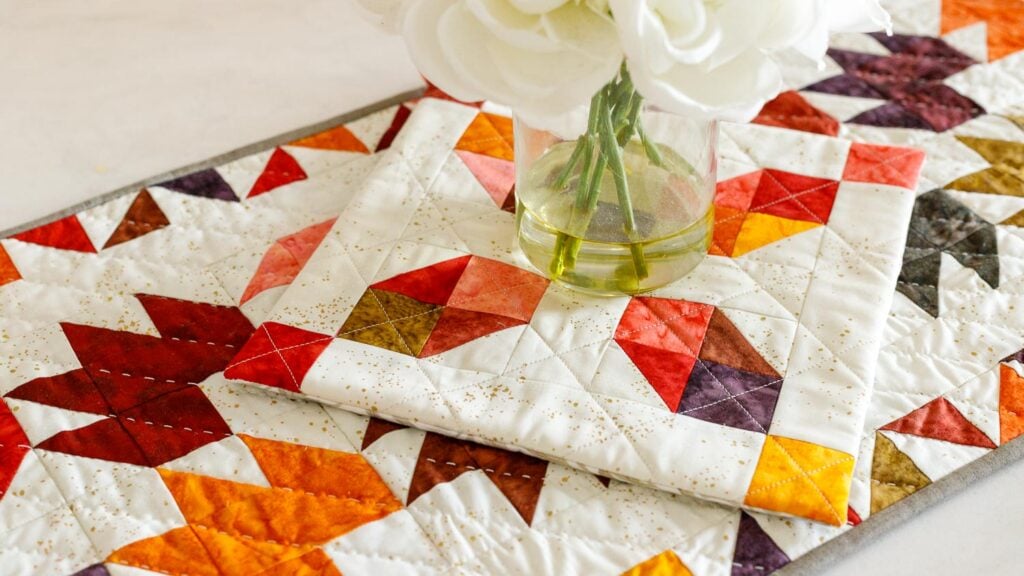
Did you sew the free Fall Festival Table Runner Pattern that I shared previously? If so, get ready to use your scraps to make a coordinating set because this pattern is perfect for that!
Do you want placemats too for a complete tablescape? These gorgeous patchwork placemats with flying geese can be made to compliment any season.
How to Choose Fabrics for your Patchwork Table Trivet Potholder
This pattern is perfect for scraps!
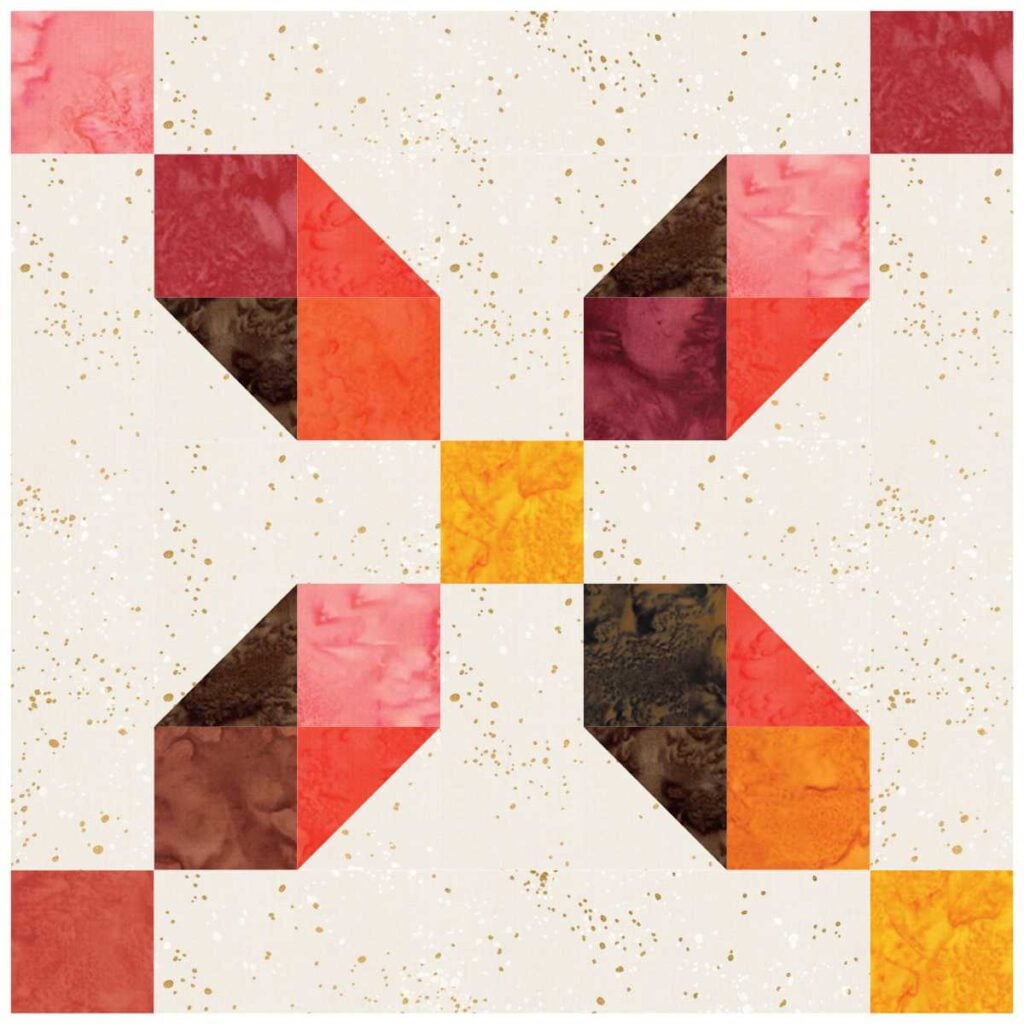
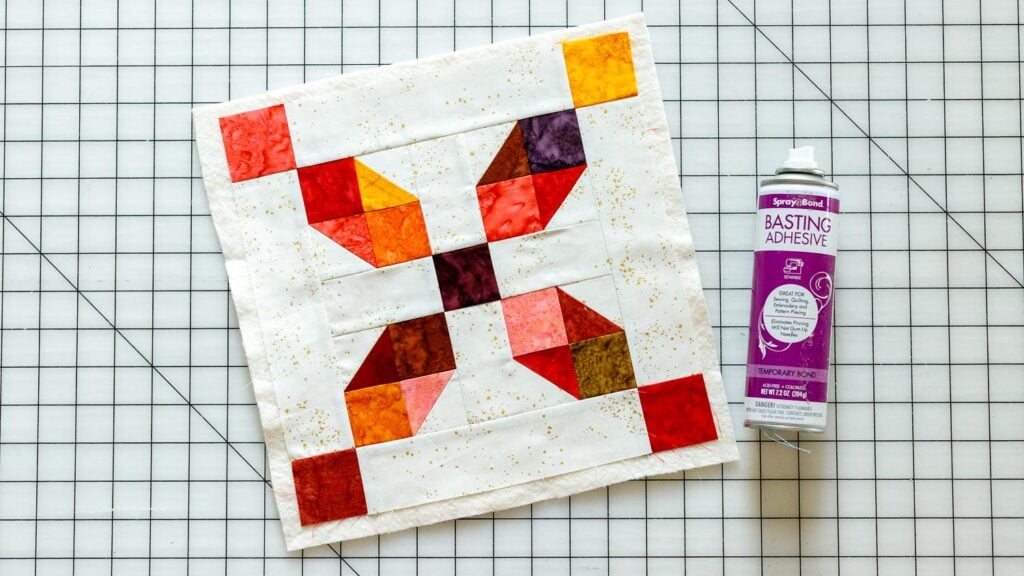
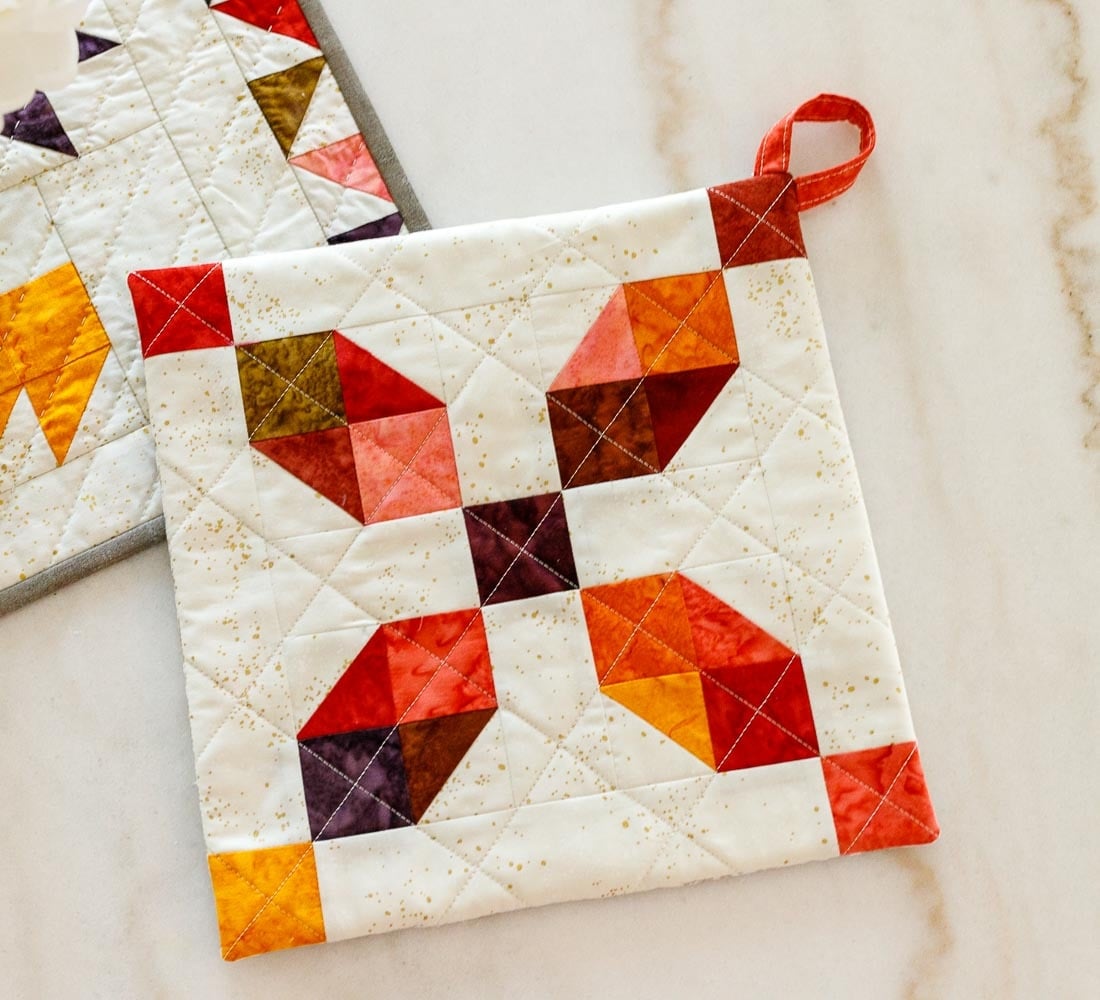
My potholder trivet uses warm colored batik scraps and 8 leftover half square triangles that are all different. If you like, you can make all 8 half square triangles that are all the same using one of the time saving techniques taught in this pattern.
One great thing about leftover half square triangles is that it’s so easy to make them smaller – just use a ruler and rotary cutter to cut them to any (smaller) size.
You’ll need a background fabric that can be light, dark, or medium value, as long as it has good contrast with the other fabric pieces you choose.
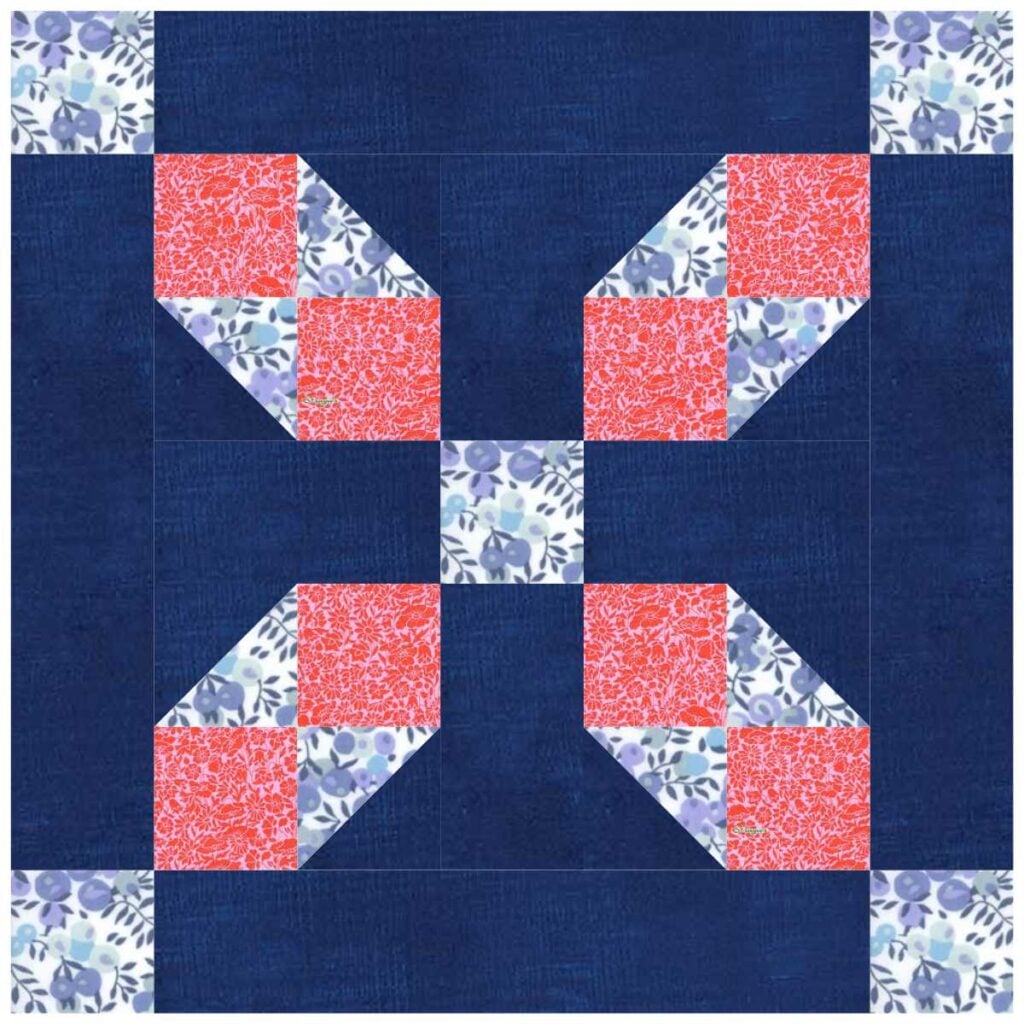
Before deciding to use my batik scraps from my Fall Festival Table Runner, I almost used the leftover fabrics from my Chesapeake Bay quilt. The red, white, and blue combination would have been darling!
Wouldn’t holiday fabrics be great too?
Patchwork Table Trivet Potholder Pattern
This free pattern includes instructions to make a 10” (finished) quilt block. You can use any other quilt block that you have on hand. Instructions for adjusting the size of the insulated batting and backing fabric to make a different size trivet or potholder are below.
Finished size: 10 1/2” x 10 1/2”.
YOU WILL NEED:
- small scraps in 2 or more different print fabrics for the patchwork block and hanging loop
- 1/8 yard fabric for the background (or a largish scrap piece)
- a 10 1/2’’ square fabric piece for the back of the trivet
- a 11 1/2’’ square piece of cotton quilt batting
- a 10 1/2’’ square piece of insulated batting (such as Insulbrite brand)
- Thread – cotton is best
- Optional: Quilt basting spray (such as 505 or SpraynBond)
- Cutting tools: scissors, rotary cutter, and cutting mat
- Sewing pins
- A sewing machine and sewing machine needle (size 90/14 suggested)
- Chopstick or turning tool
CUTTING:
From the print fabric scraps, cut:
- 4 squares 2 1/2” x 2 1/2” (for making half square triangles)
- 13 squares 2’’ x 2’’
- 1 rectangle 2’’ x 5’’ (for the hanging loop)
From the background fabric, cut:
- 4 squares 2 1/2” x 2 1/2” (for making half square triangles)
- 4 rectangles 2’’ x 3 1/2’’
- 4 rectangles 2’’ x 8’’
If you already have 8 half square triangles that you want to use: trim them to 2’’ square, and get started with the section ‘Make the Patchwork Block.’
If you want to use this pattern with a spare quilt block that you already have: cut a piece of backing fabric and insulated batting that are the same size as the unfinished quilt block. You’ll also need a square of cotton quilt batting that is 1’’ larger than the unfinished quilt block. Get started with the section ‘Turn the Block into a Trivet Potholder’ below.
How to Sew the Patchwork Trivet Potholder
Use a scant 1/4’’ seam allowance and a medium stitch length such as 2-2.5.
MAKE 8 HALF SQUARE TRIANGLE UNITS (HSTS)
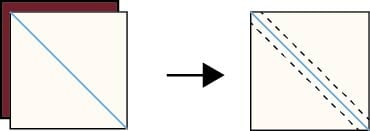
1. Use a pencil, pen, or fabric pen to draw a diagonal line across the back of all of the background fabric 2 1/2’’ squares. This is a cutting line – not a sewing line.
2. Place a background fabric square right sides together with a print square. Sew in a straight line a scant 1/4’’ away from either side of the drawn line.
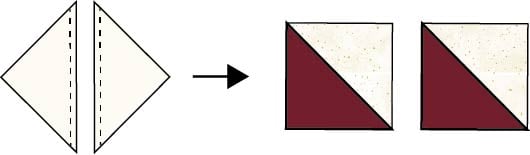
3. Cut the half square triangles apart along the drawn line. Press each one open and trim to 2’’ square.
Repeat to make 8 HST pieces.
Make the Patchwork Block

1. Sew a half square triangle piece to a 2’’ square as shown.
Repeat to make 8 sets.
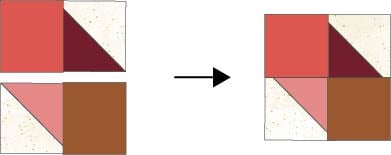
2. Sew two sets together to make a 4-patch piece.
Repeat to make four 4-patch pieces.
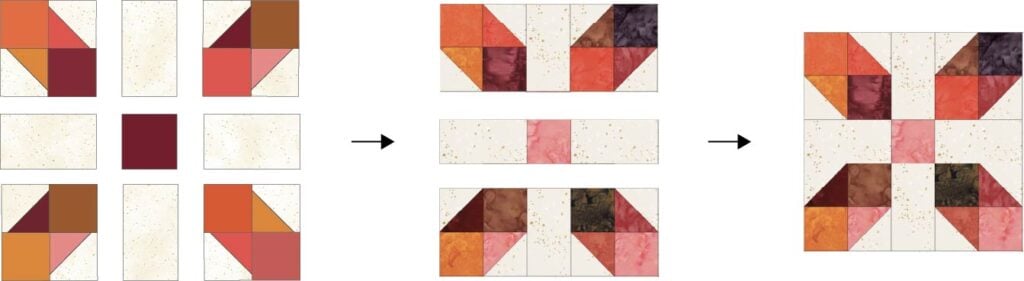
3. Arrange the four 4-patch pieces with the four 2’’ x 3 1/2’’ rectangles and one 2’’ square, as shown.
Sew into three rows.
Sew the rows together to make the center of the block.
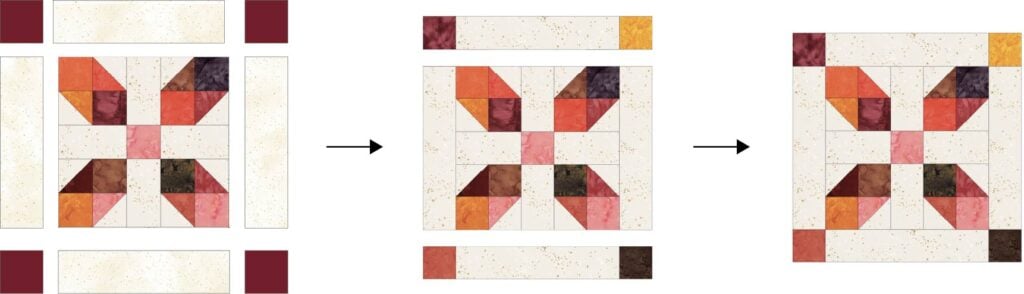
3. Arrange the center of the block with the four 2’’ x 8’’ rectangles and four 2’’ squares, as shown.
Sew into three rows.
Sew the rows together to make the block.
Turn the Block into a Trivet Potholder!
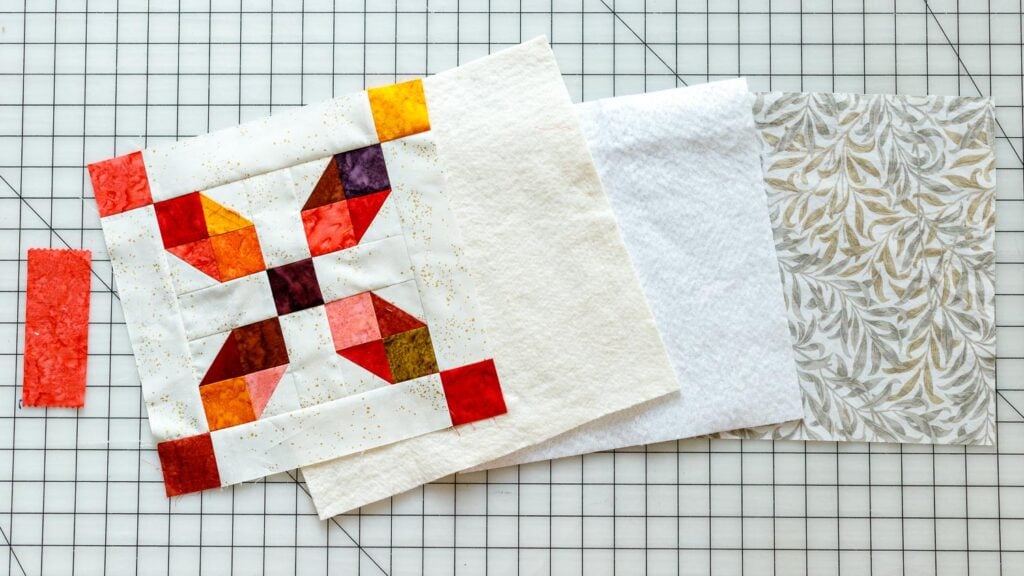
For this part you will need:
- The Trivet Block
- 1 rectangle 2’’ x 5’’ (for the hanging loop)
- a piece of quilt batting 11 1/2’’ x 11 1/2’’ (or 1’’ larger than your extra quilt block)
- a piece of insulated batting 10 1/2’’ x 10 1/2’’ (or the same size as your extra quilt block)
- a piece of fabric 10 1/2’’ x 10 1/2’’ (or the same size as your extra quilt block)
Quilt the Trivet (if desired)
1. Center the Trivet Block on one side of the square of quilt batting. Use the basting spray or pins to attach the two together.
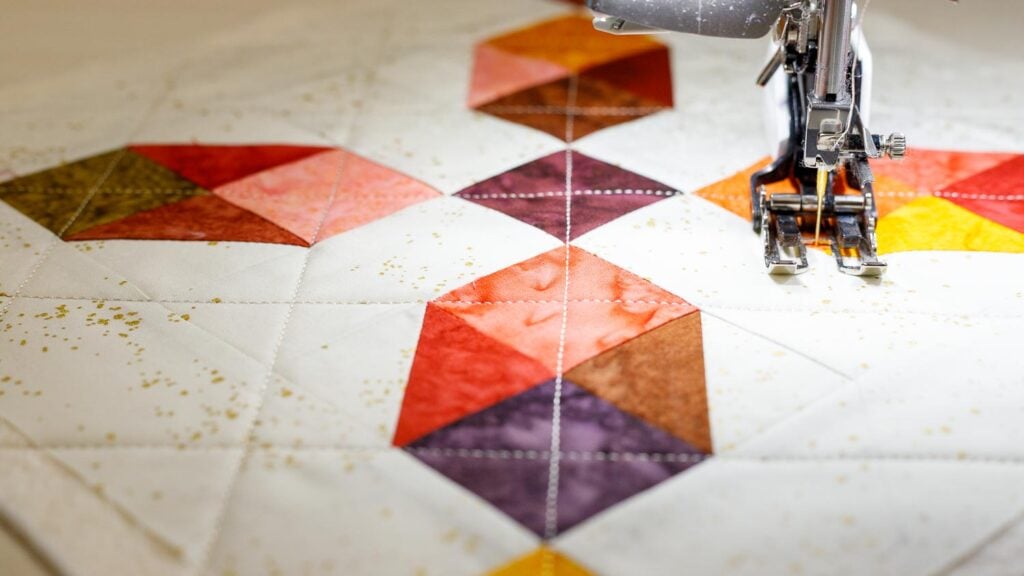
2. Sew lines of quilting through both layers. I quilted just a few diagonal lines. You can sew straight or curvy lines in any direction – or skip the quilting altogether.
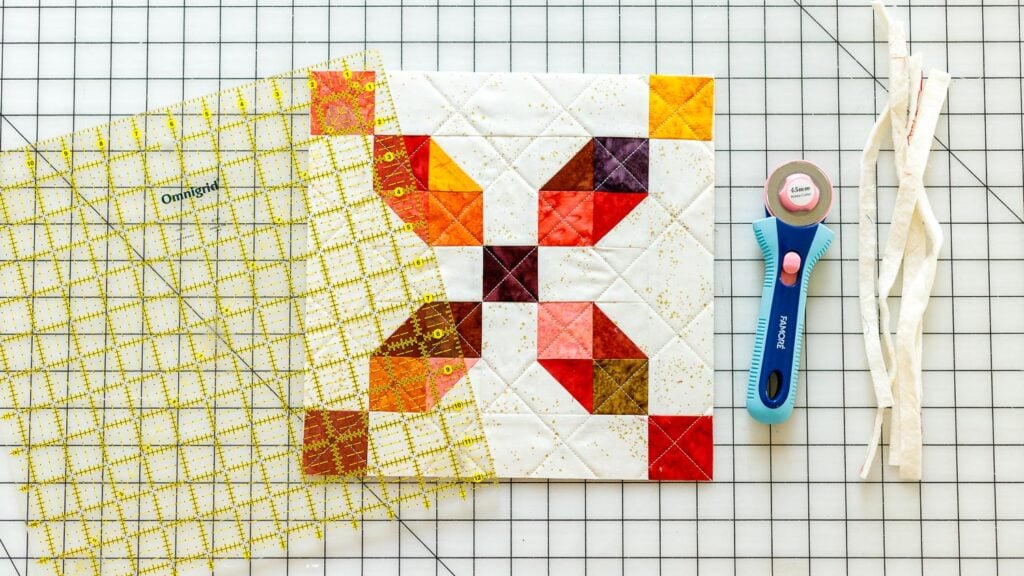
3. Trim around the block to make it the same size as your insulated batting and backing fabric.
add the hanging loop
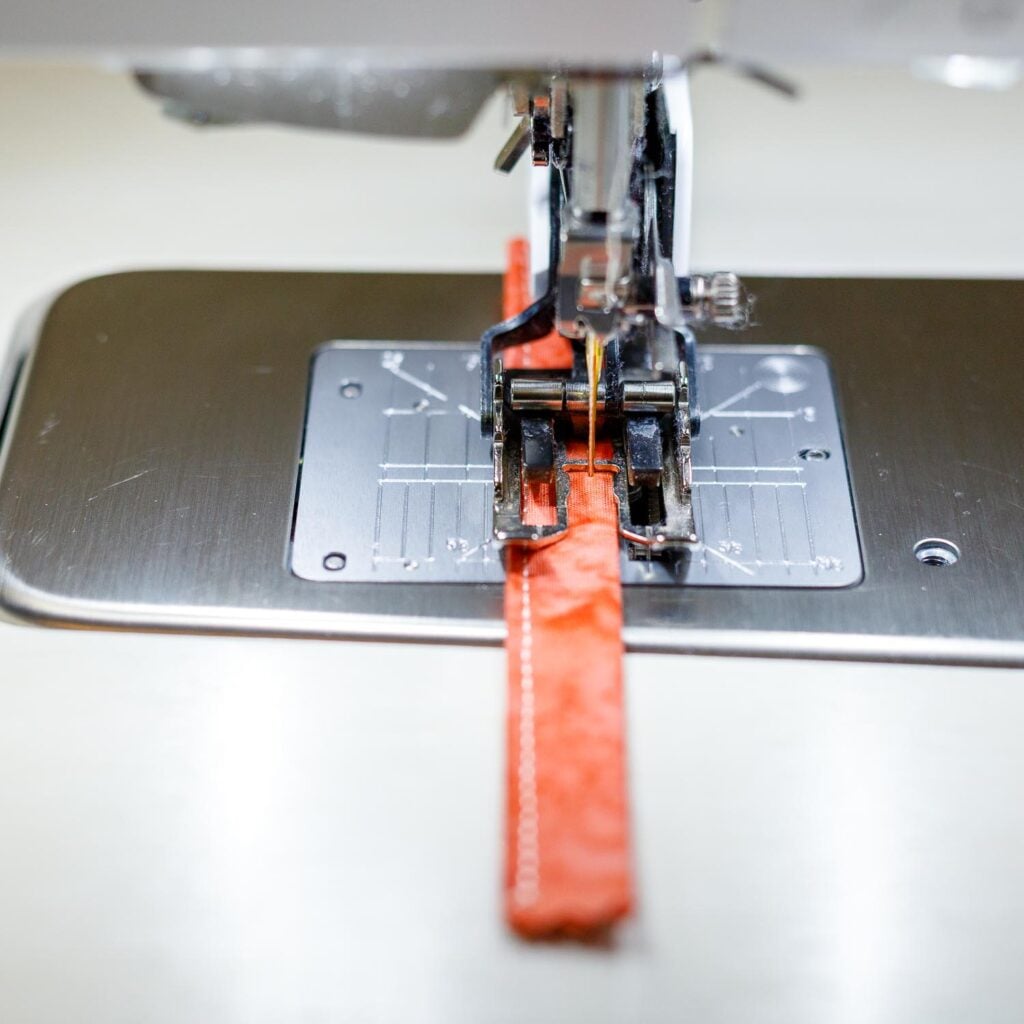
1. Fold the 2’’ x 5’’ fabric piece in half lengthwise and press. Open and fold the long edges to the center and press. Then fold it in half again to make a 1/2’’ x 5’’ piece. Topstitch 1/8’’ away from both long edges.
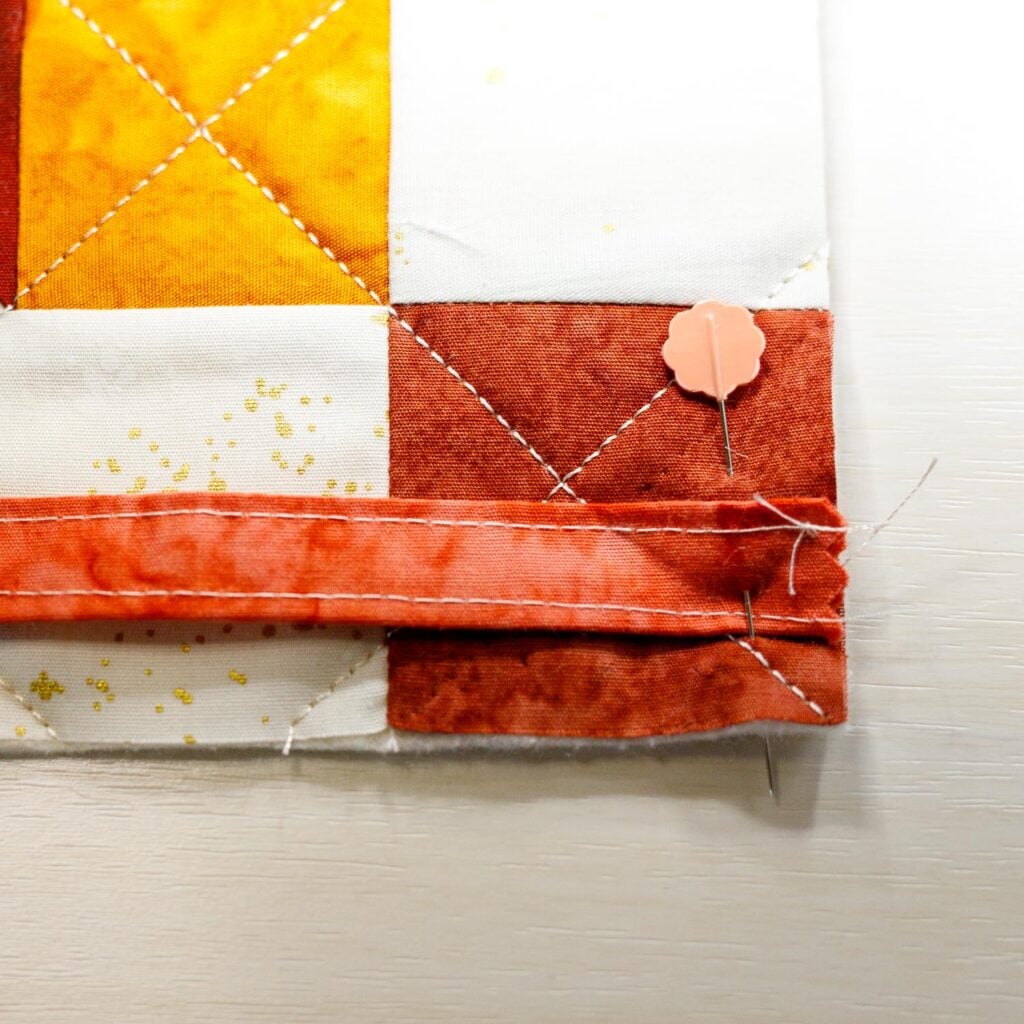
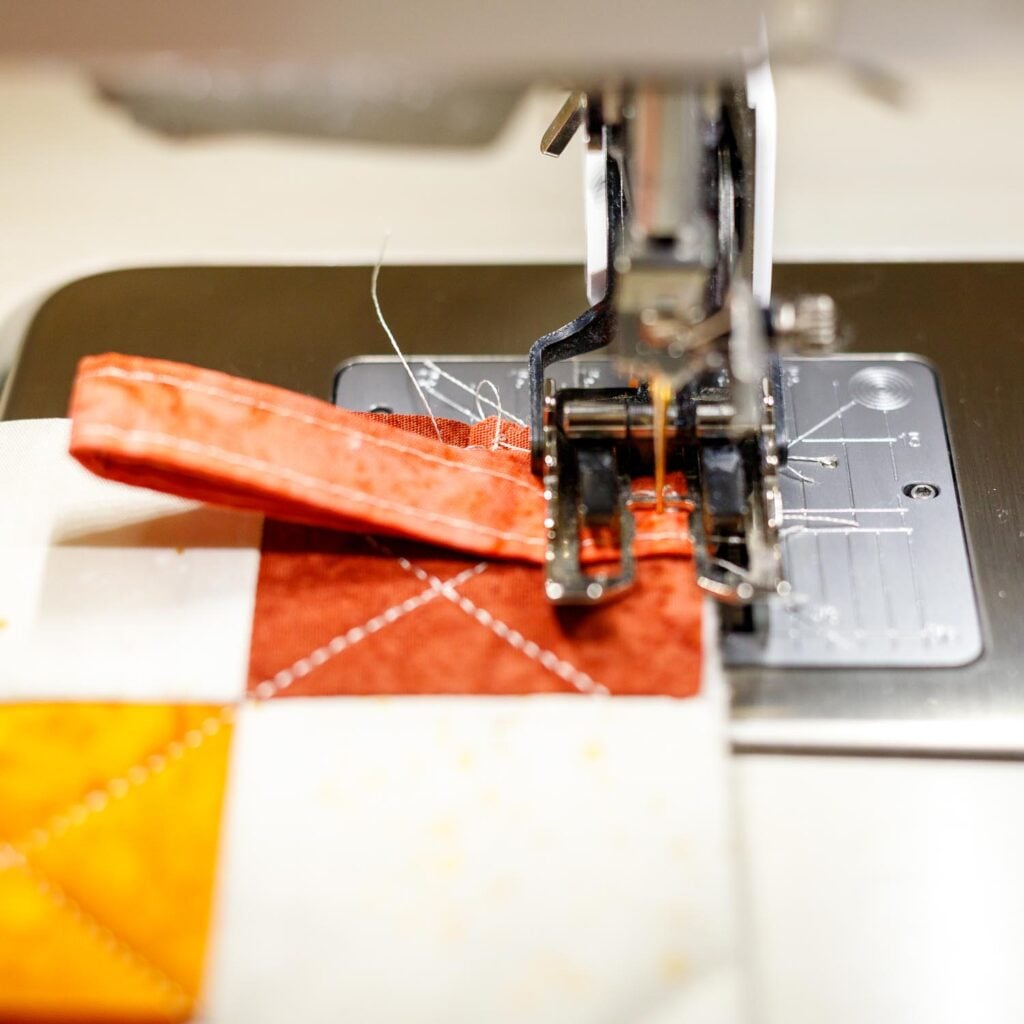
2. To attach the hanging loop to one corner of the trivet, pin one end 3/8’’ away from a corner, as shown. Sew across the end 1/8’’ from the edge of the trivet.
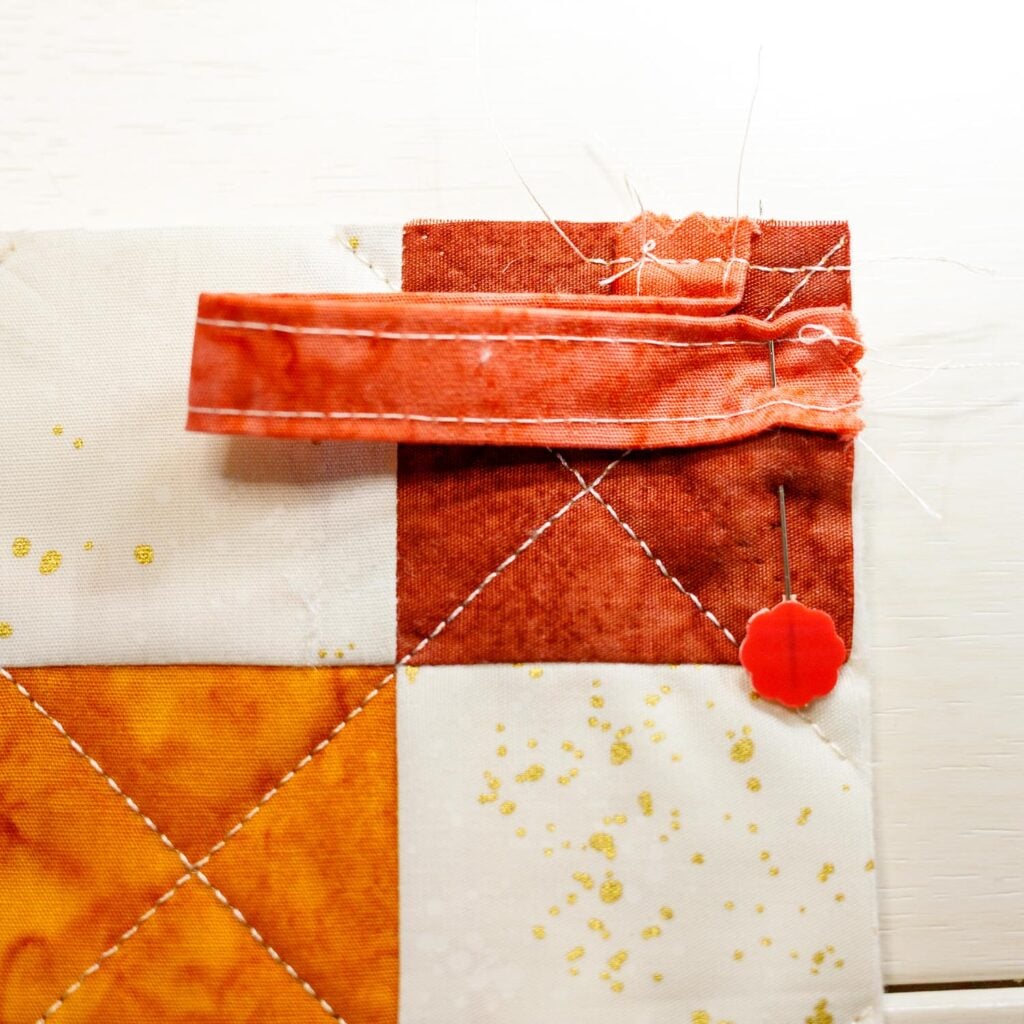
3. Remove from your sewing machine and pin the opposite end of the strip to the adjacent edge, also 3/8’’ from the corner, as shown.
Sew across this end 1/8’’ from the edge of the trivet.
Sew the Trivet Together
1. Place the insulated batting underneath the quilted block and the fabric backing piece on top, right sides together.
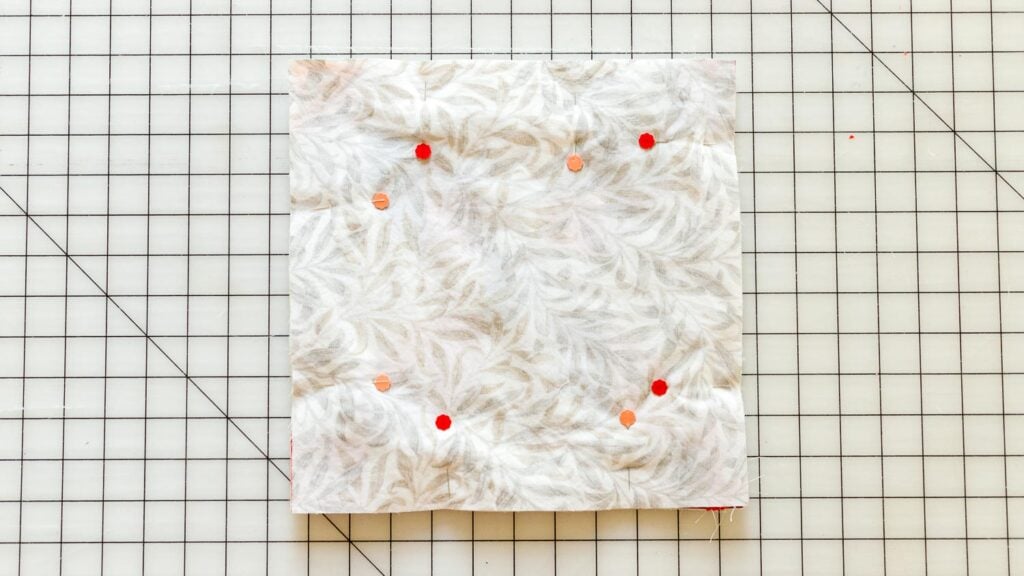
2. Pin all of the layers together.
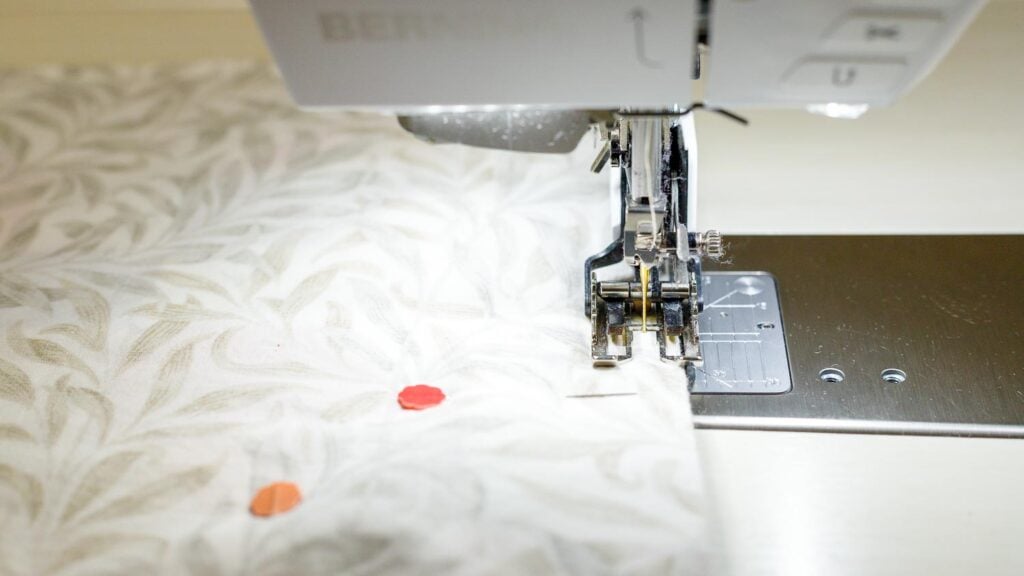
3. Sew around the trivet with a 1/4’’ seam allowance, leaving a 5’’ opening for turning.

Tip: Mark short lines at the opening for turning that start at the raw edges. Sew along those lines, pivoting to sew around the trivet.
This helps to make a neat opening after you turn the trivet right side out.
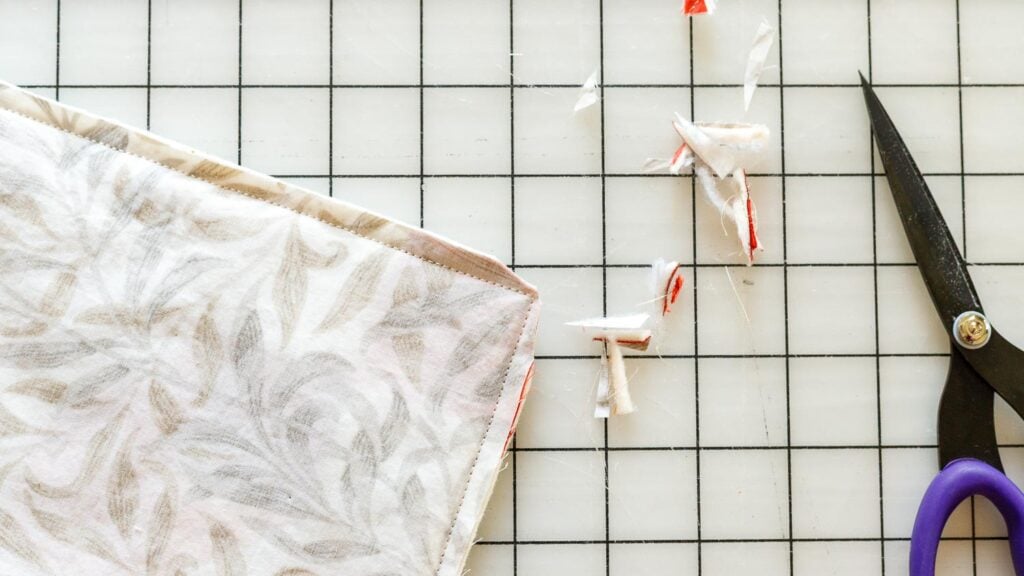
4. Trim away the extra fabric at the corners of the trivet. Take care not to cut the stitches.
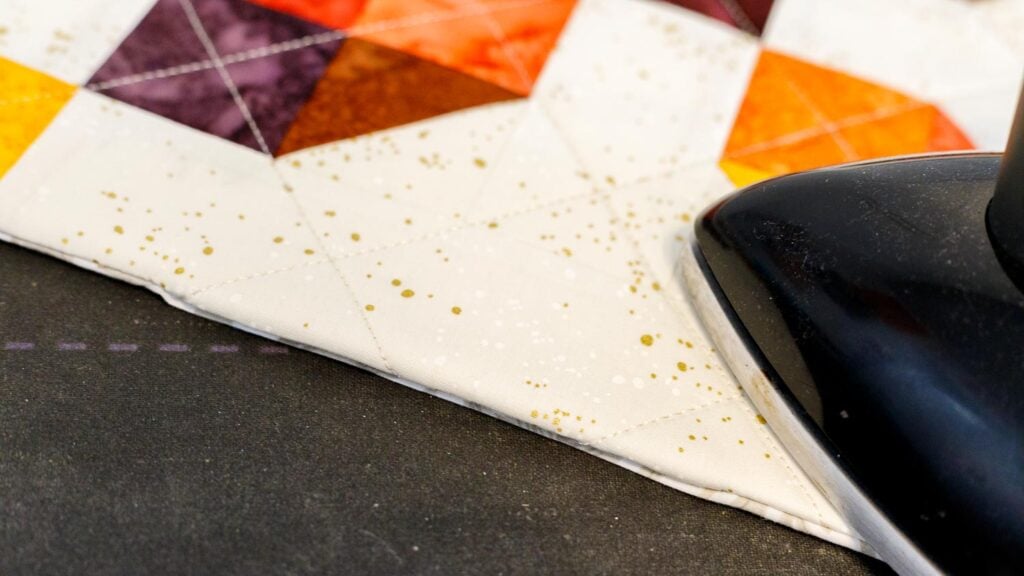
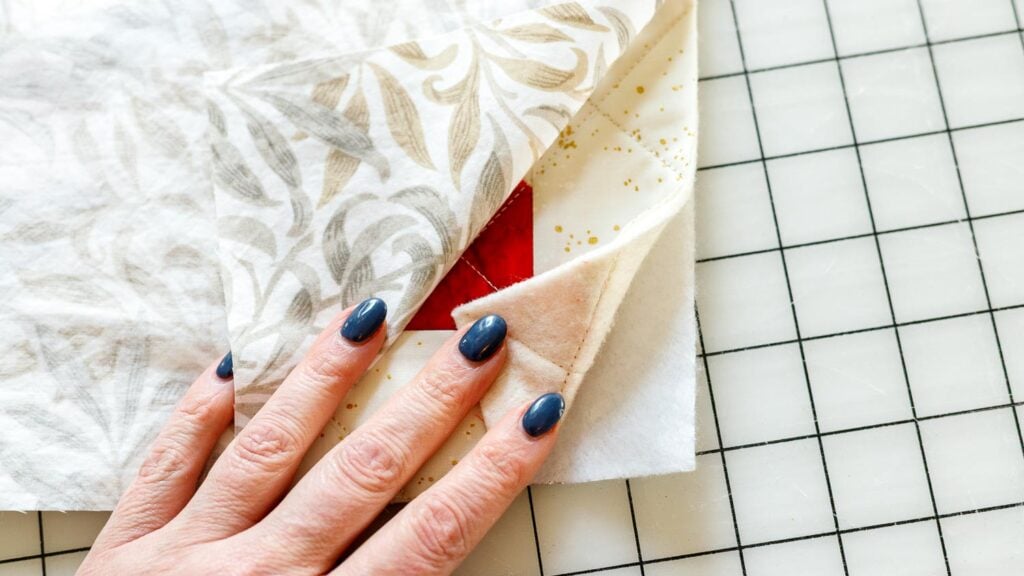
5. Turn the trivet potholder right side out through the opening and use a point turner or chopstick to carefully push out the corners. Press the raw edges to the inside.
6. Hand sew the opening closed or topstitch around the trivet, 1/8’’ away from the edges, closing the opening at the same time.
As always, I love seeing the handmade projects you make with my free sewing patterns. Please post a picture to Instagram and tag me @sewcanshe so I can take a look!
xoxo,

PATCHWORK TABLE TRIVET POTHOLDER SEWING PATTERN
Purchase this pattern in PDF format! The PDF file contains all of the instructions, plus the step by step photos that have been reduced to fit the page nicely with no ads.
Download the file immediately and keep your confirmation email so you can download it again later. Free patterns must be downloaded within 30 days.
Disclosure: some of my posts contain affiliate links. If you purchase something through one of those links I may receive a small commission, so thank you for supporting SewCanShe when you shop! All of the opinions are my own and I only suggest products that I actually use. 🙂