Sewing Straighter Lines: 20 Expert Fixes for Perfect Stitch Consistency
I think we’ve all been there—you’re finishing up a beautiful project, only to notice a wavy, “attention-grabbing” wobble right on the most visible seam! It’s enough to make you want to reach for the seam ripper. If you’ve been struggling with crooked lines or hems that just won’t stay on track, I want you to know that you are definitely not alone. Leave those frustrated sighs behind and finally get sewing straighter lines with total confidence.
I’ve put together 20 of my favorite tried-and-true fixes that will help you achieve a professional stitch consistency. This collection covers everything from clever DIY seam guide hacks to helpful accessories that act like training wheels for your needle. These tips are perfect for your very first quilt and just as helpful if you’ve been at the machine for decades.
Step One: Be Positive. You Can Do This!

Be nice to yourself! You are intimate with your project and know all the mistakes. Others won’t notice them – I promise! Even when you’re sewing for other people (as a gift, as a favor, as a treat) I hope you are sewing because you love it. Don’t stress if it’s not perfect!
Try Slowing Down

Sometimes we just need to slow down a little. After all, there are a lot of things happening to make that straight stitch; even the thread is looping and twisting to go ‘straight’. Sometimes it’s the needle, and sometimes it’s the fabric, but start by turning that speed dial down or easing up on the foot pedal. Take a break and really enjoy your sewing, like I did here in the Florida Keys!
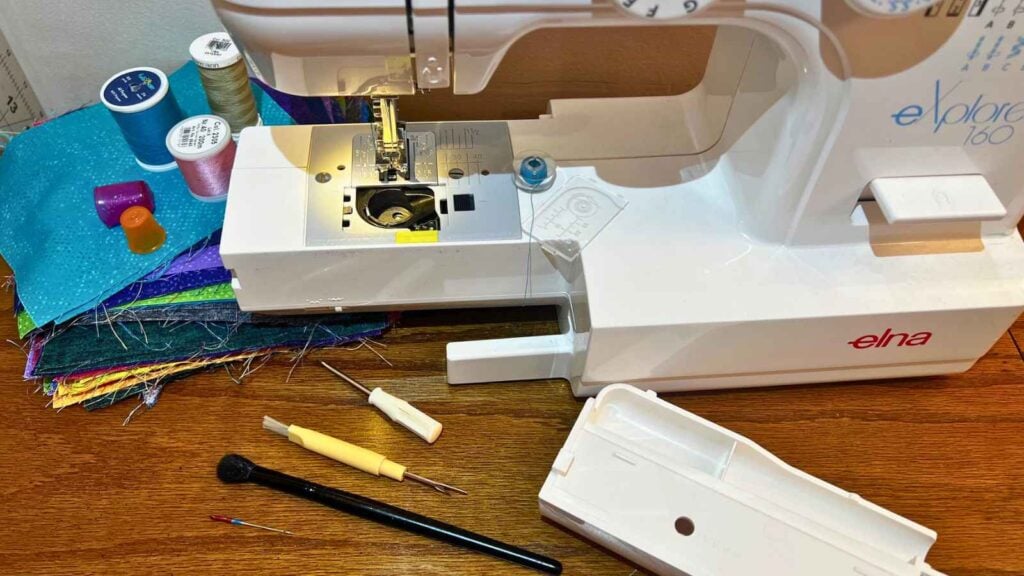
Guidelines on Your Machine

Do you know how to use the markings on your stitch plate? These guidelines do wonders for sewing straight lines. Domestic sewing machines made in the last few decades all have guidelines on the needle plate. These are helpful in some situations, but depending on the project they can also be hard to see.
Shift Your Focus
1. Those lines on your needle plate are precise measurements (usually in 1/8-inch or 5mm increments) from your center needle position.
2. To get a perfect seam every time, choose your desired allowance—like the standard 5/8-inch for garments or 1/4-inch for quilting—and keep the raw edge of your fabric aligned with that specific line as you sew.
3. Instead of watching the needle (which moves too fast!), keep your eyes on the edge of the fabric as it glides along the guideline.
This simple shift in focus is the quickest way to find your rhythm and improve your stitch consistency. If these don’t help, read on for another excellent solution!
The Sew Straight Tool for Sewing Straighter Lines

If your gridlines need an upgrade, consider using a gridded mat. I have tried both the Sew Straight Tool and the Grid Glider. The Sew Straight Tool is shown above. It must be adhered to your sewing machine’s bed with masking tape.
Pro Tip
Be sure to consider the positioning of your bobbin when attaching tools to your machine.
The Grid Glider

In the case of the Sew Straight Tool vs. Grid Glider, I like the Grid Glider better. They are very similar, but I feel like the lines on the Grid Glider are easier to read. It also makes my sewing surface smooth and easy to use. Another feature I prefer is that the Grid Glider has its own adhesion so it’s easy to remove and can be cleaned with water if it loses its tack.
Make a DIY Moveable Seam Guide

If you need a quick guideline that can be adjusted to any seam allowance, try masking tape. It’s the ultimate low-budget fix; you probably already have some. This fix works for sewing straight seams and edge stitching (topstitching on edge).
Pro Tip
Only use masking tape on your sewing machine bed. Do not use other kinds of tape that will leave a residue. I made that mistake once which led me to use acetone to remove the residue, which caused me to smear the printed guidelines on my extension table, which was a huge disaster. Ruining part of your sewing machine is no fun!
Sticky Notes – A Seam Guide Hack

Sticky notes are a popular, inexpensive seam guide to help you sew straight. Peel off a stack of sticky notes about 1/4” tall and place it anywhere you like. It’s easily adjustable and takes straight sewing to an attainable level! Then when the sticky wears off, you can just remove the bottom paper.
Troubleshooting Wobbly Stitches
A dull or slightly bent needle is one of the most common (and hidden!) causes of wobbly, uneven stitches. A fresh needle is the cheapest “upgrade” you can give your machine!
The Seam Guide Ruler

This fabulous ruler from Madame Sew not only provides you with a guide, but helps you set the exact seam allowance. You can then place the magnetic guide precisely, and use it as a guide to help you sew straight. The magnet may not attach to your machine if you need a very large allowance, but that’s when you bust out your stack of sticky notes!
Attachable Seam Guide or Cloth Guide

Most sewing machines come with this funny L-shaped tool. Do you know what it is for?
It attaches to the sewing machine’s foot and guides your fabric when sewing straight seams or quilting. It’s especially good for wide seams or straight line (walking foot) quilting because you can adjust it to different widths.
Pro Tip: If your machine doesn’t take one, try attaching it to the top of your walking foot with tape.
1/4” Guide on a Presser Foot

Presser feet are some of the best seam guide hacks because some of them have guides already attached. Above are shown two 1/4″ piecing feet with a permanent guide connected to the foot.
Both of these are intended for sewing straight seams at one-quarter inch. They can also help with sewing that needs to be 1/4’’ from the edge on other projects- like when attaching quilt binding or wide edge stitching. This is one of my go-to professional finishing techniques.
Center Guide on an Edge Stitching Presser Foot

An edge stitching foot also has a permanently attached guide, but this one is down the middle of the foot. This foot is helpful for edge stitching a fixed distance close to the edge of the project, or top stitching a fixed distance from a seam. To make adjustments, you move your needle left or right.
It’s also great for stitch-in-the-ditch quilting – just leave the needle in the middle. In fact, there is a foot called the ‘stitch-in-the-ditch’ foot.
Presser Foot Hacks
Never limit a sewing machine foot to the job in its name – you will probably find other things it can do! If you want to check out some specific presser feet check out my post for 15 Sewing Machine Feet: A How-To Guide.
Try a Zipper Foot

Here’s a perfect example of a foot being used outside of its name: A zipper foot works by only pushing the fabric down on one side of the needle. It’s perfectly handy when making piping, and attaching pom-poms, and other bulky trims.
Mark Your Fabric

Believe it or not, marking a line to sew on really does help you sew straight! This tip is especially amazing when you have to sew around a curve, like on my Peek-a-Boo Pouch Pattern shown above.
A Note About Fabric Marking Tools
A recent poll on my sewing community showed that most people prefer chalk marking tools or regular pencils to mark their fabric. One sewist even said she uses an old knife like a Hera Marker! I use air erasable pens, but heat erasable pens are also excellent.
Try a Drop-Down Sewing Desk

There is a reason why people who sew a lot use a sewing cabinet or desk that allows the machine to sit lower. The bed of the machine is even with the desk, which allows all of your projects to feed more smoothly through the machine. A Koala, Horn, or Arrow cabinet is a significant upgrade to any machine!

This is my Koala cabinet – it’s the same one as the cabinet in the preceding image. You can see how my quilt is even with the sewing bed, making it much more enjoyable and manageable to sew.
Use the Free Arm Feature to Topstitch and Hem

You don’t always want to use the cabinet though. Sometimes it will be much better to remove the extension table or raise your machine out of the cabinet. That’s how I achieved even topstitching on this Pocket Pod Basket and how I hem pants and sleeves.
Sewing Machine Parts
When you remove the extension table you are exposing the Free Arm on your machine. It is more slender allowing you to sew smaller projects without having to force them flat.
Use Diagonal Seam Tape

This diagonal seam tape is a smart substitute for drawing on your fabric (not around a curve though). Especially if you don’t have great marking pens or chalk, this tape is sewing straight heaven! The red line is centered between two 1/4″ seam allowances for very accurate measurements.
Seam Guide Hacks
I tried using this on the fabric and had an awful time trying to rip it off afterwards. I learned the hard way that I prefer to attach it to my machine and use it to enhance the existing guidelines.
Change the Needle Position

This tip works if you have a tiny sewing allowance and you need the feed dogs to do their job. Not all machines let you shift the needle, but if you can, give it a try. It could solve your problem and help you to sew straight!
This is also helpful for sewing a scant quarter-inch seam allowance. Just move the needle a smidge to the right and then follow the 1/4’’ guideline on your sewing machine or mat, or use a foot with a 1/4’’ guide.
Be Resourceful

We don’t always have it in our budget to buy fancy tools, and if you’re just sewing a few projects then it doesn’t make sense to invest. It’s okay to use what you have to make your own seam guide.
When you’re sewing HSTs or piecing strips together (for binding or bias trim) it helps to draw on your fabric. If I want to save time, but still mark where the fabric meets you can use a sticky note. I like them because I always have them on hand, they stick to the fabric, they tear away easily, and it saves me time while still marking a straight and accurate line.
Perfect Half Square Triangles Every Time
If you want nice straight edges on your HSTs, try my printable HST paper.
A Quilting Ruler

Straight lines on a quilt are stunning – and hard to achieve, even with a lot of marking. I love my straight-edge quilting ruler when I do free-motion quilting. It is made of special acrylic and is thicker than a regular ruler so that it won’t slip under the special ruler-work foot.
Try Foundation Paper Piecing

Foundation paper piecing is a quilt piecing method that is completely different from traditional quilt piecing methods. It can be tricky to understand at first, but once you catch on to the process, you’ll get to sew along lines that are printed or traced on paper! Learn how with this free paper piecing pattern and enjoy the creative quilting hack to sew straight.
Troubleshooting: Sew on Paper

Sometimes it seems like your machine is the crooked one. If your troubleshooting seems fruitless, try sewing on a sheet of paper! You’ll be able to see clearly if your machine is the wobble factor instead of you when it comes to sewing straight lines. This tip comes from CreativeArtnSoul.
There is No ‘One-Size-Fits-All’ Solution

None of these tips, tricks, or tools are a one-size-fits-all solution. Some of these hacks will work when you are sewing garments, and others are better if you make a quilt. I’m including a couple for specialty sewing, like for making piping or sewing a narrow strap. I’ve even found that I prefer one sewing machine over another for sewing in different situations. Make sure you play with each tip a little to figure out what solution works best for your project.
More from SewCanShe
The Thrift Store Secret: 15 Ways to Score High-Quality Fabric for Pennies!

The Ultimate Fabric Stash Guide: 25 Genius Ways to Organize Your Fabric At Home!

The Complete Sewing Machine Maintenance Guide: Daily to Yearly Care
100 Free Sewing Patterns And Ideas For Fabric Scraps
Disclosure: some of my posts contain affiliate links. If you purchase something through one of those links I may receive a small commission, so thank you for supporting SewCanShe when you shop! All of the opinions are my own and I only suggest products that I actually use. 🙂